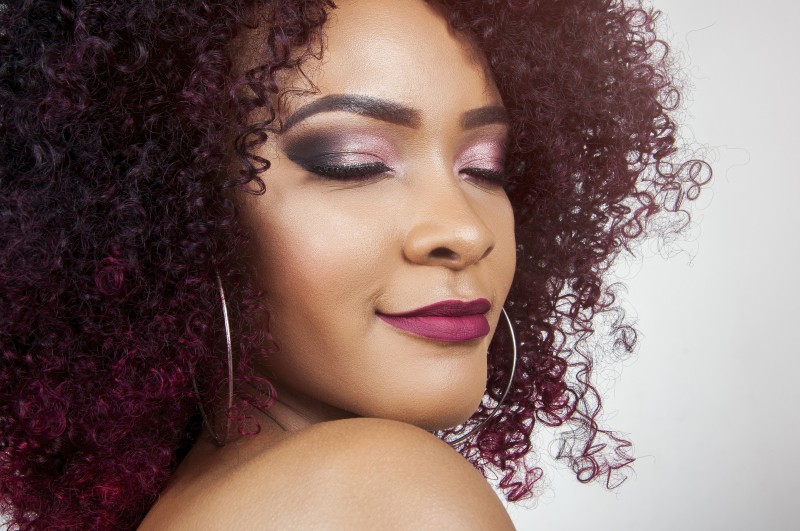
Advanced Hair Masking Using Calculations in Photoshop

In this photoshop editing tutorial, I will show you advanced hair masking and complex objects on single color backgrounds using alpha channels and image calculations.
Advanced Hair Masking Tutorial :
CLICK HERE TO WATCH TUTORIAL
1
00:00:13
How to mask hair using calculations in photoshop.
2
00:00:24
First of all, Go to Image options and select calculations.
3
00:00:37
Inside the Calculations dialog box, You’ll discover there are two sources.
4
00:00:49
Set the first Source 1 Channel to Red and the Source 2 Channel to Blue.
5
00:00:57
Inverting the Blue channel will clearly define the hair from the backdrop.
6
00:01:06
Apply blending modes that complements the greatest contrast between background and subject.
7
00:01:26
In our case, Subtract blending worked best.
8
00:01:32
Now tweak Offset value to make most of hair has been selected.
9
00:01:54
Clicking OK will create your Alpha channel.
10
00:02:05
Now take Overlay set soft white brush and paint on subject to bring out more highlights.
11
00:03:11
Take Overlay set soft black brush to fill in the black background.
12
00:03:54
Rename Alpha channel name to “Hair Mask”.
13
00:04:07
Now duplicate background layer.
14
00:04:19
Load hair mask selection and add layer mask.
15
00:04:40
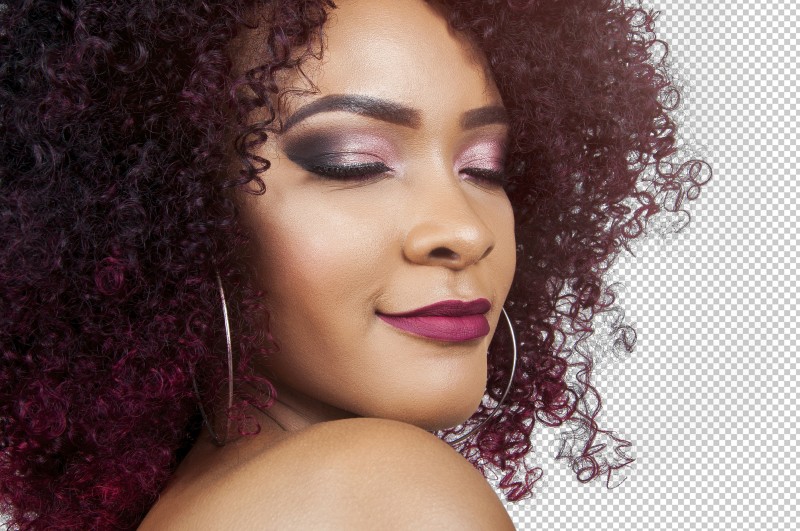
Add any solid color or background to your preference.
16
00:04:56
Masking hair completed, But it’s not perfect.
17
00:05:05
There is halo edges and fringing, we need to fix it.
18
00:05:15
duplicate the layer with layer mask.
19
00:05:25
select layer mask and add apply layer mask command.
20
00:05:37
then go to layer – matting – remove white matte.
21
00:05:48
That’s it.
22
00:05:57
You can now make perfect hair selection using calculations easily.
[sociallocker id=”1411″][download-attachments][/sociallocker]