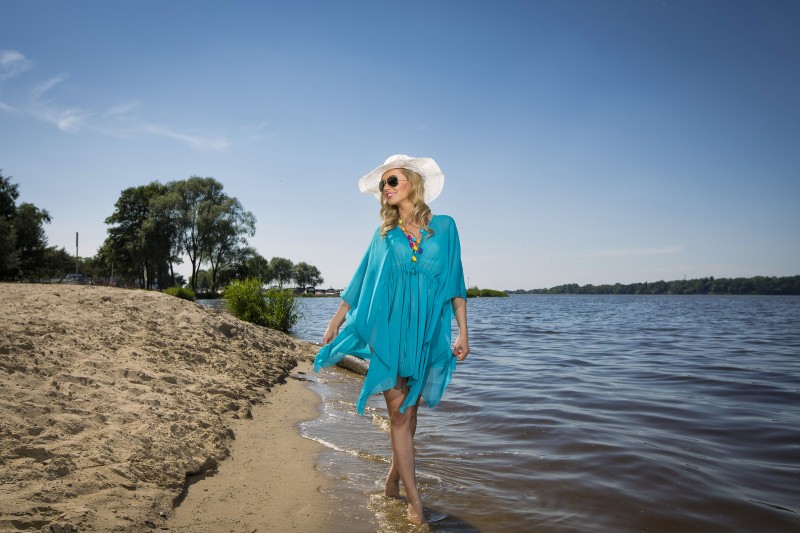
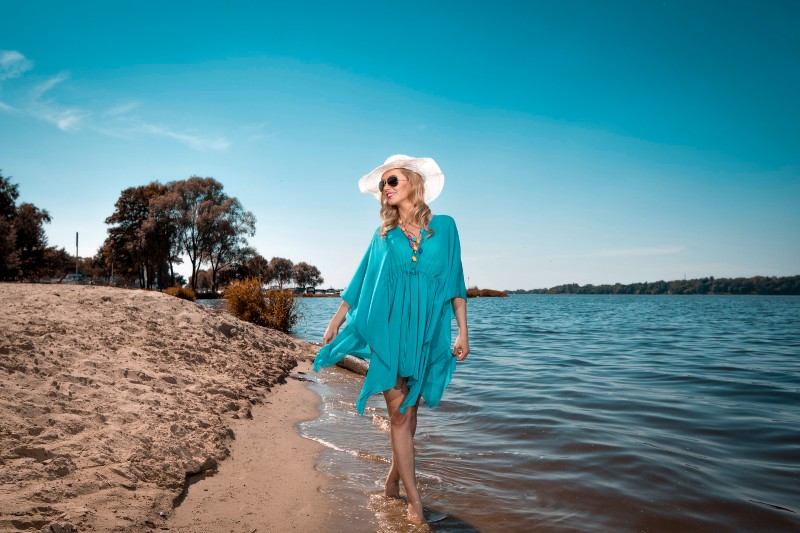
Aqua Brown Toning – Editing a Summer Beach Photo in Photoshop

In this color grading tutorial, learn how to apply aqua and brown color scheme to your photography easily in photoshop & lightroom.
Apply Aqua Brown Color Effect Tutorial :
CLICK HERE TO WATCH TUTORIAL
open your fashion image in Photoshop. Press ‘CTRL+J’ (on Windows) or ‘CMD+J’ (on a Mac) to create a duplicate of this layer. convert layer into smart object. Then go to filter menu and select camera raw filter. The Camera Raw dialog box appears.
Note: for lightroom users first import the photo, then click on “Develop” tab. and follow the procedure.
Firstly Lets make some general image modifications like highlights and shadows etc.
If you notice this histogram at top of the table. Image layer doesn’t extend to the ends of the graph, indicating that the image is not using the full tonal range.
so we are going to increase the highlights until it touches the right corner in histogram.
Highlights at +57 looks good and also i will increase shadows little bit. +26 is enough.
Now adjust whites and blacks in the image, white slider control the brightest areas and pixels of an image, whereas black slider controls darkest areas.
i will increase whites little bit to +25 and lower the blacks to -50.
ok we finished basic image adjustments.
Now we color tone the image. Go to camera calibration panel. The RGB Primaries section tweaks the overall color mix in your image.
i want to add aqua tone to sky and water. so select blue primary and adjust its hue slider.
If we increase hue to +100 you may notice purple colors added to the blues in the image.
lets see What will happen if we lower the hue to -100. It adds teal color to the sky and water.
Now lower the green primary hue to -100, which gives aqua tone to the image.
now the skintones looks over saturated and we will fix it by lowering red primary saturation. Reduce red primary saturation to -64.
we applied color toning now we need to control intensity of individual color from HSL panel.
go to HSL panel which is next to split toning tab and select hue.
i want to add little yellow to skin tones. so increase orange slider to +10.
and also i want to change color of trees to brownish. so select yellow slider and desaturate it -100
now go to saturation tab.
I want to add some lip color. so increase red saturation to +100
Now go to luminance tab
and increase reds little bit to brighten red tones in the image.
Ok now image looks good enough.
But i want to lower the overall lighting little bit. we can do that using tone curve.
Go to tone curve tab and lower the lights slider to -20.
That’s it. Here is before and after comparison.
[sociallocker id=”1411″][download-attachments][/sociallocker]