Blockbuster Film Color Grading to Any Video – Photoshop Tutorial

In this tutorial I’ll show you how to achieve blockbuster film Color Grading look to any video in photoshop. Whether you’re a photographer that enjoys shooting video or just looking for a new color grading solution, you might be surprised to find out that you can color grade and correct your footage directly in Photoshop. Here is how you do it.
Blockbuster Film Color Grading Tutorial :
First, open a video file in Photoshop.
if you are small time film maker who shoots with DSLR cameras and you need final output look like cinematography then i recommend you to shoot your footage in flat picture control settings.
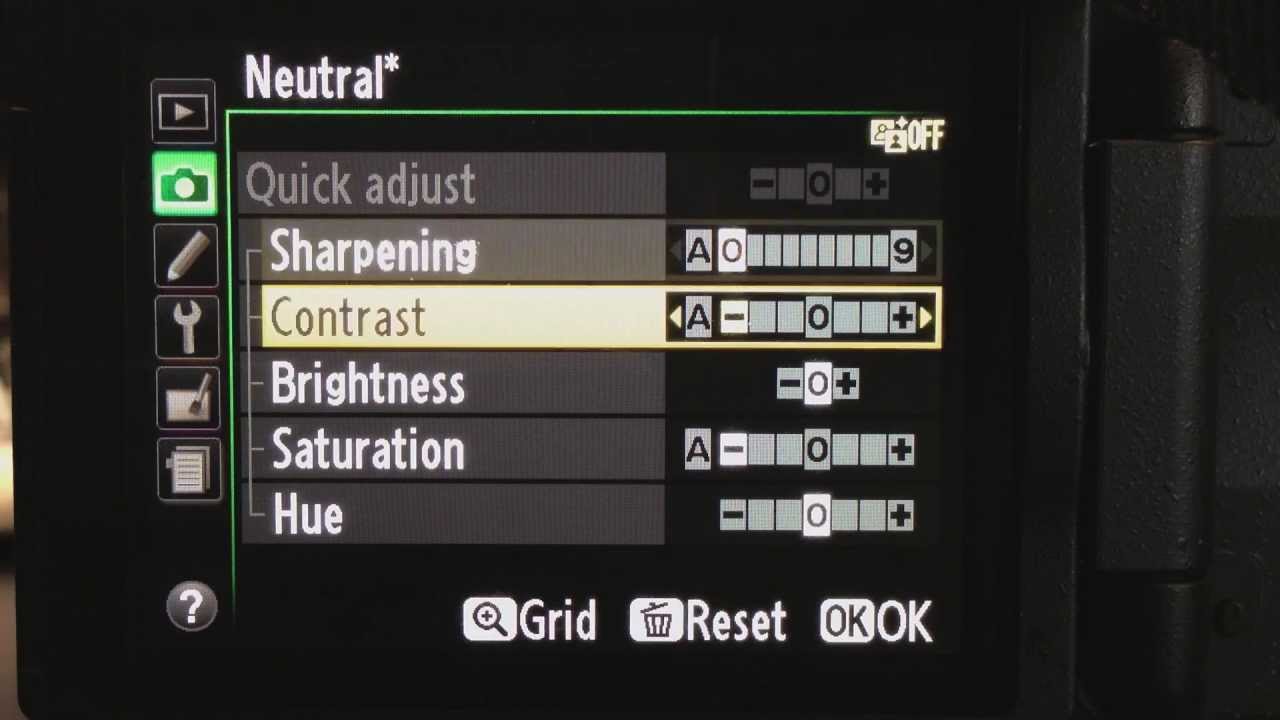
DSLR flat picture control settings
for this tutorial i want to achieve color grade similar to “revenant” movie look.
first convert video layer to smart object.
by doing this what ever changes we do, it will effect to every frame in the clip.
as i said before shoot your video in flat profile but this video was shot in auto settings.
so we need to maximize dynamic range at both the shadows and at the highlights.
it means we manually convert footage into a flat picture.
select a frame in the clip which has over exposure.
Go to Image > Adjustments > select shadows and highlights.
We’ll adjust the settings as follows.
I use these same settings relatively often when I want to make sure video clips are picture flat.
Now create Letterbox frame to give your video that cinematic widescreen look.
take rectangle marque tool and make selection at top
fill the selection with black
similarly do the same for bottom side as well.
Now its time to add color grade. Create a new Color Lookup Adjustment Layer LUTs color grading
Select one of the ones from the list and see how the video changes it’s appearance.
I would suggest that you have a play around with the list.
2strip gives james bond film look,
tension green gives matrix movie like look.
most hollywood movies example transformers use teal and orange color grade.
for this tutorial i will use horror blue.
adjust the opacity of the layer to achieve a new look that you want to work with.
if you want contrasted look keep it in normal blending mode, otherwise change it to color which maximize shadows dynamic range.
Again it depands on personal choice.
After you have what you’re looking for, just Render Video. Select the export settings you want, and you’re done!

[sociallocker id=”1411″][download-attachments][/sociallocker]