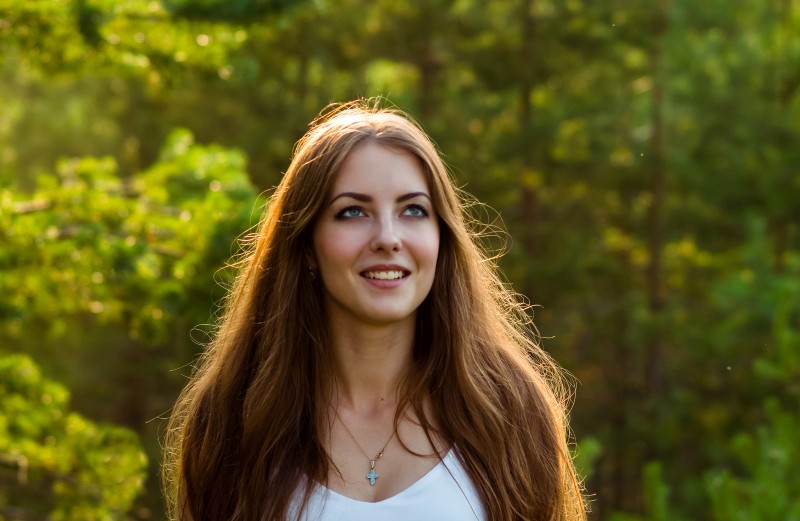
How to Blur Photo Background Like Costly Lens in Photoshop

In this photo editing tutorial, learn how to add a smooth blur to your photo backgrounds easily in photoshop.
Blur Background Photo Effect Tutorial :
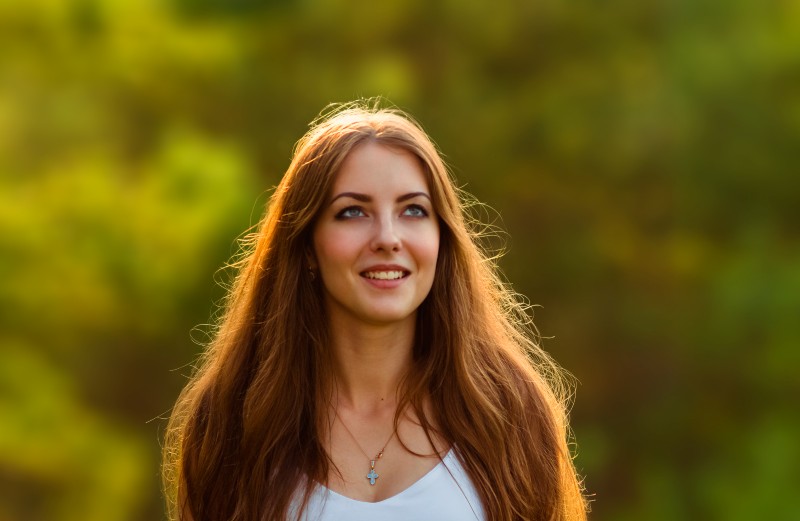
First open the photo you would like to work on.
Now choose select and mask tool. i’m using ps cc 2017 version, if your version doesn’t contain select and mask tool then you may use refine edge tool.
select view mode to your liking, I’ve already chosen to use On overlay mode.
Take Quick Selection Tool. click & drag the area you want to select.
The mark you make doesn’t need to be precise, because the Quick Selection tool automatically and instinctively creates a border.
Now we will want to have a look at our mask radius, so tick this “Show Radius” checkbox.
if you increase the “Radius” value sightly, you will see a outline appearing – that’s the edge of our mask.
In this case i will set radius at 8px. If your image has both sharp and soft edges, select Smart Radius.
Un-tick show radius option.
Now use the “Refine Edge Brush Tool” to refine edges.
Brush over soft areas such as hair to add fine details to the selection.
When you’ve completed brushing the edges, take subtract selection tool and delete unnecessary selections.
Finally, tick the Decontaminate Colours box to remove any color fringing with the color of fully selected nearby pixels.
use the Output Settings. I almost always use New Layer with Layer Mask. Click the OK button, and you’re done.
we successfully cut out main subject from its background.
To see layer mask itself, hold down Alt/Opt key and click on layer mask thumbnail.
If we zoom in, you may notice some areas that needed some touchup.
Take soft brush and change brush blending mode to overlay. select black color and paint on areas to clean.
Now we need to remove main subject from the background.
To do that duplicate background layer CTRL + J Simply select the subject using lasso tool.
Now go to edit menu and fill the selection with content aware tool.
Deselect the selection CTRL + D.
Now we need to add lens blur to the layer. go to filter menu, select lens blur.
Add blur radius to your preference.
Image looks good enough. But i will add color lookup adjustments to make image more beautiful.
i will choose fall colors look to color tone the image.
That’s it.
[sociallocker id=”1411″][download-attachments][/sociallocker]