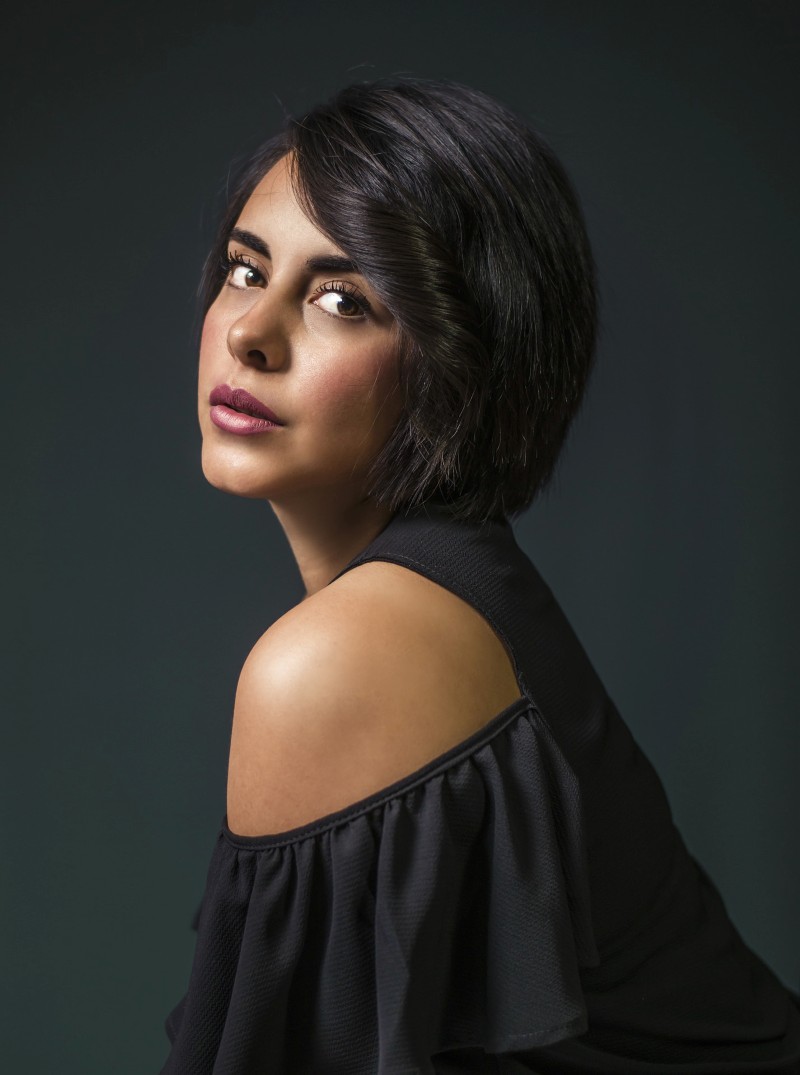
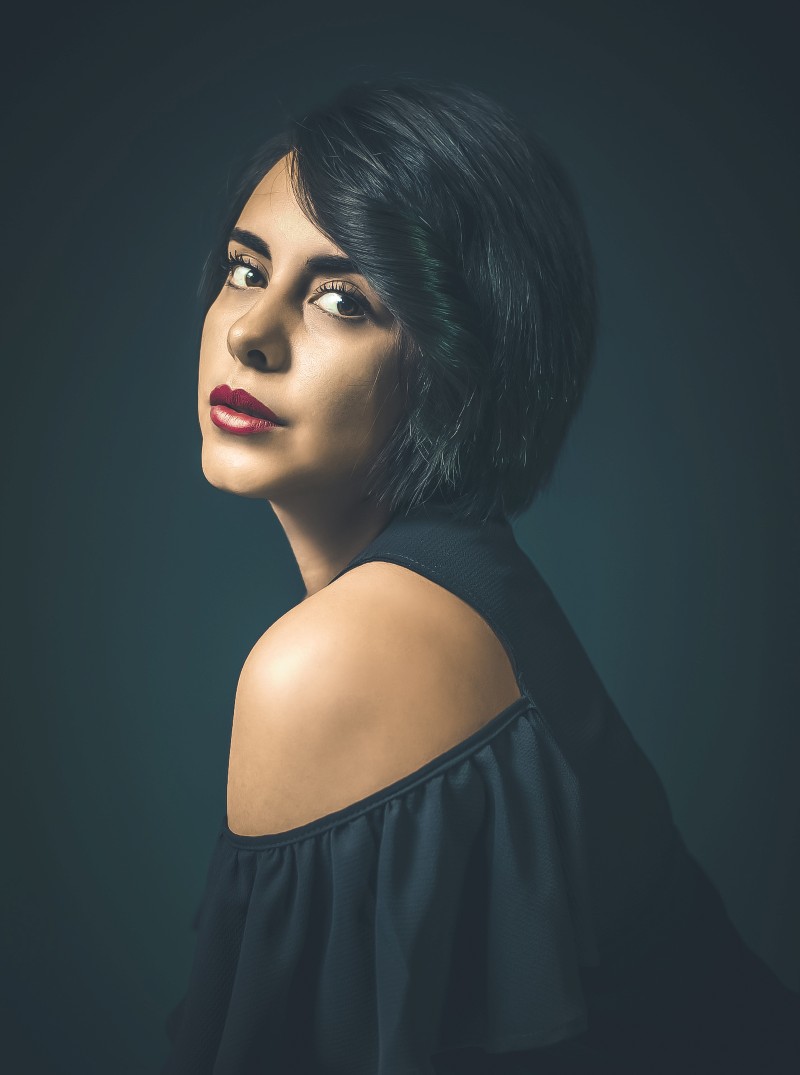
Color Grade and Stylize Studio Portraits in Photoshop & Lightroom

In this Photoshop color Effects tutorial, we’re going to stylize Studio Portraits in photoshop or lightroom using camera raw settings.
Editing and Stylize Studio Portraits Tutorial :
Open the image you want to edit in Photoshop and duplicate it.
Convert layer in to smart object.
Now open image in camera raw filter.
Adjust highlights and shadows, contrast and detail settings as follows
Now add the popular matte Look, or faded photo effect with tone curve.
Go to HSL panel, it allows you to control different colors independently
We can brighten, or emphasize specific saturations, and control the hue of any certain colors
Now select split-toning tab, in this section we can simply add colors to highlights and shadows
Now add Vignette effect, it is a great way to darken the edges of the image, so that your viewer focuses on the subject of the image.
If you are using lightroom, You can give the same values in lightroom as well, with exact settings to get the same effect.
Now we can save these settings as a preset, and then apply the preset to other photos
Choose Save Settings from the Camera Raw Settings menu.
The saved settings preset is now available in the Presets tab for any open photo.
Click OK when you’re done. Photoshop goes ahead and applies your settings to the image
We applied the Camera Raw Filter to a Smart Object, it was added as a fully editable Smart Filter.
We can go back and re-edit any of the settings for the effect,
As the final step, i want to add radial filter, adjust highlights and brightness to draw attention on the main subject than the background.
Our channel subscribers can download this Camera Raw preset from the link below for free, and with just one-click you can add the effect to any photograph. I hope that you enjoyed this tutorial.
[sociallocker id=”1411″][download-attachments][/sociallocker]