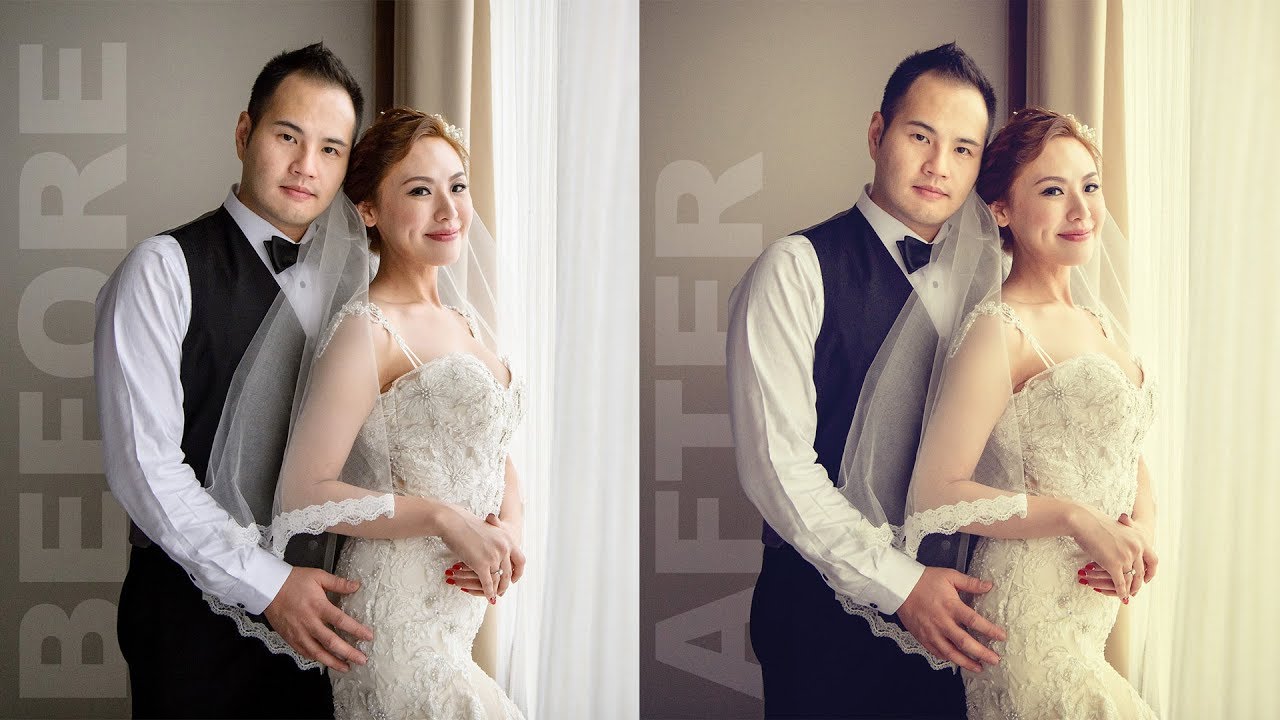
How to Colorize Photos Using Gradient Maps in Photoshop

In this photoshop photo editing tutorial, learn how to colorize photos using gradient maps adjustment layer in photoshop.
Colorize Photos Using Gradient Maps Effect Tutorial :
CLICK HERE TO WATCH TUTORIAL
1
00:00:13
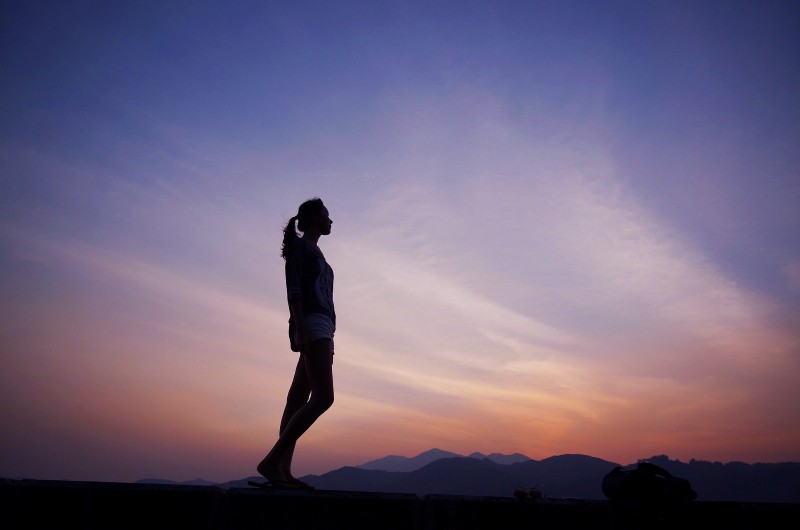
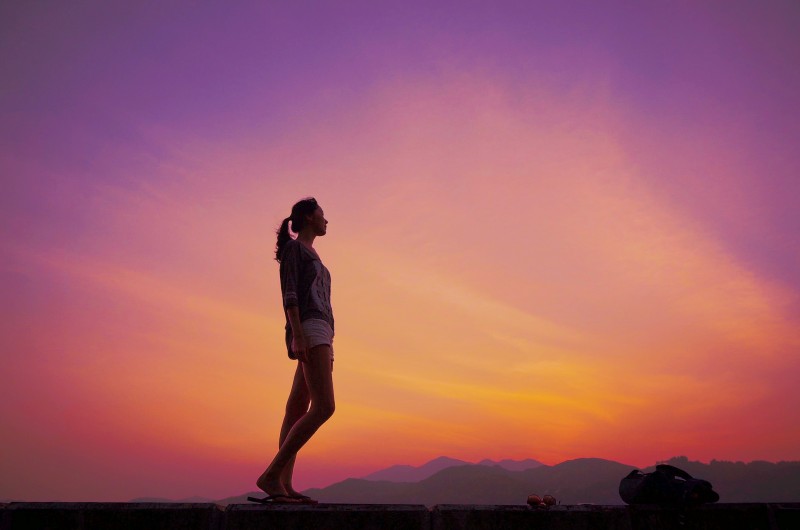
How to add colors to sky using gradient map adjustment.
2
00:00:21
First of all underexpose photo to get highlight details in the sky.
3
00:00:28
Duplicate background layer and open with camera raw filter.
4
00:00:56
lower the whites and blacks slider.
5
00:01:07
Increase clarity and vibrance.
6
00:01:21
Add layer mask and apply image to lighter parts of the image (sky).
7
00:01:44
You may notice that the effect is applied only to brigher areas in the image.
8
00:01:53
Now let’s straighten the horizon with lens correction.
9
00:02:03
Create a new layer from all the visible layers by pressing Ctrl + Shift + Alt + E.
10
00:02:23
Select straighten tool and fix the horizon.
11
00:02:43
Now add gradient map to add colors to image.
12
00:02:55
Select gradient from preset manager.
13
00:03:07
Change blending mode to soft light.
14
00:03:14
Lower the opacity to 80%.
15
00:03:21
Go back to gradient editor and change colors as you wish.
16
00:03:50
Now i will add another gradient to brighter the shadows part little bit.
17
00:04:12
Lower the opacity to your preference.
18
00:04:19
Reverse colors, we want shadow color to be brighter and highlight color to be darker.
19
00:04:33
That’s it.
[sociallocker id=”1411″][download-attachments][/sociallocker]