How to Create Panorama in Photoshop Photomerge Tutorial

in this tutorial i will show you how to create panorama in photoshop. to do so we need some series of photographs. please note Photos should be taken at same time and i recommend better to select continuous shots.
How to Create Panorama in Photoshop Tutorial
Photoshop has auto blend layers feature. we can create pan0rama with auto blend layer feature also. but i will use photomerge tool from automate.
goto file tab menu and select automate and then photomerge. now photomerge window pops up. click browse button and select photographs u want to merge.
check blend images together option. keep layout auto and click ok.
Now all we have to do …….wait. photoshop will do some process and analysis work.
Photoshop will align layers based on content on photographs.
it may took some minutes if you are using high resolution images and also depanding on your computer performance and power
ok now we got processed image. photoshop has done its best to merge all photos.
You can see, it also added layer mask based on matching content in images. but there are some gaps at top and bottom.
we can easily fix it with content aware tool and clone stamp tool.
i will make Stamp Visible copy Ctrl + Shift + Alt + E, with rectangular marquee tool and make selection. fill the selection with content aware, keep color adaption check.
photoshop fills the selection with sky colors. similarly do the same for other side as well. photoshop done wonderful job here and now fix the bottom empty spaces with clone stamp.
i want to keep the grass texture natural so i use clone tool here. Just hold alt and grab sample and brush on empty space to fill.
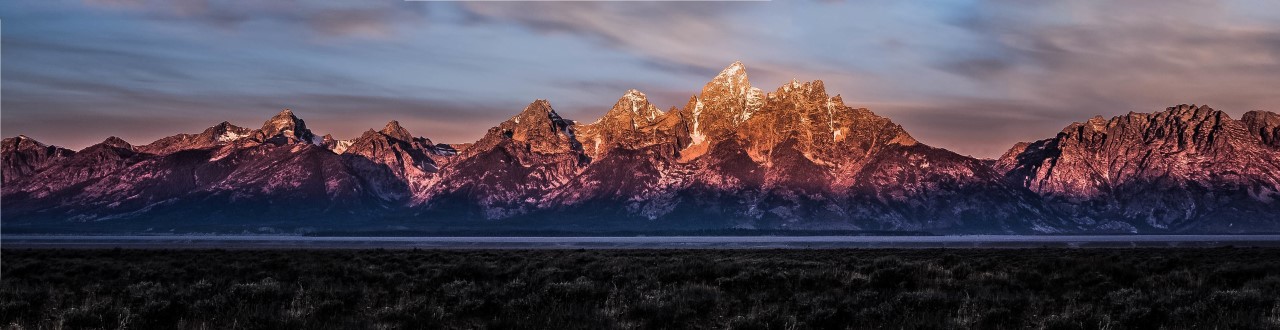
after blending 5 images using photomerge tool and with some help of content aware and clone tool we finally developed beautiful panorama photograph.