How to Correct Skin Tone with One Click in Photoshop

In this photoshop photo editing tutorial, learn how to correct skin tone with just one click or Color Correction with the Curves Eyedropper in Photoshop.
correct skin tone/Color Correction with Eyedropper Tutorial :
CLICK HERE TO WATCH TUTORIAL
1
00:00:19
Open a photo that you think needs correcting.
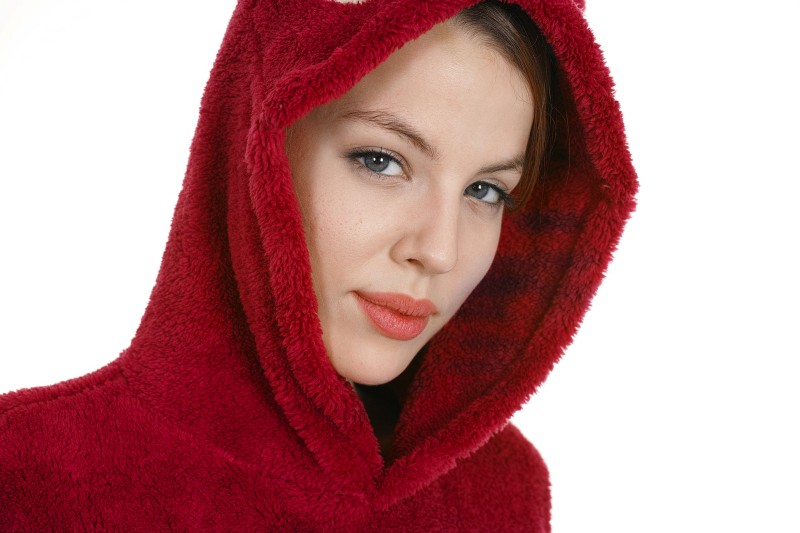
2
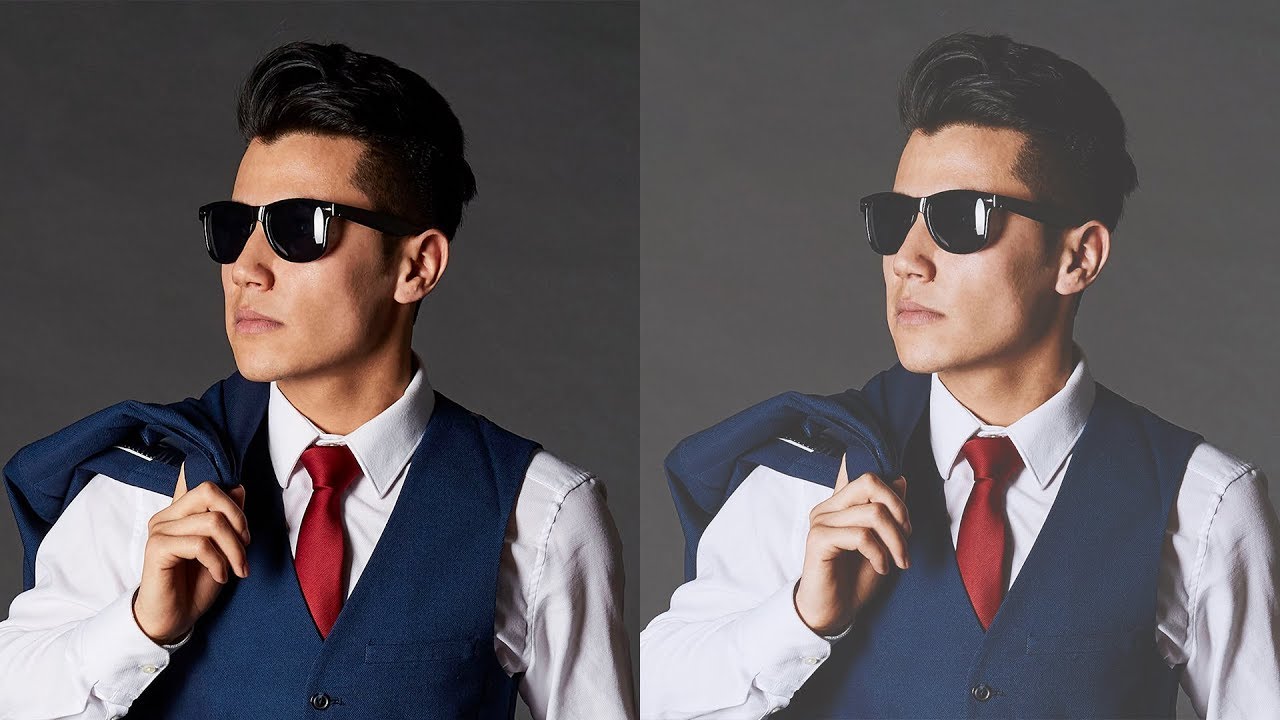
00:00:28
Our example photo suffers from a yellowish color cast.
3
00:00:37
Choose curves from the drop-down menu.
4
00:00:46
You need to use the Gray dropper to select a spot in your image that should be Neutral Gray.
5
00:00:51
This can be challenging, unless you have an object in your photo that you know should be gray.
6
00:00:56
TIP: There is one trick for finding Neutral Gray in portraits that comes in handy.
7
00:01:00
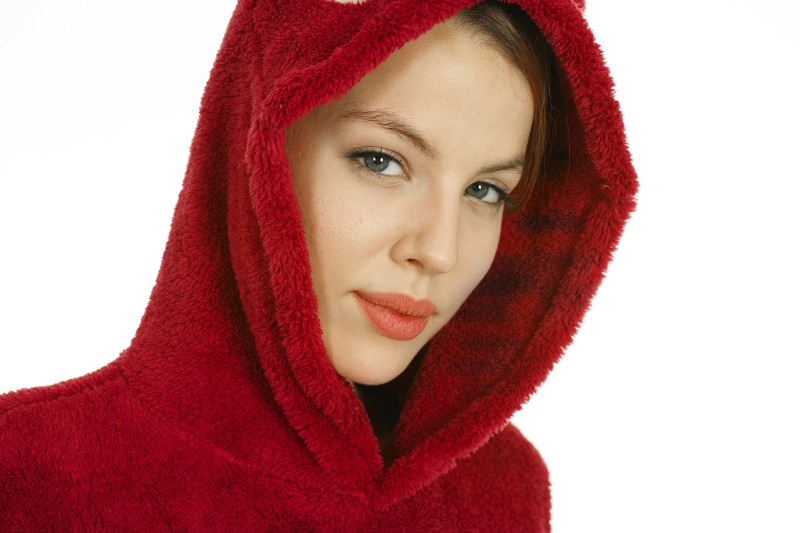
pick on the whites of the eyes to find your Neutral Gray point.
8
00:01:10
one click on the white of the model’s eye perfectly corrects the color in the entire image!
9
00:01:21
Her skin is corrected and the yellowish color cast is gone.
10
00:02:12
That’s it. We’re done.
[sociallocker id=”1411″][download-attachments][/sociallocker]