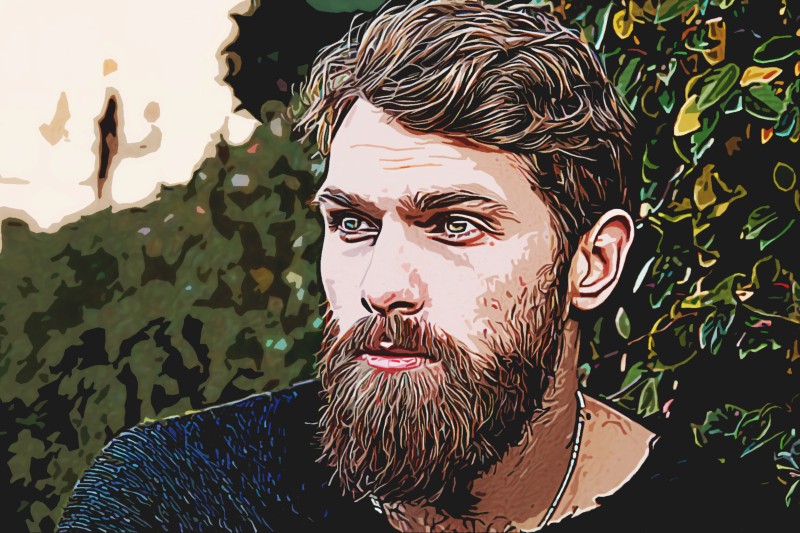
How to Create Artistic Oil Paint Effect in Photoshop with Action

In this photoshop photo effects tutorial, learn how to change any photos into smooth artistic oil painting effect in photoshop.
Artistic Oil Painting Effect Tutorial :
CLICK HERE TO WATCH TUTORIAL
1
00:00:13
Create Smooth Artistic Oil Paint Effect in Photoshop.
2
00:00:20
Open up your chosen image in Photoshop.
3
00:00:25
First we need to drastically sharpen the photo, it will help to create detailed brush strokes.
4
00:00:30
duplicate the background layer twice.
5
00:00:45
Select upper most layer and add a High Pass effect.
6
00:00:56
Amount of radius around 5-10px is all that’s required.
7
00:01:04
Change the blending mode to Soft Light.
8
00:01:12
Merge both layers.
9
00:01:19
Now again repeat the same previous step.
14
00:01:56
Now add unsharp mask to the layer to drastically sharpen the edges.
15
00:02:09
Keep amount:60, Radius:2.6px and Threshold:0.
16
00:02:20
Then head to Filter – Stylize – Diffuse.
17
00:02:31
Change the Diffuse mode to Anisotropic.
18
00:02:44
This is the key ingredient to give the image that cool brushed appearance.
19
00:02:50
Now Again repeat first step.
24
00:03:30
If you look closely at your artwork,
25
00:03:32
you may notice some ugly seaming where the diffusing repeats.
26
00:03:39
We use little technique to fix this.
27
00:03:48
Go to Image – Image Rotation – 90° CW.
28
00:03:56
Again repeat the first one.
33
00:04:26
Select Surface Blur from the Filter – Blur menu.
34
00:04:38
Adjust the values to around 6px Radius and 10 Threshold.
35
00:04:45
Apply Diffuse filter to give swirly details on the skin which gives the image a painted effect.
36
00:05:01
Rotate the image by 90° again, and repeat first step.
41
00:05:38
apply another Diffuse filter.
42
00:05:51
Repeat this step for a third time then rotate the image for a final time to place it the right way up.
43
00:06:51
Rename layer “Oil Paint”.
44
00:06:59
Duplicate oil paint layer.
45
00:07:13
Select oil paint layer and add smart blur.
46
00:07:27
and adjust the values to around 3px Radius and 42 Threshold.
47
00:07:32
Fine tune these values so only the large flat areas are affected.
48
00:07:39
Finally apply cutout filter.
49
00:07:52
use Levels: 4, Simplicity: 4 and Fidelity: 2.
50
00:08:03
Select oil paint copy layer and change blending to soft light.
51
00:08:11
and adjust opacity to your preference.
52
00:08:22
Add faded look with curves adjustment.
53
00:08:40
Adjust brightness and contrast.
54
00:09:11
That’s it.
55
00:09:26
Let’s see how this photoshop action works.
56
00:09:30
Firstly download and install the action in your photoshop.
57
00:09:36
Open image, then click the play button to run the action.
58
00:09:56
Adjust brightness/contrast and cutout filter setting as you wish.
[sociallocker id=”1411″][download-attachments][/sociallocker]