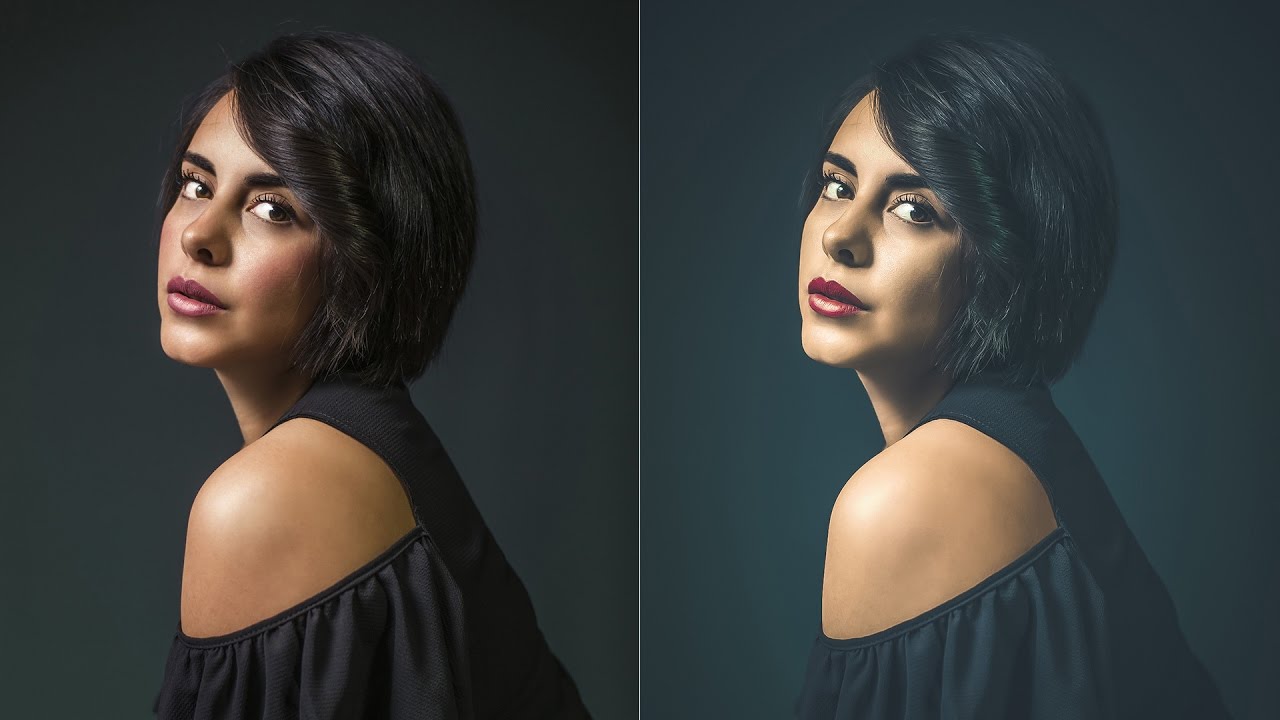
How to Create Fashion Color Tone and Retouch Portrait in Photoshop

In this photoshop photo editing tutorial, learn ow to add fashion color tone to photos and also smoothen skin without losing any texture in photoshop.
Fashion Color Tone & Skin Retouching Tutorial :
CLICK HERE TO WATCH TUTORIAL
1
00:00:19
Open up image
2
00:00:24
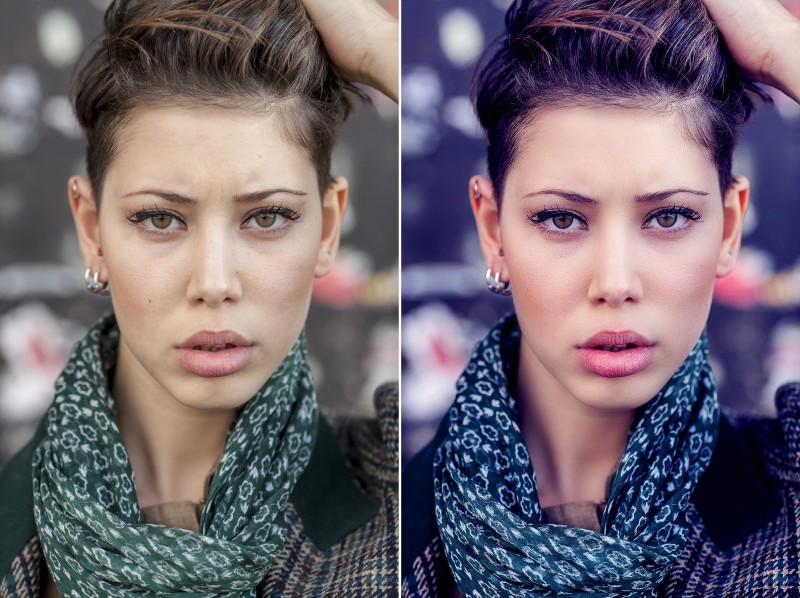
First lets add color toning or color grading
3
00:00:34
Duplicate background image and sharpen it
4
00:00:56
Apply unsharp mask with amount: 200% and radius: 1px
5
00:01:16
Now add black & white gradient map to improve shadow details
6
00:01:33
Change blending to screen and reduce opacity
7
00:01:50
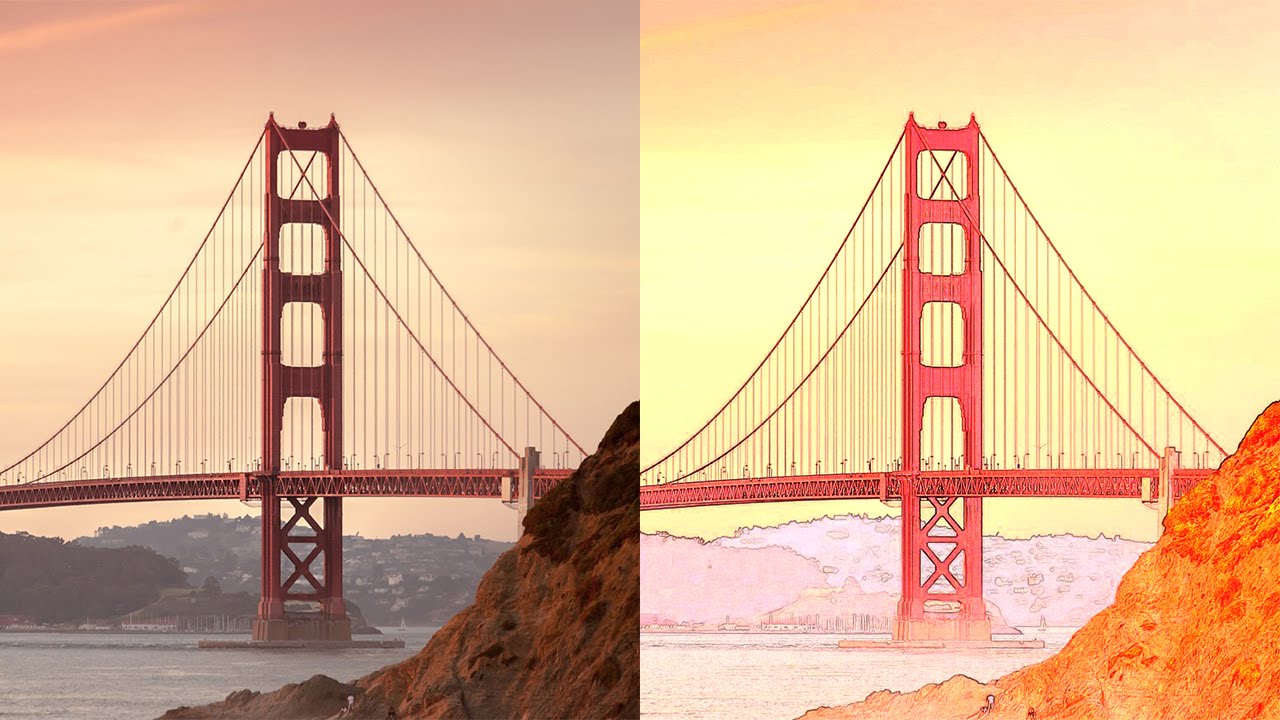
Add curves to give blue tone to image
8
00:01:58
Select blue channel and adjust shadows
9
00:02:17
Again add curves and darken shadows little
10
00:02:35
Add levels and darken shadow more
11
00:02:48
Applying curves and levels separately gives more flexible to tweak any adjust later on
12
00:02:56
Add saturation to pop colors
13
00:03:10
Now add black to transparent gradient fill at bottom
14
00:03:28
change blending to softlight and reduce opacity
15
00:03:42
Similarly add gradient fill at top
16
00:04:16
Gradient fill makes your viewer focuses on the subject of the image
17
00:04:29
Again add curves to increase exposure
18
00:04:57
Finally add saturation to make colors pop
19
00:05:14
Group all layers
20
00:05:33
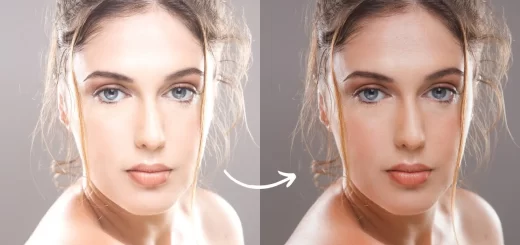
Now lets retouch skin
21
00:05:37
Create a new layer from all the visible layers by pressing Ctrl + Shift + Alt + E
22
00:05:45
Rename layer “softness”
23
00:05:57
Duplicate current layer and rename it “texture”
24
00:06:12
Select softness layer and apply gaussian blur radius of 15px
25
00:06:27
Now select “texture” layer and apply high pass filter with radius of 1-3px
26
00:06:46
Change texture layer blending to linear light
27
00:06:55
Group both layers and reduce opacity by 50%
28
00:07:21
Add inverted layer mask to the group. Hold Alt and click on mask icon.
29
00:07:34
Now take soft white brush and paint on skin to reveal the effect
30
00:08:58
Now lets remove dark spots with spot healing brush
31
00:09:06
Add new blank layer
32
00:09:19
Take spot healing brush and check sample all layers
33
00:09:26
Simply paint on dark spots
34
00:09:51
That’s it. We’re done.
35
00:09:59
To reduce sharpness, simply go to sharpen layer and reduce opacity
How to Create Fashion Color Tone and Retouch Portrait in Photoshop
[sociallocker id=”1411″][download-attachments][/sociallocker]