How to Create Foreground Bokeh Portraits in Photoshop

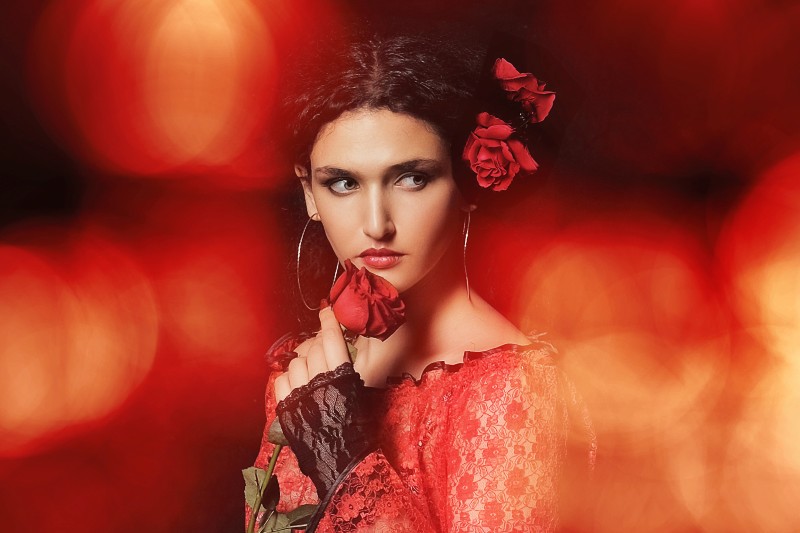
In this Photoshop Foreground Bokeh Portraits Effects tutorial, we’re going to create bokeh using night photograph and add it to portraits. We’re all familiar with the fuzzy circles that bokeh creates usually behind our main subject, but this tutorial is about creating bokeh in front of the subject.
Foreground Bokeh Portraits Effect Tutorial :
First open photo to add Front Bokeh.
Choose a photo which contains lights to create light bokeh. (Night Photographs works best)
Go to Blur gallery and adjust the settings of light range and light blur.
Once finish creating bokeh, drag and place it on the portrait.
Change blending mode to screen.
Add hue and saturation adjustment layer to change colors of the bokeh.
[Alternative] Select color lookup to add second color.
Add curves and increase overall exposure a bit.
Increase contrast and add apply image command to the mask so that effect applied only on lighter parts of the image.
Finally create stamp visible copy CTRL+SHIFT+ALT+E, then apply high pass filter with radius 2px.
Change blending to softlight to enhance the details in the image.
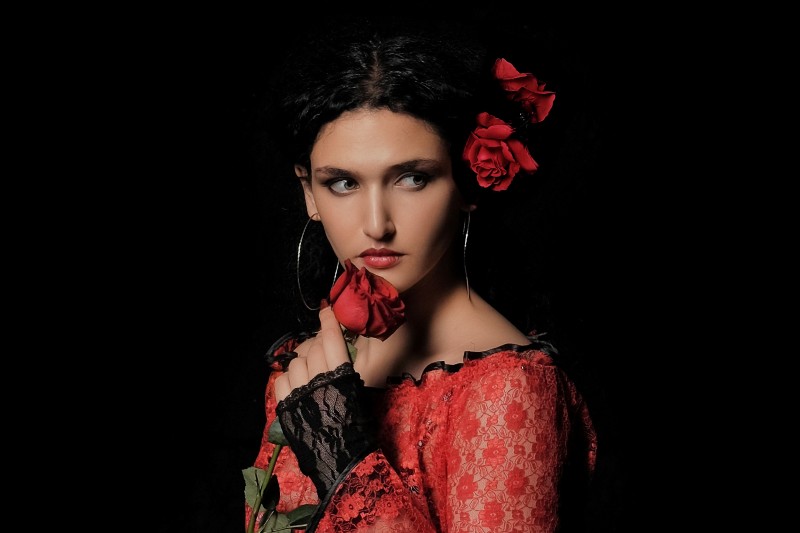
That’s it. We’re done. Here is before & after results. I hope that you enjoyed this tutorial.
[sociallocker id=”1411″][download-attachments][/sociallocker]