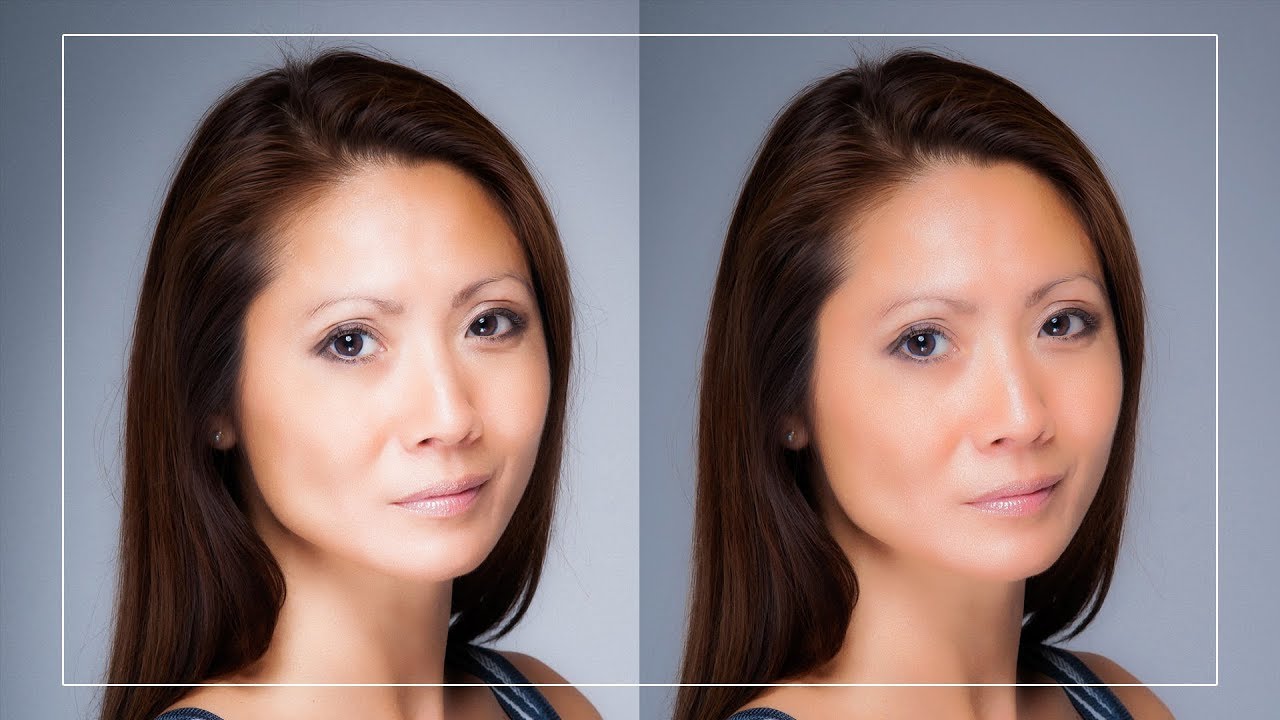
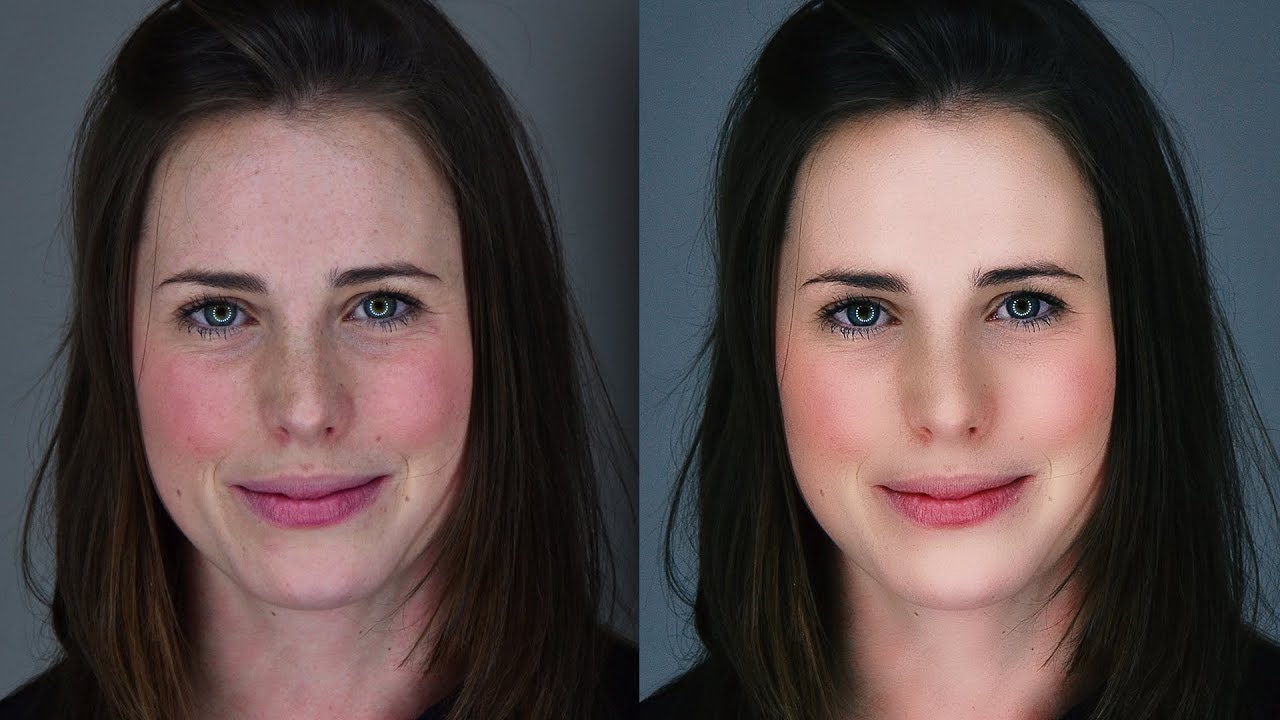
How to Create Porcelain White Skin Effect in Photoshop

In this photoshop photo retouching tutorial, learn how to create porcelain white skin effect in photoshop.
Porcelain White Skin Effect Tutorial :
CLICK HERE TO WATCH TUTORIAL
1
00:00:20
Open up image.
2
00:00:26
First make a skin selection using color range.
3
00:00:53
Save the selection as “skin”.
4
00:01:07
Deselect the selection.
5
00:01:13
Now drop the colors with vibrance.
6
00:01:43
Now brighten skin tones with levels.
7
00:02:24
Reduce opacity by 25%.
8
00:02:30
Now add white skin tone with solid fill layer.
9
00:02:42
Change layer blending to soft light and reduce opacity to 50%.
10
00:02:59
Group all layer.
11
00:03:25
Now load the skin selection.
12
00:03:39
Then add layer mask to the group.
13
00:03:46
Hold ALT/OPT key and click on mask to view it.
14
00:04:00
We need to make the edges of the mask soft and smooth.
15
00:04:11
Apply gaussian blur to the mask.
16
00:04:38
we need to avoid the effect on eyes, lips and hair.
17
00:04:47
Select a soft round brush and paint with black (use overlay mode).
18
00:06:06
That’s it. We’re Done.


[sociallocker id=”1411″][download-attachments][/sociallocker]