How to Create Realistic Falling Snow to a Photo in Photoshop

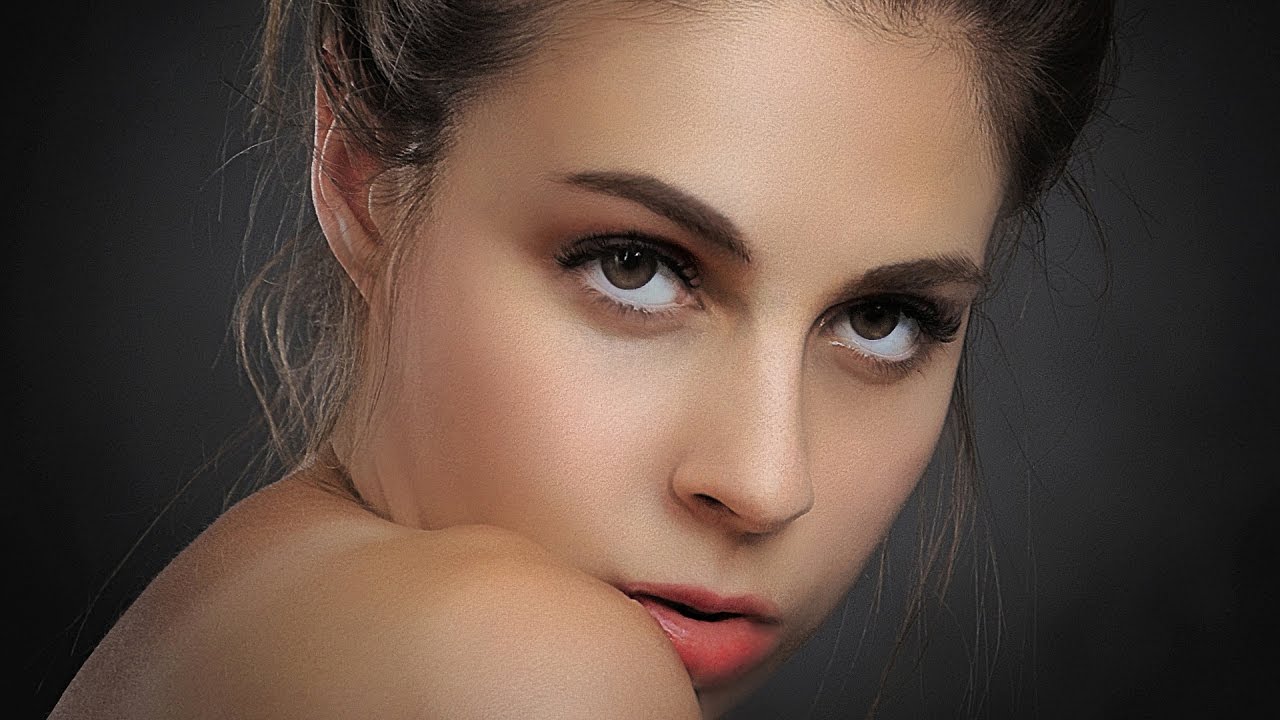
In this Photoshop effects tutorial, we’ll learn how to create Realistic Falling Snow or snow flake brush and how to use. Using Photoshop, making a custom brush that will randomize snowflakes in different manners, such as shape, size, opacity, angle and placement can take a winter themed image to the next level. Before starting, it is extremely important to pick a photo, that will seamlessly and most obviously fit with a winter theme.
I am using Photoshop cc 2017. However, this should work in most versions of Photo shop.
lets start creating custom brush for snow
Realistic Falling Snow Effect Tutorial :
add a new blank layer
select brush tool and choose a brush from the panel.
To view the loaded presets, click Brush Presets in the upper left of the panel.
click on Brushes panel toggle icon, in the Options Bar at the top of the screen
By default, the Brushes panel opens to the Brush Presets options.
select BRUSH TIP SHAPE
SIZE slider is the general actual size of the brush.
starting of at 100 pixels, but depending on the resolution of the image, the size of the brush will have to be adjusted.
The lower the resolution the smaller the brush, and a larger brush should be used for larger images.
The roundness setting will affect the shape of the snowflakes. To look most natural, the flake should be more oval than circular.
I find that setting the roundness to somewhere between 50%-70% works.
In general, setting the hardness to 15%, when placing snow around the subject works great.
However, when placing flakes on the subject, such as on the hair, the hardness should be harsher, around 75%.
spacing setting will control, how close & how packed the snowflakes will be in relation to each other. Spacing the flakes at 400% gives it a natural look.
now go to SHAPE DYNAMICS option
Snowflakes in reality are unique, and image should reflect that. SIZE JITTER setting when set to 100% will randomize the size of the flakes.
keep MINIMUM DIAMETER 25%
Snow doesn’t fall from the sky in a straight line, each flake flutters and makes its way down taking a unique path.
The angle jitter setting will randomize the angle of your brush, mirroring the path, snowflakes take on their way down.
keep roundness jitter 100%
and minimum roundness at 25%
move on to SCATTERING option
Make sure to check BOTH AXES box.
The scatter setting will scatter the cluster of flakes, so they don’t appear to be falling in a straight line.
Usually, 1000% does the job, however if you find that the clusters are too scattered, bringing down this setting can prove to be helpful.
According to the number set on count control, the amount of flakes that appear per click and drag will vary.
Leaving it the lower number, will give you better control of snowflake placement
On average, setting the count anywhere from 1 to 8 is great.
keep count jitter 100%
goto transfer option.
The opacity of each flake must be unique, so that the image will look more realistic. These settings will randomize the opacity.
Both opacity and flow jitter should be set to 100%
Make sure that all controls are set to “off.”
Smoothing helps reduce sharp angles as you drag your mouse or stylus.
now start painting with custom brush on the image
To save you the time, save the custom brush and name it
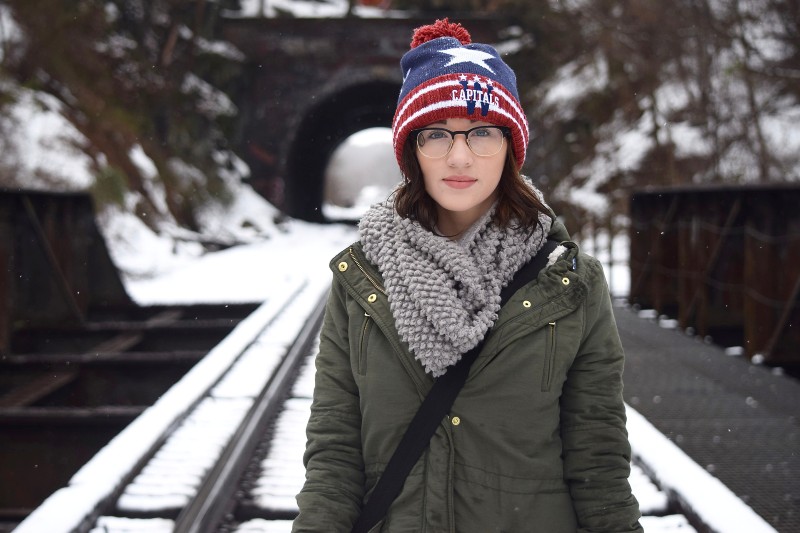
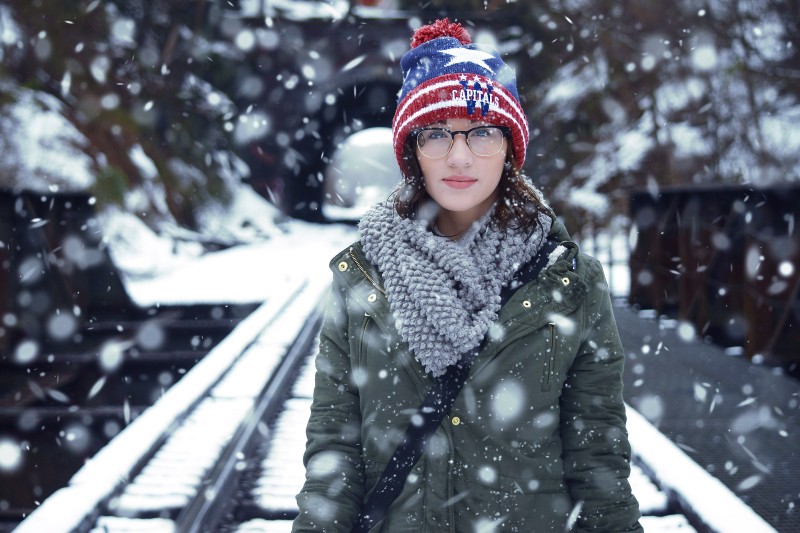
if it were really snowing, the person would have some collection of snowflakes in hair.
lets add another blank layer, to add snow on her hair and dress
When considering the placement of snow in a person’s hair, turn down all settings a few notches, so the flakes are not as random.
The actual placement needs to be extremely controlled, because the flakes must be positioned in spots, where snowflakes would actually rest.
add another blank layer, but this time we add medium size snow flakes
The upside of creating a custom brush is, that the brush lends itself to fine tuning according to your exact needs.
Each setting will affect the brush in different ways.
simply paint on gaps to fill with extra snow flakes which has different sizes and shapes.
if you want lighter snow, then hide the snow on background layer, which contains snow flakes that gives effect which are nearer to camera
finally add crisp winter color lookup to photo
change blending to color
And we are done! here is before and after results
To save you the time, I uploaded 3 custom snow brushes from this tutorial to my official website. You can download it for free
I hope that you enjoyed this tutorial
[sociallocker id=”1411″][download-attachments][/sociallocker]