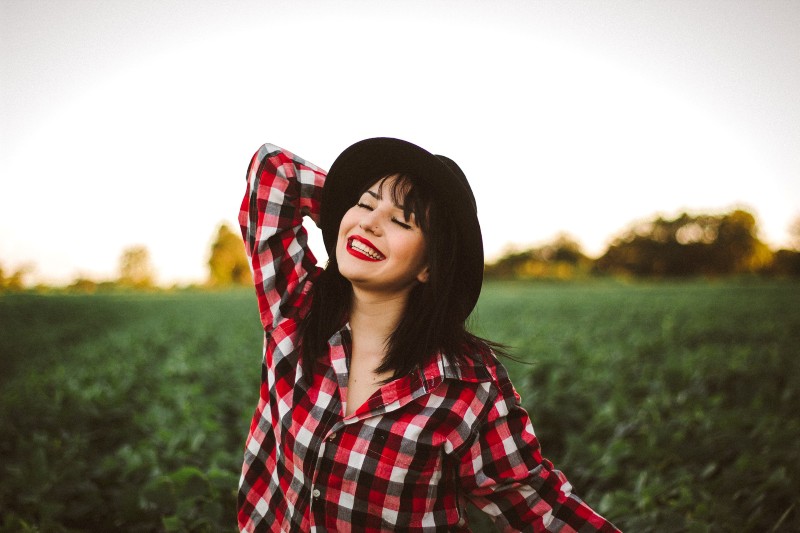
How to Create Vintage Classic Black and White Photos in Photoshop

In this photoshop photo effects tutorial, learn how to add vintage classic black and white look to your photos in photoshop.
Vintage Classic Black and White Effect Tutorial :
CLICK HERE TO WATCH TUTORIAL
1
00:00:13
How to create vintage classic black & white effect in photoshop.
2
00:00:21
First convert photo into black and white with gradient map adjustment.
3
00:00:39
Now make tonal adjustments using levels.
4
00:01:07
Darken the image little bit.
5
00:01:20
Add b&W gradient map and change blending to multiply.
6
00:01:28
Lower the opacity to your preference.
7
00:01:38
Now lighten the image little bit.
8
00:01:50
Add b&W gradient map and change blending to screen.
9
00:01:58
Lower the opacity to your preference.
10
00:02:10
Now add soft contrast.
11
00:02:22
Add b&W gradient map and change blending to overlay.
12
00:02:30
Lower the opacity to your preference.
13
00:02:41
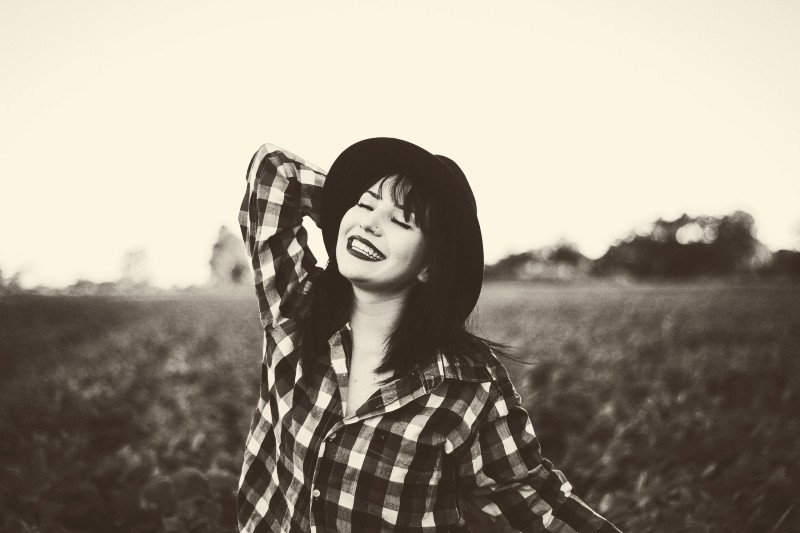
Now apply rich gradient to the image, it gives classic look.
14
00:02:51
Change shadow color stop to SADDLEBROWN color (#3E2E23).
15
00:03:12
Change highlight color stop to CORNSILK color (#FDF3D3).
16
00:03:29
Change blending to multiply and lower the opacity to 25%.
17
00:03:46
Now color tone the image with CREAM color (#F4E5C3).
18
00:04:08
Change blending to multiply and lower the opacity to 35%.
19
00:04:23
Finally add haze to image with CHOCOLATE color (#C88F68).
20
00:04:45
Change blending to screen and lower the opacity to 20%.
21
00:05:15
Download PSD and replace image with yours.
22
00:05:25
Select all adjustments and drag on to new photo.
23
00:05:37
Each and every layer has its name.
24
00:05:41
Adjust layer opacity to get desired look.
25
00:06:21
That’s it.
[sociallocker id=”1411″][download-attachments][/sociallocker]
![Nikon DSLR Movie Special Effects Built-in [Test Sample]](https://photoshopdesire.com/wp-content/uploads/2016/01/Nikon-DSLR-Movie-Special-Effects-Built-in-Test-Sample.jpg)