How to Edit Photos like Brandon Woelfel in Photoshop Lightroom

In this photoshop photo editing tutorial, learn how to edit or change your photos like Brandon Woelfel color grading in photoshop & Lightroom.
Edit Like Brandon Woelfel Tutorial :
CLICK HERE TO WATCH TUTORIAL
1) How to change your photos like Brandon Woelfel in Photoshop & Lightroom.
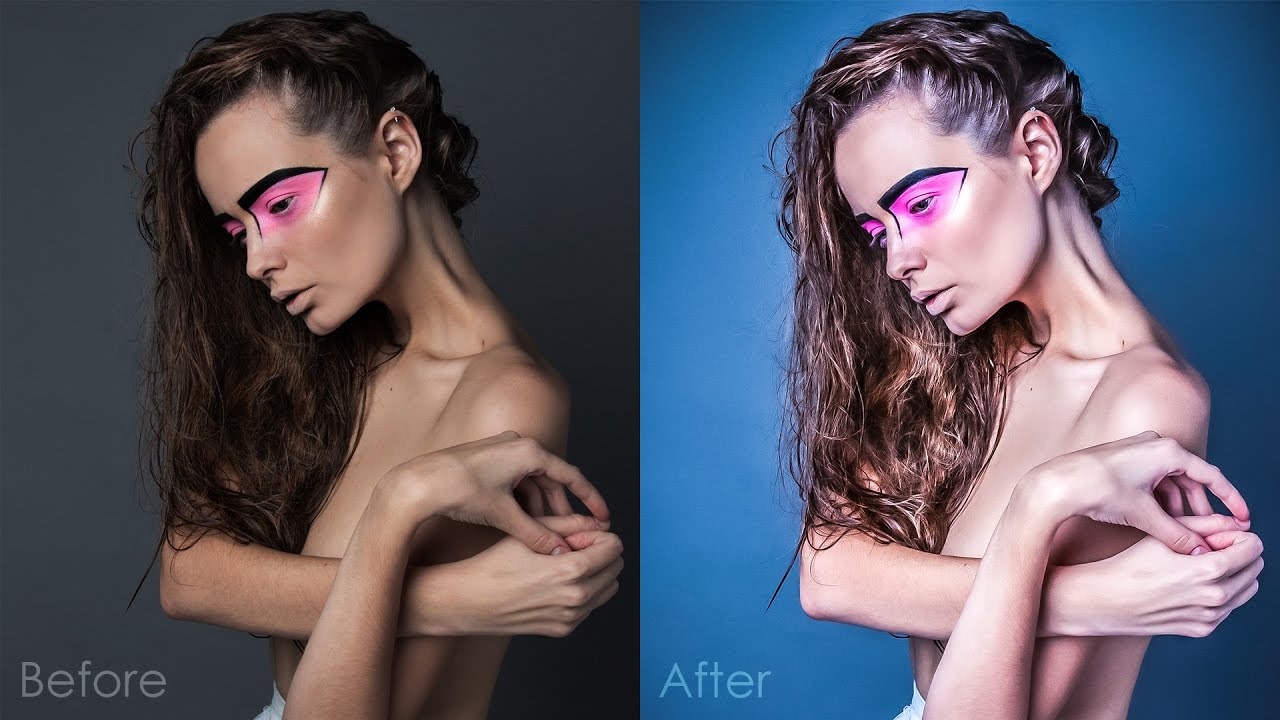
2) If you observe brandon woelfel photos on his instagram page, most of the photos contains teal and pink colors.
3) Probably the most requested tutorial I’ve ever gotten to my inbox.
Photoshop Tutorial
4) First let’s see how to achieve this effect in photoshop.
5) Duplicate background layer and convert to smart object.
6) Then go to filter tab – open image in camera raw.
7) Open camera calibration panel.
8) The calibration panel controls provides a machanism for fine-tuning the color adjustments to your liking.
9) Change hue of blue primary to -100 to add teal color.
10) Change hue of green primary to -100 to add yellow color.
11) Change hue of red primary to -100 to add pink color.
12) Now skin-tones looks over saturated, lower the saturation of red primary to your preference.
13) Now go to basic panel.
14) Drag the temperature slider to the left to add a blue tint to the image (to cool it down).
15) In this case -35 looks good.
16) Finally add film faded look using tone curve.
17) Go to tone curve, Move the left most point slightly up and to the right.
18) Click OK when you’re done.
19) Save these settings as a preset, and then apply the preset to any photos.
20) Let’s test the preset.
21) With just one click we can add effect to photos easily and quickly.
Lightroom Tutorial
22) Now let’s see how to achieve same effect in lightroom.
23) Once the photo have been imported, click on “Develop” tab.
24) Open camera calibration panel and change hues of red, green and blue like we did in adobe camera raw.
25) To minimize the strong reds, lower the saturation to your preference.
26) Reduce the color temperature, to make the picture more blue.
27) Select tone curve and give a fade film look.
28) Select point curve and edit it as follows.
29) That’s it.
30) Save your settings as preset.


[sociallocker id=”1411″][download-attachments][/sociallocker]