Fashion Matte Faded Look with HDR Effect in Photoshop

In this photoshop photo effects tutorial, learn how to create professional fashion HDR effect with matte faded look in photoshop.
Matte Faded HDR Portrait Effect Tutorial :
CLICK HERE TO WATCH TUTORIAL
1
00:00:13
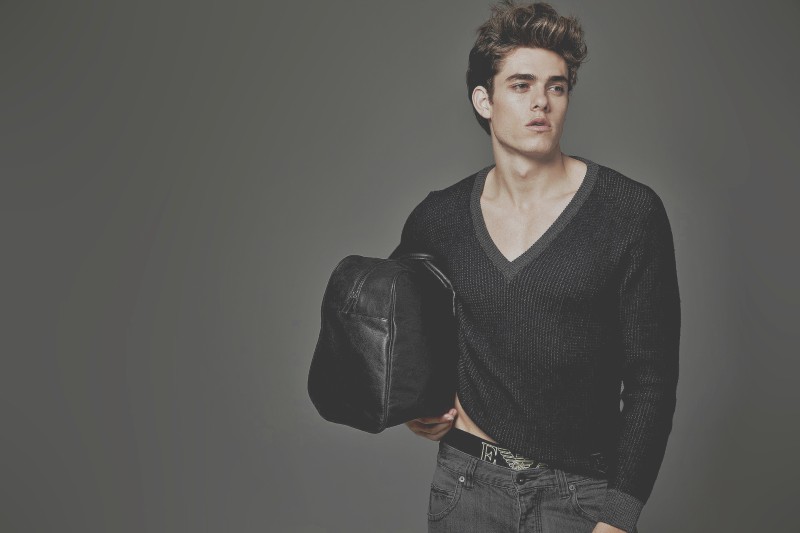
Fashionable matte HDR effect in photoshop.
2
00:00:22
First let’s make highlights and shadows even.
3
00:00:31
Go to channels and copy blue channel.
4
00:00:46
Paste it in layers.
5
00:00:52
Now invert the layer CTRL + I.
6
00:01:01
Change blending mode to soft light.
7
00:01:28
Now create a new layer from all the visible layers by pressing Ctrl + Shift + Alt + E.
8
00:01:36
Create stamp copy 3 times.
9
00:01:47
Now add dynamic range to the layer 1.
10
00:01:58
Desaturate the layer and invert it.
11
00:02:21
now apply gaussian blur with 40px radius.
12
00:02:38
Change blending mode to overlay and lower the opacity to 50%.
13
00:02:57
Now select layer 2 and add linear light.
14
00:03:14
Change blending mode to linear light and lower the opacity to 13%.
15
00:03:36
Now select layer 3 and sharpen the layer.
16
00:03:49
Apply high pass filter to the layer with radius of 0.5px.
17
00:04:05
Change blending mode to linear light.
18
00:04:29
Now reduce overall colors.
19
00:04:40
Select photo filter and choose dark blue color.
20
00:05:05
Increase color density – 70%
21
00:05:19
Lower the opacity of the layer to 30%
22
00:05:31
Now add contrast of value 20
23
00:05:55
Finally add matte look with solid color adjustment
24
00:06:09
Change blending mode of solid color layer to exclusion
25
00:06:24
Now change color to gray (#585858) and reduce opacity to 60%
26
00:06:48
That’s it. We’re done.
[sociallocker id=”1411″][download-attachments][/sociallocker]