High-End Skin Softening Using Frequency Separation in Photoshop

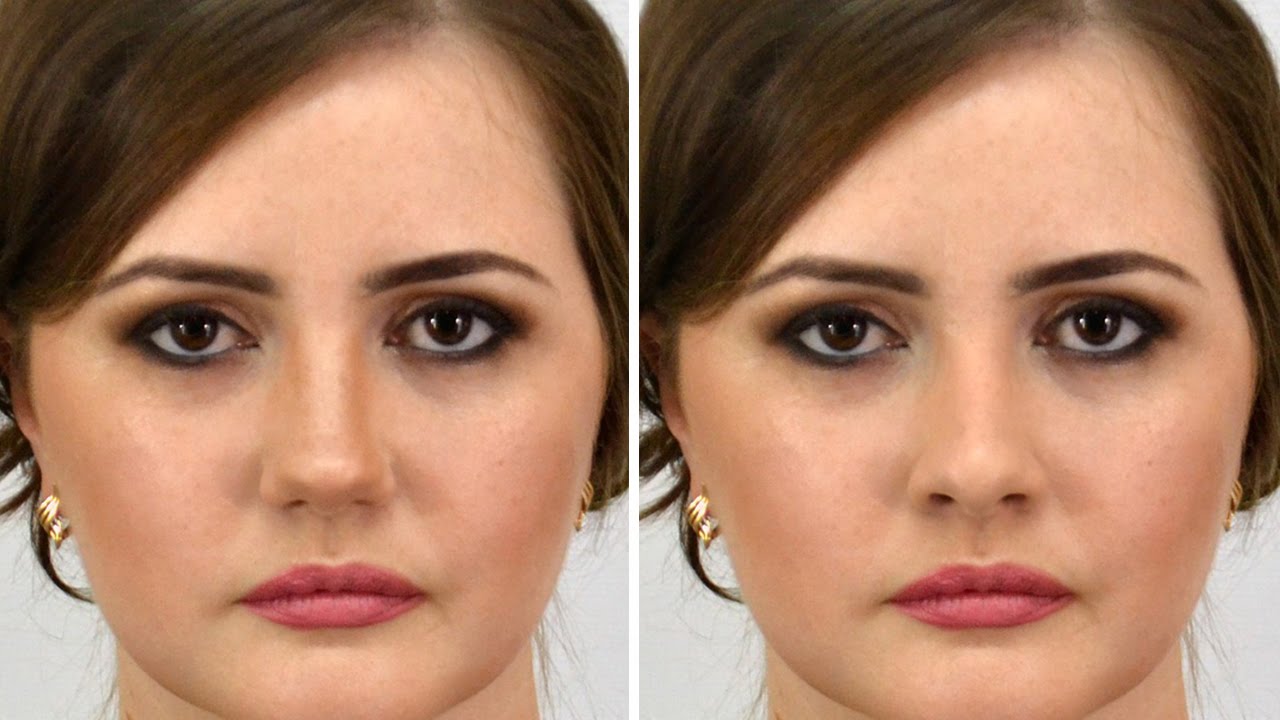
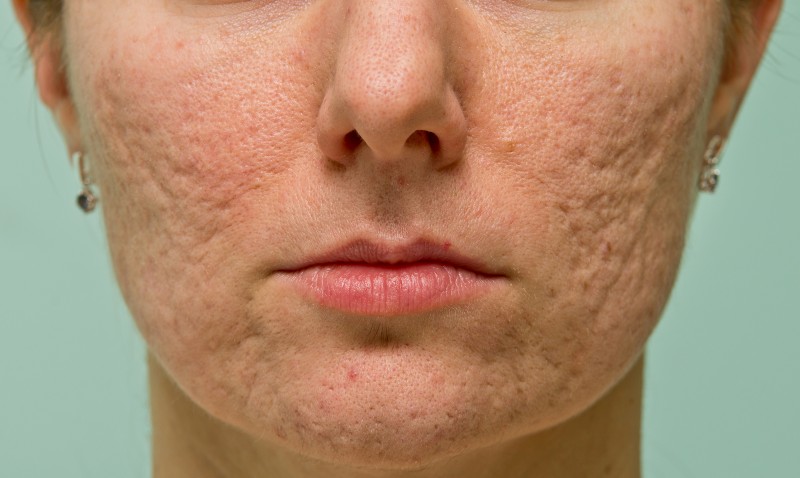
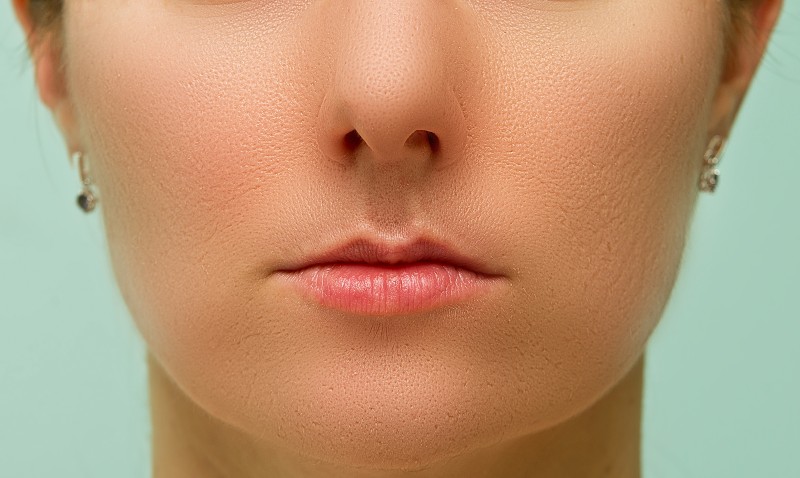
In this photoshop photo retouching tutorial, learn how to soften skin using frequency separation technique in photoshop. Remove imperfections, Perserve Skin texture and pores easily and quickly. Remove blemishes, wrinkles, acne. Soften the skin with natural look.
Skin Softening Using Frequency Separation Photoshop Tutorial :
CLICK HERE TO WATCH TUTORIAL
1
00:00:13
The ultimate guide to High-End Skin Softening in photoshop.
2
00:00:20
Let’s remove imperfections and Perserve Skin texture pores using Frequency Separation technique.
3
00:00:30
Duplicate your Background layer.
4
00:00:36
Name the layer “Low Frequency Color”.
5
00:00:49
With the Low Frequency layer selected, apply the Gaussian Blur filter.
6
00:00:56
choose Pixel Radius with which all the fine details will be blurred.
7
00:01:06
Again duplicate your Background layer.
8
00:01:13
Name the layer “High Frequency Details”.
9
00:01:25
Now select the High Frequency layer and go Image – Apply Image.
11
00:01:40
In the Layer dialog you will need to select the layer that contains your Low Frequency (blurred) image.
12
00:01:47
Change blending mode to Subtract, set the ‘Scale’ to 2 and the ‘Offset’ to 128.
13
00:02:01
Now change the Blending Mode of the High Frequency Details to Linear Light.
14
00:02:12
Now select Low Frequency and convert to smart object.
15
00:02:25
Go to filter – blur – apply gaussian blur.
16
00:02:32
Choose your desired amount of blur based on how blended you want to make your subject’s skin.
17
00:02:44
Select the smart filter mask and invert it (CTRL+I).
18
00:02:58
Now take soft white brush and paint on skin.
19
00:03:57
Duplicate original background layer again for final time.
20
00:04:04
Name the layer “Skin Texture”.
21
00:04:15
Desaturate the layer (Shift+Ctrl+U).
22
00:04:23
Convert the layer to smart object.
23
00:04:32
apply the High Pass filter to it (Filter – Other – High Pass).
24
00:04:39
At 2px Radius we get the right amount of fine details, so this will be the number we select. Click OK.
25
00:04:52
Change blending mode to Linear Light.
26
00:05:00
Lower the Opacity to your preference.
27
00:05:05
Add inverted layer mask, Hold ALT or Option key and click on mask icon.
28
00:05:13
Now take white soft brush and paint on whole face to increase skin texture details.
29
00:05:35
Select High Frequency layer and experiment with blending modes.
30
00:05:44
In this case, vivid light works best.
31
00:06:00
Paint on areas that you want to add the effect or mask out.
32
00:06:29
Finally add contrast and brightness little bit.
33
00:06:45
That’s it.
[sociallocker id=”1411″][download-attachments][/sociallocker]