How to Quickly Add a Rainbow to Your Photo in Photoshop

In this Photoshop Effects tutorial, we’ll learn how to easily add a rainbow to a photo!
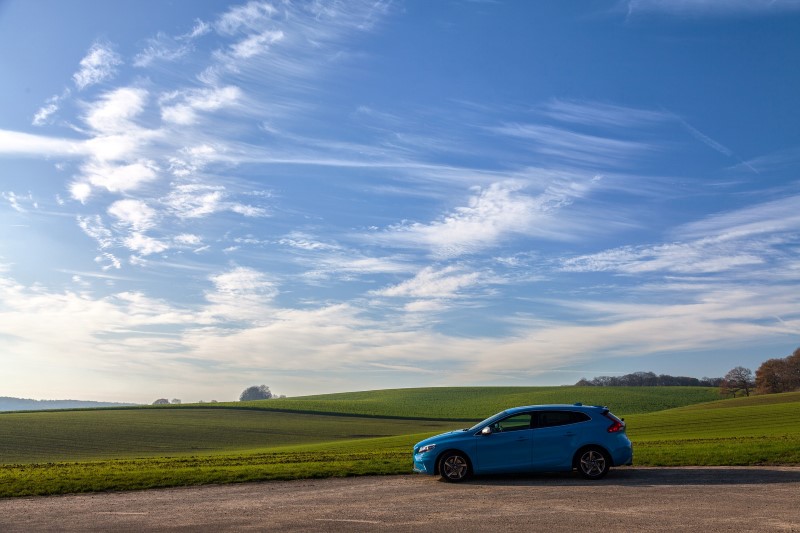
Here’s the photo I’ll be starting with. The first thing we need to do is add a new blank layer above the Background layer. Double-click directly on the name of the layer and change it to “Rainbow”, select Gradient Tool from the Tools panel.
click on the Gradient Picker in the Options Bar at the top of the screen.
Click on the small settings icon in the top & Select the “Special Effects” gradients.
Click “Append” to add the new “Special Effects” gradients in with the original gradients.
Click on the “Russell’s Rainbow” thumbnail to select the gradient.
Select “Radial Gradient” from the Options Bar.
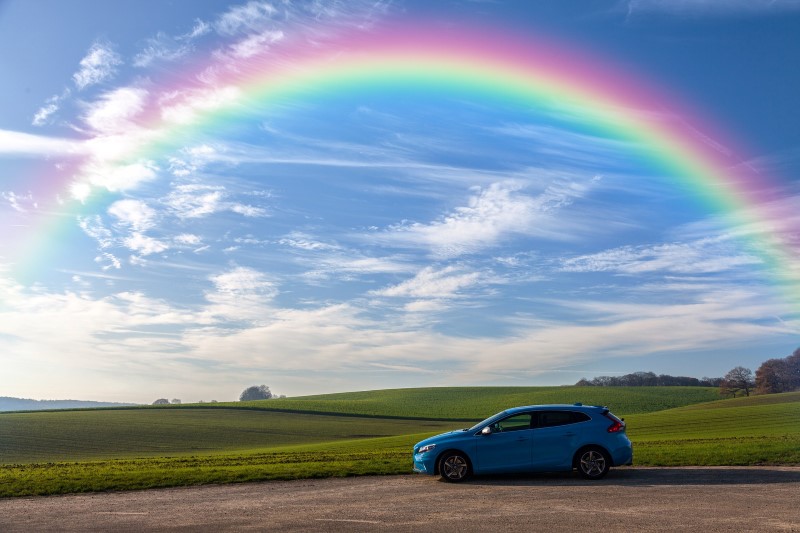
Dragging out a radial rainbow gradient from bottom to top in the image.
Photoshop draws the gradient when you release your mouse button.
Add a layer mask to rainbow layer.
Choose The Black To White Gradient.
Choose “Linear Gradient” From The Options Bar.
Drag A Black To White Gradient On The Layer Mask.
Now change the blend mode of the rainbow layer to Screen.
Let’s blur the colors of the rainbow together so it looks more realistic.
Go up to the Filter menu, choose Blur, then choose Gaussian Blur.
Drag the Radius slider to soften the color transitions in the rainbow.
in just case If u want more brightness & color just duplicate the Rainbow Layer .
since I don’t want the rainbow to appear as bright for this photo so i will delete it.
here is before and after results
[sociallocker id=”1411″][download-attachments][/sociallocker]