How to Convert Photo into Detailed Color Art in Photoshop

In this tutorial, we’ll learn to convert a photo into a Color Art sketch, one that’s usually bringing out fine details from image.
Let’s begin by making a copy of our original image.
Go up to the Image menu, choose Adjustments, and then choose Desaturate shift+ctrl+U keyboard shortcut. Name Layer to COLOR.
Next, we need to make a copy of our desaturated layer.
Invert The Layer. To invert the layer, go to the Image menu, choose Adjustments, and this time, choose Invert CTRL + I. Name Layer to ART
we use this inverted layer to make a sketch and desaturated layer to colorize image.
Change the color layer blend mode to “Darker Color/Darken” & art layer blend to “Color Dodge”.
go to Filter menu, choose Other, and then choose Minimum.
This opens the Minimum filter dialog box. The Minimum filter shrinks the size of white areas by expanding and spreading out the black areas.
for the best results with sketch effect, ideally you’ll want to set to small pixel.
Click OK to close the dialog box.
Now goto color layer and adjust the opacity slider to get color.
To darken up the sketch, we’ll use a Levels adjustment layer.
Click on Adjustment Layer icon at the bottom of the Layers panel & Choose Levels.
here is final outcome
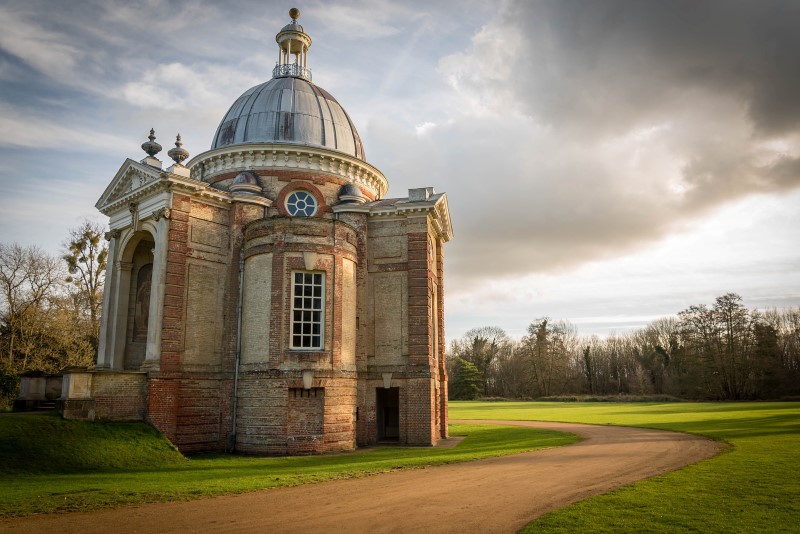
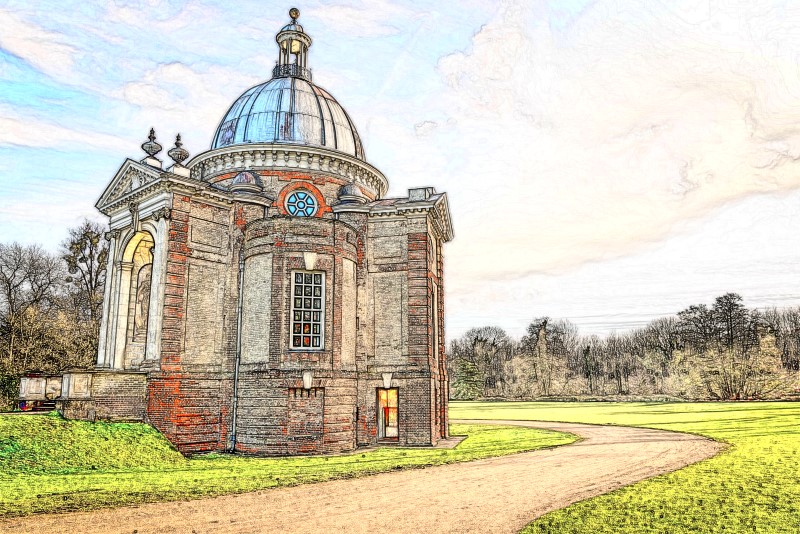
if u want thinnest lines in the sketch simple click minimum filter and reduce radius. This method works very well for architectures, buildings, landscapes and monuments photography
[sociallocker id=”1411″][download-attachments][/sociallocker]