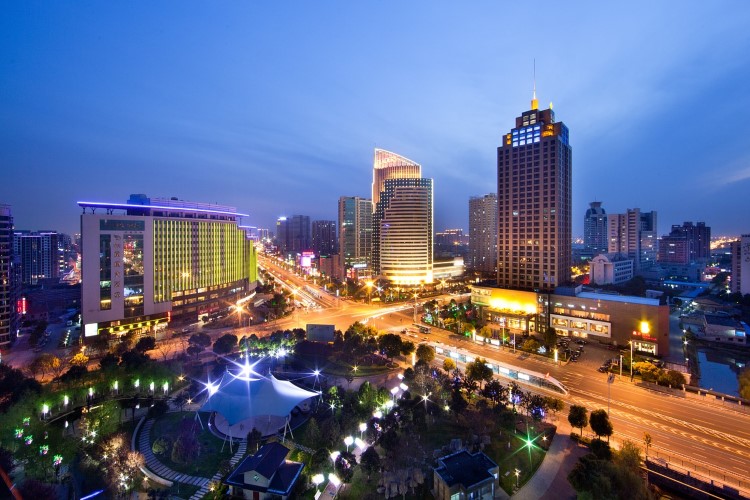
How to create Bokeh Lighting Background in Photoshop Tutorial

[sociallocker id=1411]in this tutorial i will show you how to create a bokeh background like very expensive camera lens.
You can place this blur backgrounds behind any of the cutout portraits or stock photography.
1) First open image background layer.
2) Duplicate layer and convert to smart object.
3) Goto filters tab and select tilt – shift from blur gallery.
4) drag ruler guides to bottom of the panel.
5) Now adjust blur amount depands on size of your background..
6) Similarly adjust light bokeh and light range..
7) choosing right light range is key in light bokeh.
8) Once you are happy with bokeh, click OK..
9) Light bokeh layer is smart object so we can change adjustments any time.
10) Here is final before and after results.