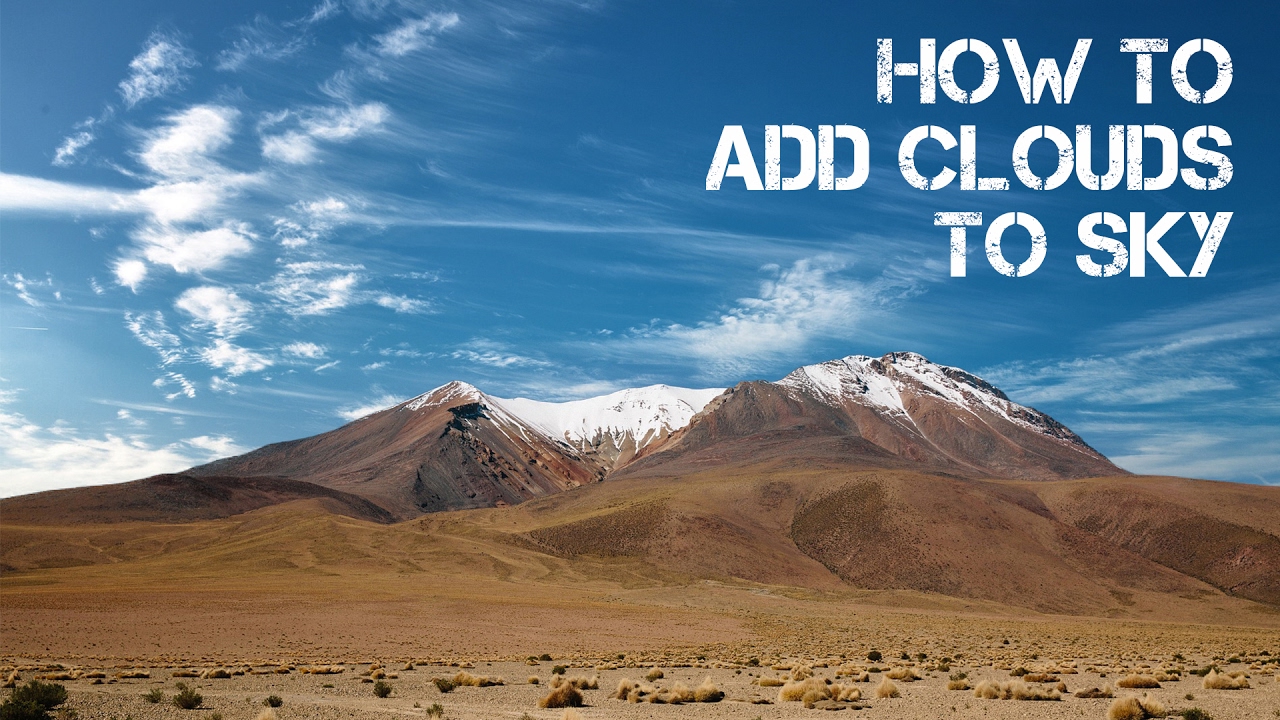
Creating Cinemagraph with Moving Clouds in Photoshop Tutorial

I’m going use these 2 photographs to create cinemagraph. [check images at bottom of this post]
Step:1)
first mask the sky and replace with another image sky. i’m using color range method to mask the sky.
Now masking sky in first image is done.
Step:2)
create new document of 1080p HD for cinemagraph video. place first image with mask in new document.
now bring the second panaroma image. keep second image behind the first image (layer 1)
Step:3)
Now open video timeline from window tab menu. Click on create video timeline. we got all layers appear in timeline.
My idea is to move the clouds from left to right.
Step:4)
select clouds layer in timeline. and add keyframes for position. i will add one key frame at first.
and move the clouds image to end with cursor. once it reach end add key frame at end for position movement.
now click play icon to check the preview. for continuous loop like .gif animations select loop playback in timetime menu.
once you are satisfied with result render video from menu.
select export video output option and save video.
if u want to do .gif animation use save to web option in menu and change output size also. Thats it !!
You can download PSD file below
[sociallocker id=”1411″][download-attachments][/sociallocker]