How to Create Double Exposure Effect Tutorial in Photoshop

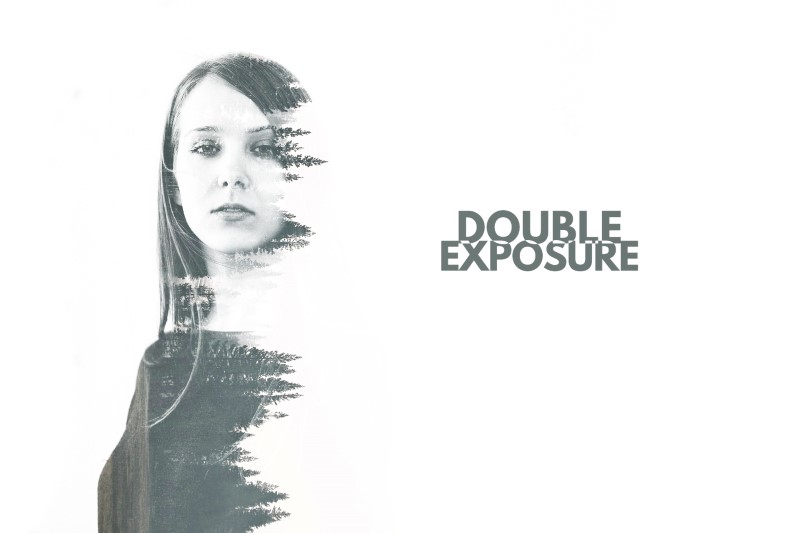
Step by step post processing manipulation technique for Double exposure. Multiple exposure without cutout images or masking in Photoshop can help to create the effect with creative and beautiful way. Double Exposure, or Multiple Exposure, is a photography technique that combines 2 different images into a single image.
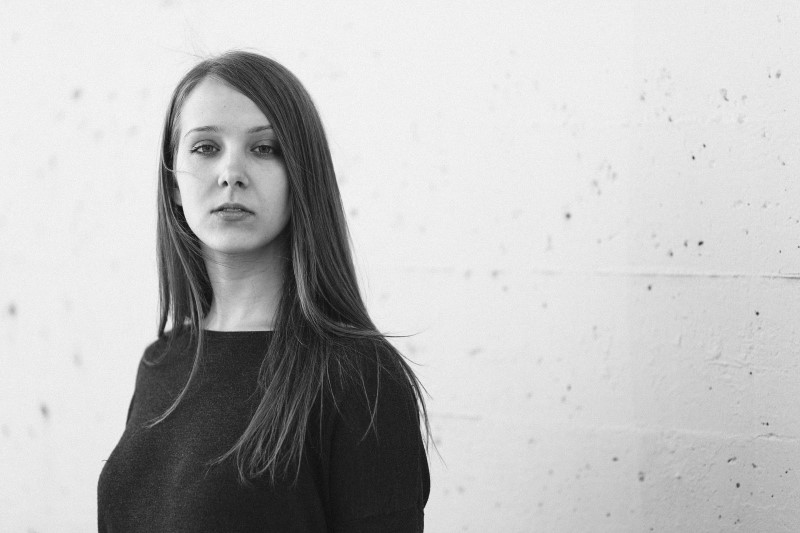
First open two image, one for background and another for foreground.
Duplicate background layer.
adjust brightness and contrast to make white and blacks popup more.
I want to make the grey wall to pure white. Now i want to make fade look with curves.
Now group all layers. This group is for background.
Now let’s make adjust for foreground image.
same like first step adjust brightness and contrast.
you can clearly see i want sky to be white in video.
image looks more brighter so i want to add little details in shadows with curves.
now group all for foreground. change blending foreground group to screen.
i want to scale & flip the image. i want to clean the background and delete the dark spots.
add mask and brush with black. goto foreground image layer and use blend if option to blend image with background.
Hold “Alt” & drag. Adjust blacks slider to right.
i want to add text “DOUBLE EXPOSURE”. Here BEFORE & AFTER results.
[sociallocker id=”1411″][download-attachments][/sociallocker]