How to Create Dynamic HDR Photos in Photoshop with ACR Filter

Dynamic HDR Photoshop Tutorial: How to Create Dynamic HDR Photos in Photoshop with Camera Raw Filter
In this episode i will show you Easy photoshop manipulation to create a HDR photo without the actual (time-taking) HDR process.
First duplicate original background layer & convert layer into smart object.
Any filter applied to a Smart Object is a Smart Filter. Smart Filters appear in the Layers panel below the Smart Object layer to which they are applied.
It means that you can make an edit using the filter and come back anytime to revisit and change those edits, if desired.
Then go to Filter tab > select camera raw filter. The image opens in a full size editing window.
Now you can make your adjustments to the image using any of the tools in Adobe Camera Raw.
The useful adjustments you can make include adjusting Highlights, Shadows, Whites and Blacks and Clarity – settings which are easy to access in ACR.
The Camera Raw filter offers some real benefits to Photoshop users. One is that you can use the filter to sharpen an image and take advantage of the Masking slider when sharpening in ACR.
This lets you limit the areas of the image which are sharpened to just the edges in the image and not areas of flat color.
Once you have made your changes click Ok to apply the changes to the image and return to Photoshop.
You can also alter the Camera Raw Filter settings at any time by double clicking on the Camera Raw Filter entry in the layers palette.
This reopens the layer in ACR so you can make changes to the settings.
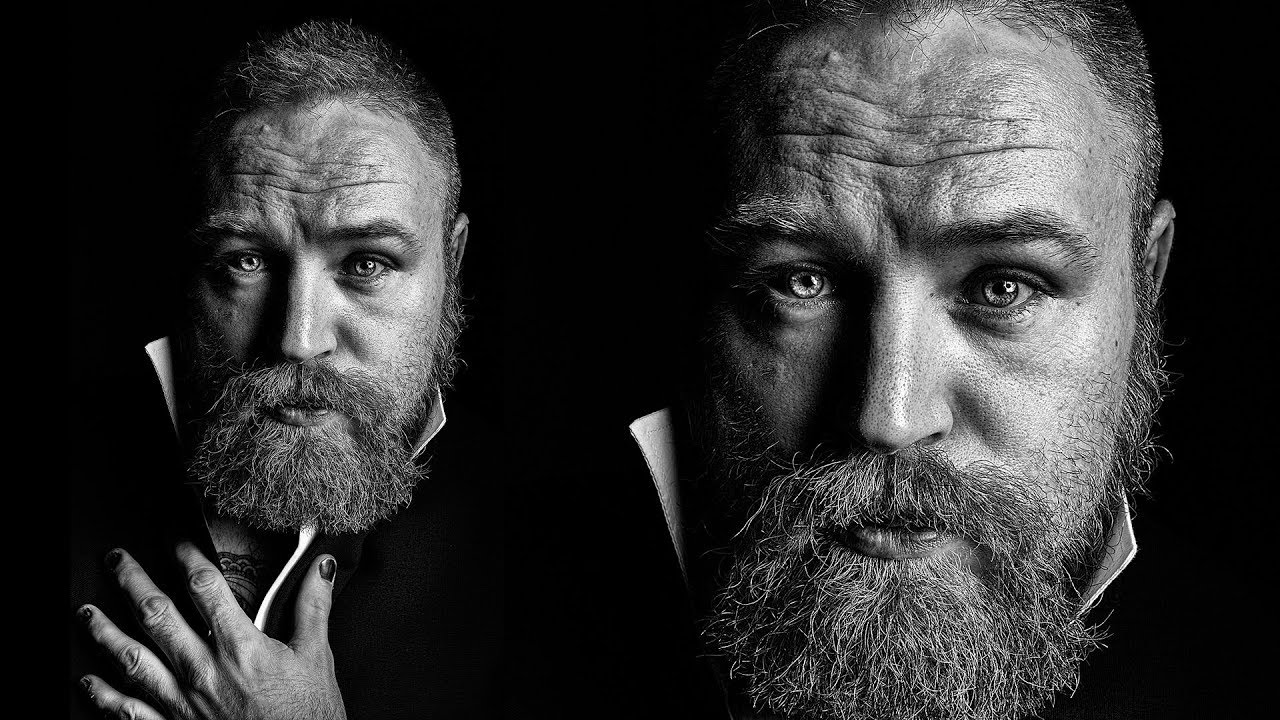
Here is Before & After results
And there we have our Dynamic HDR photograph created using simple adjustments with camera raw filter.


[sociallocker id=”1411″][download-attachments][/sociallocker]