Create Splash Color Effect with Replacement Tool in photoshop

In this photo Splash Color Effect tutorial, i’ll show all about the Color Replacement Tool and how it helps us to converting the overall photo to black and white while leaving color of an particular object or subject in full color. Many people try using adjustment layers like Fine-Tuning Hue & Saturation, adding black & white layer and then mask the unwanted areas using brush tool, you have all the skills you need to achieve this effect. but in here i show u method to get the effect without any selection tools at all! that’s right you don’t need any skills to get this effect.
first duplicate background layer.
select Color Replacement Tool nested under the Brush in the Tools palette.
if u learn mastering this tool its a very powerful to change colors without a lot of fuss and hassle.
With the Color Replacement Tool selected, your mouse cursor will change into a circle with a small target symbol in the center of it
Color is the default blend mode and will change both the hue and saturation. The brightness will remain unchanged. This is the blend mode i’ll use most often.
Each of sampling icons represents a different sampling option work exactly same as Background Eraser tool. and From left to right, we have Continuous, Once and Background Swatch.
The default setting for the Limits option is Contiguous, which means that can only change the color of pixels in the area the target symbol in the center of the cursor is touching.
The opposite of this is Discontiguous, which allows to replace the color of any pixels that match the sampled color and fall within the boundaries of the cursor,
now select foreground color to replace color. To change the Foreground color, simply click directly on the color swatch, then choose a new color from the Color Picker.
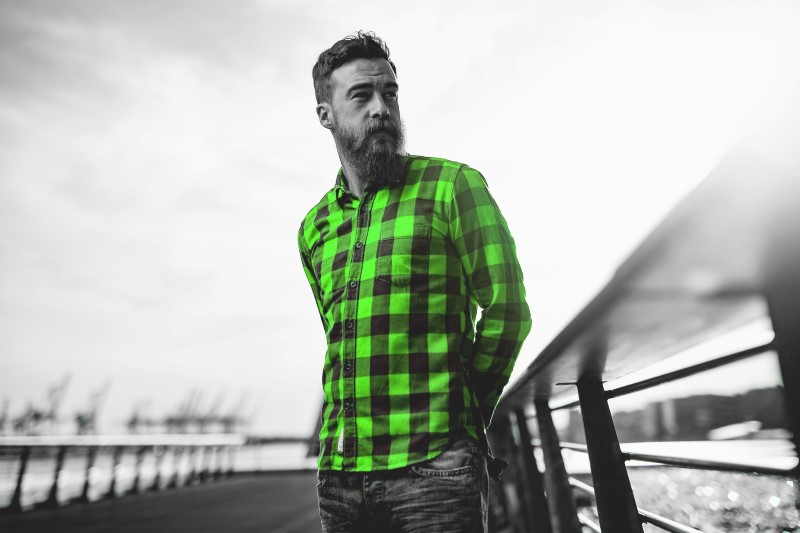
I’ll choose a black color for color splash effect.
As you drag the cursor over your image, Photoshop continuously samples the color that’s directly under the target symbol in the center of the tool’s cursor.
Photoshop continuously samples the color that’s directly under the target symbol in the center of the tool’s cursor. the color that will be replaced, and it will be replaced with your current Foreground color.
you can see that effect applied with in the circle surrounding where center point of the cursor touching.
To change the rest of photo to desaturate, I just need to keep my mouse button held down and continue dragging the Color Replacement Tool over the remaining areas.
Press the left bracket key ( [ ) to make the circle smaller or the right bracket key ( ] ) to make it larger.
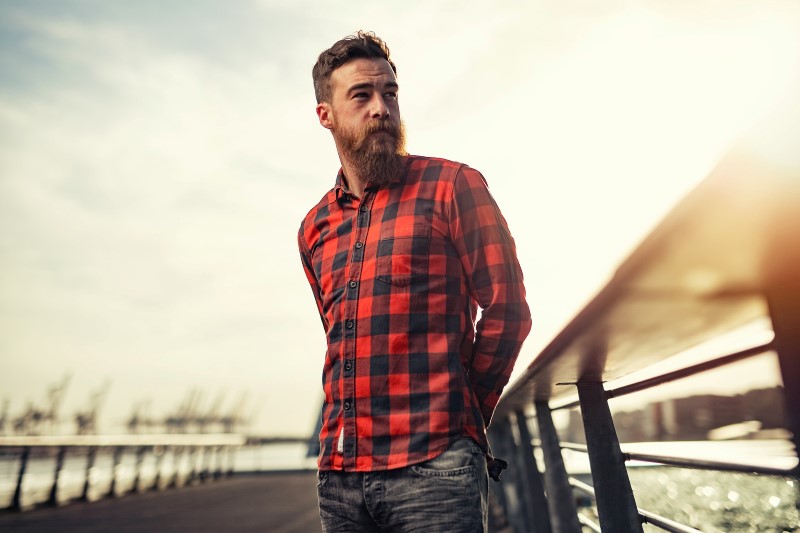
now face is key here it contains colors which is similar to his shirt color to color the tricky beard hair, choose Once sampling point option.
With Once selected, Photoshop will only sample the color you initially click on regardless of how many other colors you drag over as long as you keep your mouse button held down.
This option works best for coloring hair and other fine edges. you can see desaturate effect added to only hair not on his shirt
The Tolerance setting determines how different a color can be from the sampled color for Photoshop to replace it with the Foreground color.
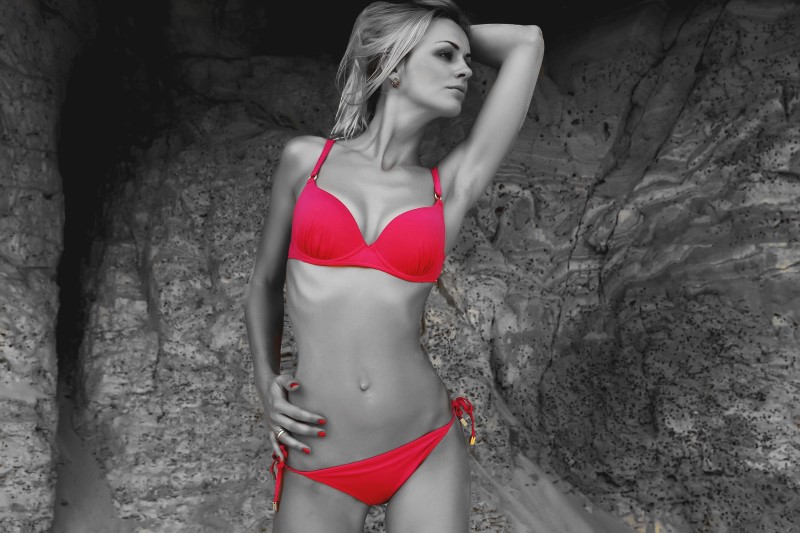
let’s make photo to matte look with simple curve adjustment
now with hue/saturation we can change colors also. or u can use color replacement tool again to add different color to his shirt.
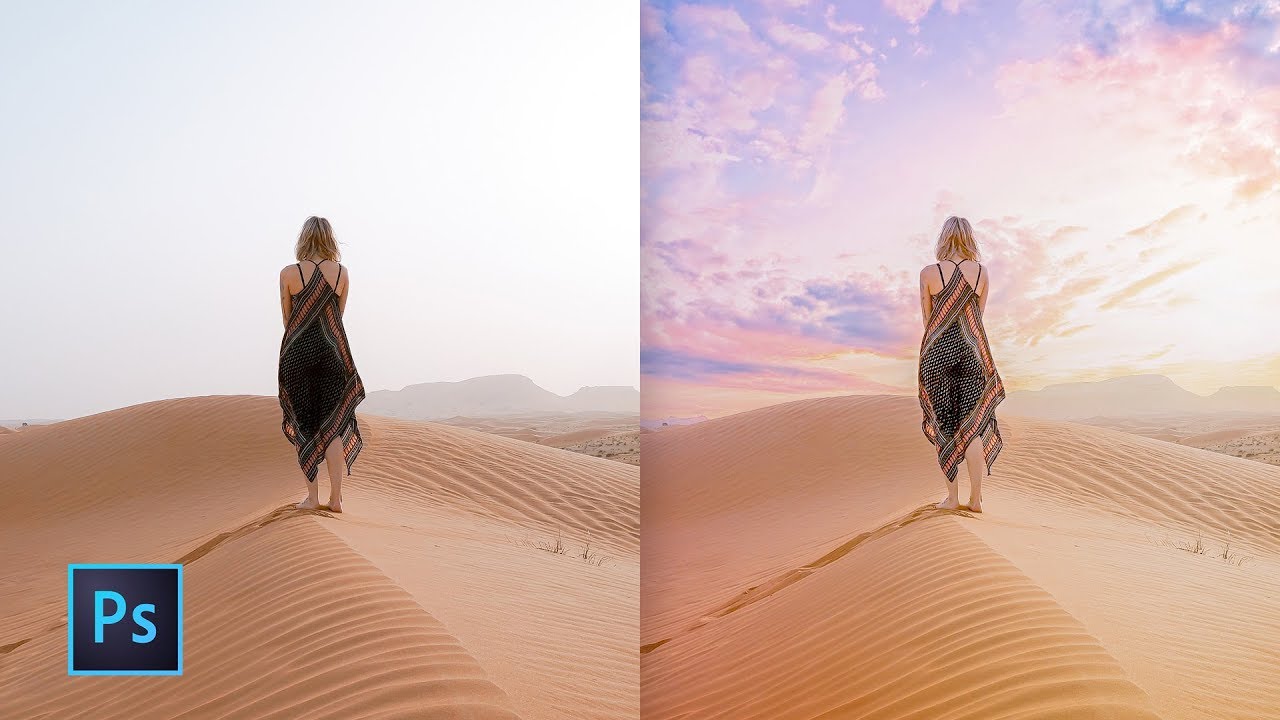
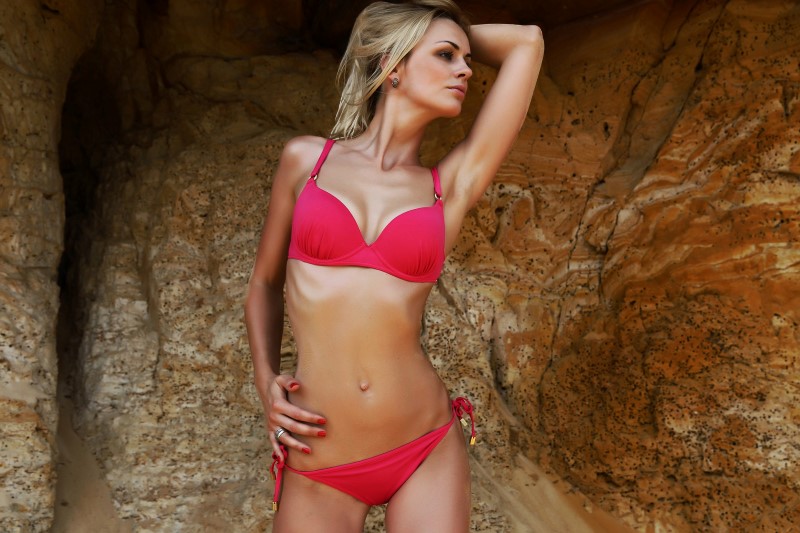
here is before & after.
[sociallocker id=”1411″][download-attachments][/sociallocker]