How to Easily Whiten & Brighten Teeth in Photoshop

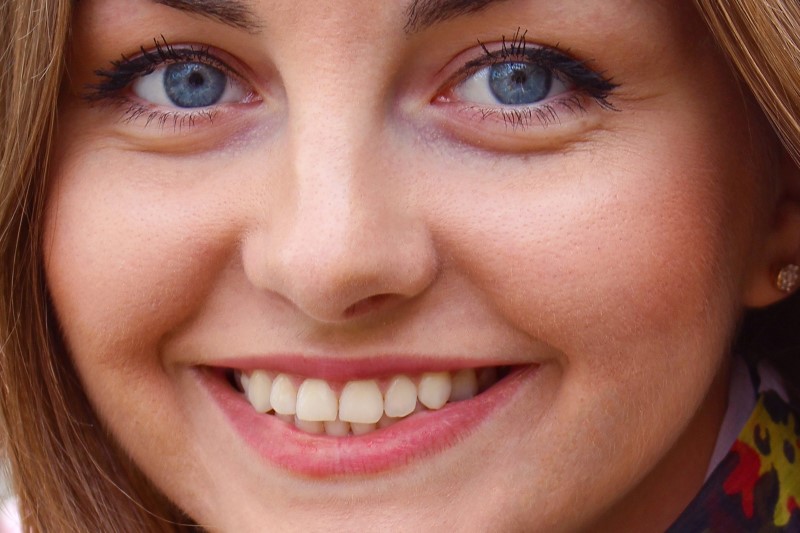
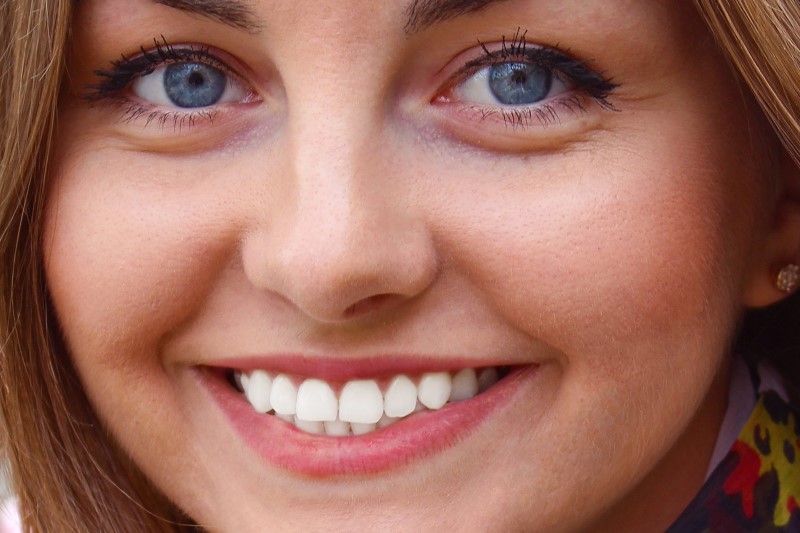
In this tutorial, we’ll learn how to easily whiten & brighten teeth in Photoshop using a simple Hue/Saturation adjustment layer! we see that her teeth showing a little bit of yellow.
It’s not terrible but it is noticeable:
Let’s add our Hue/Saturation adjustment layer. Click the Adjustment Layer icon at the bottom of the Layers panel.
Then choose Hue/Saturation from the list that appears click on the Saturation slider and begin dragging it to the left. The further you drag to the left, the more you’ll desaturate and the whiter the teeth will appear.
Then, click on the Lightness slider and begin dragging it towards the right. The further you drag to the right, the lighter the teeth will appear. Keep an eye on your image as you drag the slider so you don’t brighten them too much.
Now select hue & saturation layer mask & invert it. CTRL + I key to invert.
Take a Brush Tool in hand and white as the Foreground color, paint around the teeth to appear the effect.
Now we need to make blend the effect well to resulting in teeth that looks real. To do that, double click on the layer to get the layer options panel. The important slider here is Underlying Layer.
Drag the black triangles to the right and you will see that the effect starts to only affect the highlights.
Hold Option or Alt Key clicking on the triangles splits them so you can feather the blending effect.
if u want more brightness simply increase lightness in Hue/saturation adjustment layer.
here is before and after results.
[sociallocker id=”1411″][download-attachments][/sociallocker]