Fix Dark Shadows from Portrait Photography in Photoshop

In this post i will show you how to fix dark shadows from a portrait. Dark shadows occurs due to harsh lights like popup flashes or where the light is unable to reach.
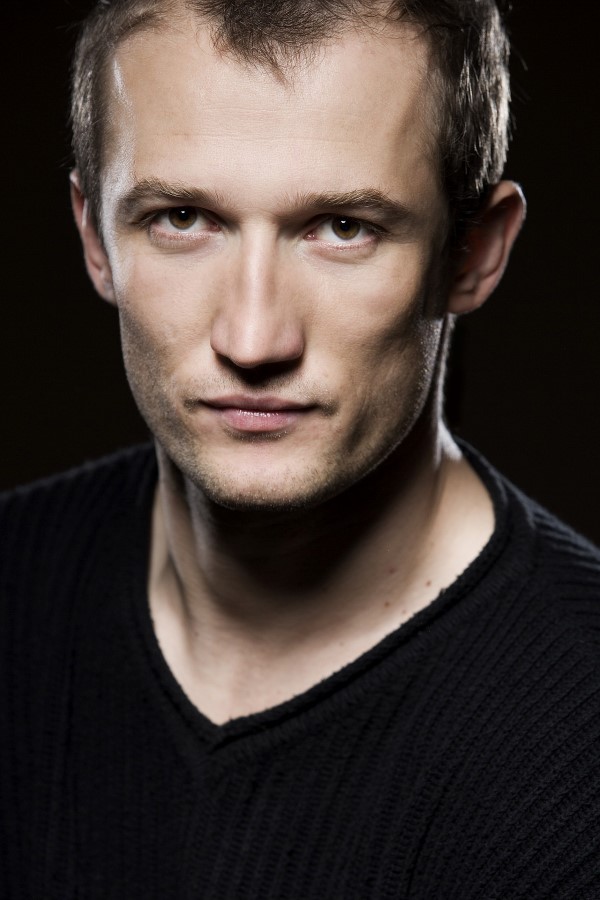
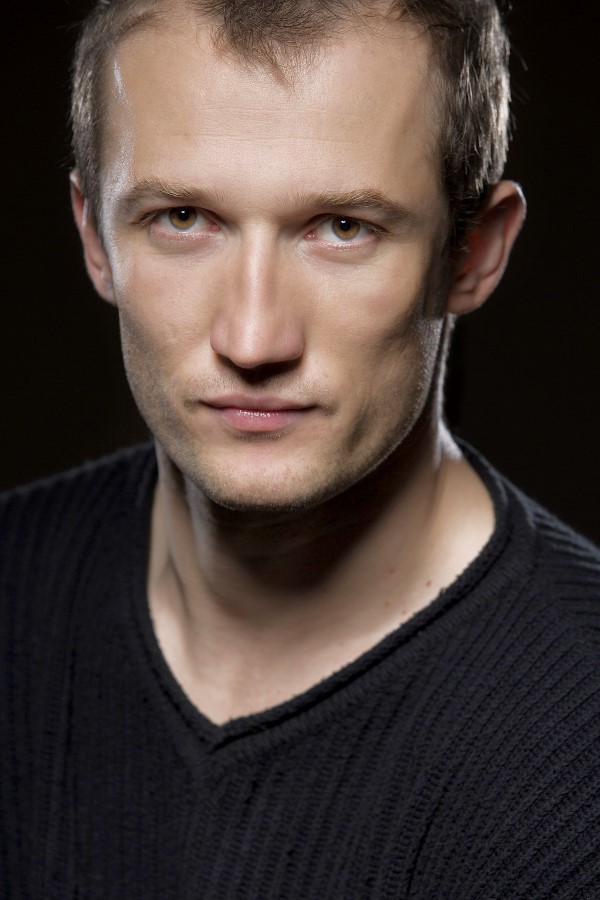
In this tutorial image {see at bottom of post] there is lot of dark shadows under his cheek bones, eyes, neck and so on.
We can easily fix this using channels. Channels are nothing but image information in red, green and blue source. Each channel has different detail information.
Select channel that contains more details for shadows. Red is lighter means it has highlights information. Green is normal. Blue channel is best fit in this case because it contains shadows information so we invert it to get relative brightness.
copy the blue layer, CTRL +A to select and CTRL + c to copy
create new layer and paste it CTRL + V
change blending mode to overlay. Now i will invert this layer so shadows get lighter
Go to adjustments and select invert or CTRL + I key shortcut for invert the layer.
Effect looks too strong and also we need effect apply only to shadows not on whole face of the person. Add layer mask and apply image
keep layer merged and channel RGB. Normally if u don’t check invert it takes whites only. here we need dark’s so tick the check box and click OK.
we can brush the unwanted areas to hide the effect. take soft brush and paint with black
here is before and after fixing dark shadows
[sociallocker id=”1411″][download-attachments][/sociallocker]