How to Remove Green Screen Background in Photoshop

In this Photoshop editing tutorial, we’re going to learn how to remove green screen and place subject in a new background.
first open up your green screen background image duplicate background image.
Go to Select and click Color Range. Use the eyedropper tool that appears, hold down the SHIFT key while clicking and dragging around the green areas you need to remove,
ideally the background in the popup color range box should become white.
You can see that subject lady is masked, but we want to mask the background so check invert option
now with subject in selection add layer mask still there are some green shades on her hair and some hair strands are lost in selection. To fix it undo the previous step and go back to selection.
Go to Select again and click Refine Edge Use the various sliders to adjust the radius and smoothness of the edge of your cutout.
simple brush on edges to detect Select OK when you are happy with how the selection looks in the preview.
now add layer mask drag and place new background into project document.
match the background and foreground subject colors to give a feel that it is naturally photographed
duplicate the background layer & drag on to top of all layers.
now goto filters and select blur and average. Add clipping mask, any changes visible to foreground subject only
change blending to soft-light and adjust opacity. Finally i want to add tilt shift blur effect for depth of field
You’ll see a pin in the center of the image with a couple of solid and dashed lines above and below it. simply click on its center of pin and drag it to bottom position, then release the mouse button.
Drag the Blur slider in the Blur Tools panel to the right to increase the blur amount and to the left to decrease it.
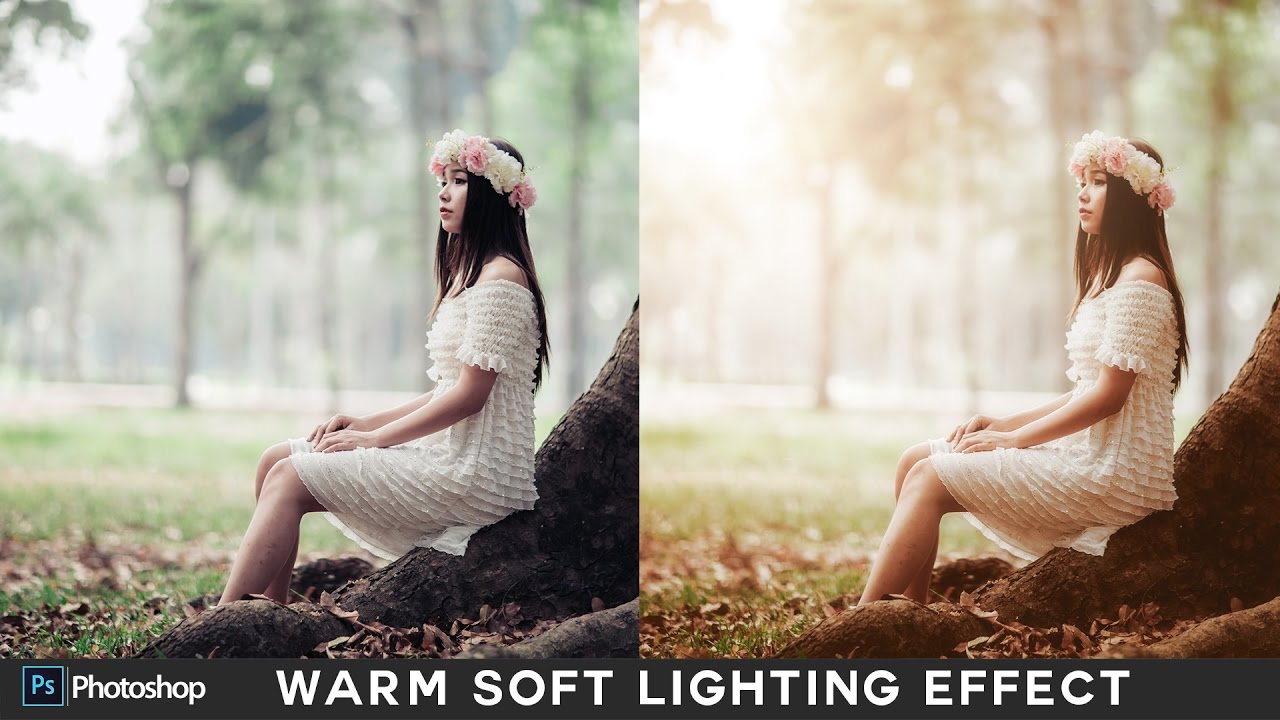
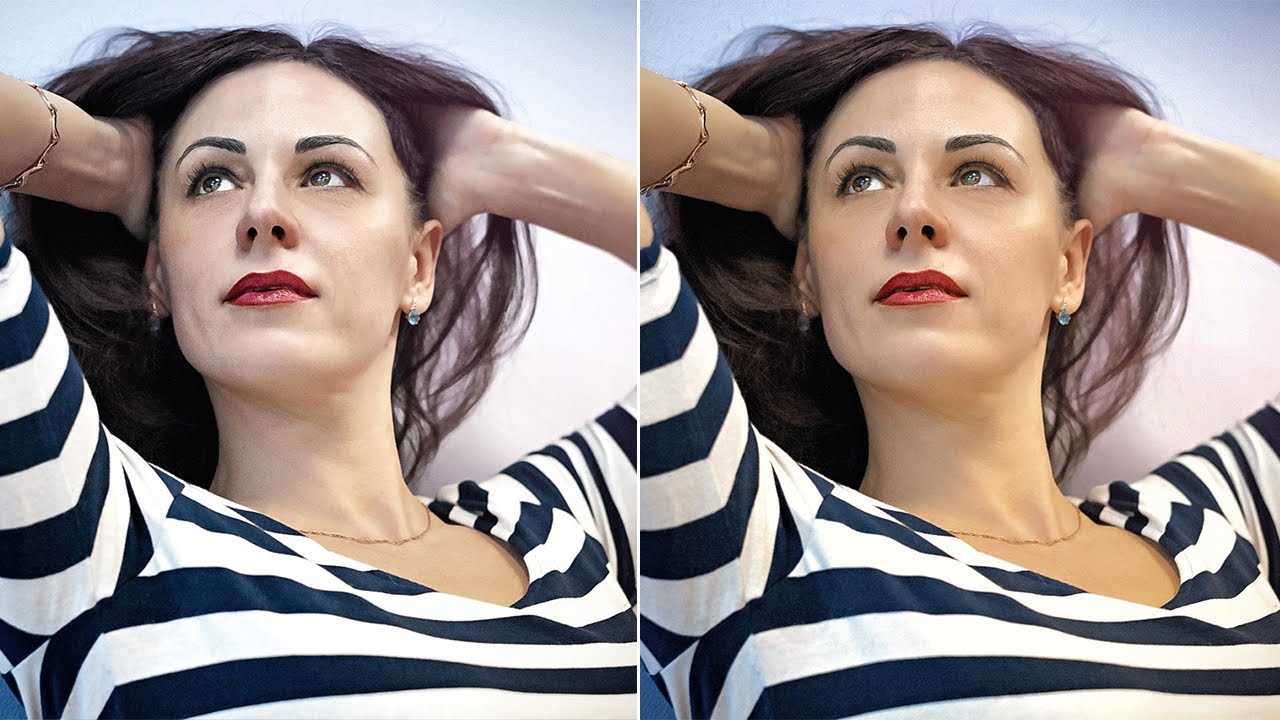
Here is before and after results


[sociallocker id=”1411″][download-attachments][/sociallocker]