How to Turn Any Photo into Watercolor Painting in Photoshop
In this Photoshop effects tutorial, we’re going to learn how to easily make a photo look more like a watercolor painting.
This photo effect works best on images where maintaining rich colors and strong contrast is more important than keeping any fine details.
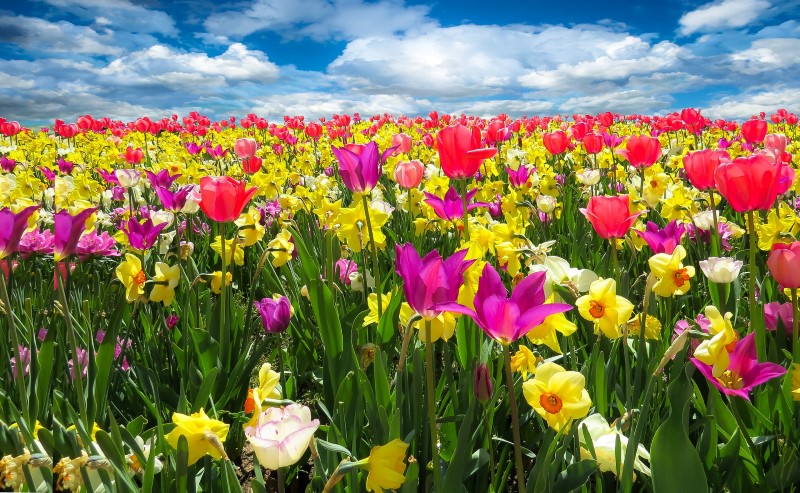
Here’s the image I’ll be using for this tutorial We need to create three copies of the Background layer & convert duplicate layers into smart object.
we can also use the keyboard shortcut Ctrl+J three times to duplicate the Background layer.
Rename the layers to cutout, drybrush and median. because based on these filters we will create watercolor painting effect.
Turn off the top two layers. Select “CUTOUT layer” and apply the “Cutout” filter.
When the Cutout filter’s dialog box appears, set the Number of Levels to 8, Edge Simplicity to 0, and Edge Fidelity to 3.
Click OK when you’re done to apply the settings.
Change the blend mode of “cutout layer” to “Luminosity”.
Now select the DRYBRUSH layer and apply the “Dry Brush” Filter.
When the Dry Brush filter’s dialog box appears, set the Brush Size to 10, the Brush Detail to 10, and the Texture option to 3.
Click OK when you’re done to apply the filter.
Change the layer blend mode to “Lighten”.
Turn on the top layer and select it & apply the “Median” filter. When the Median Filter’s dialog box appears, set the Radius value at the bottom to 14 pixels and click ok.
Change the blend mode of the top layer to “Soft Light”.
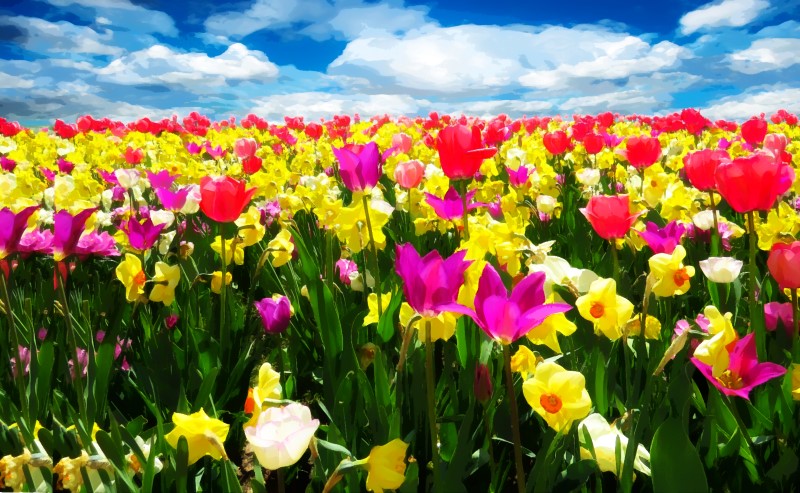
Here’s my original image and my final “watercolor painting” effect for comparison
These applied filters are editable so we can change and control individually anytime.
[sociallocker id=”1411″][download-attachments][/sociallocker]


