Manual Exposure Blending Technique in Photoshop

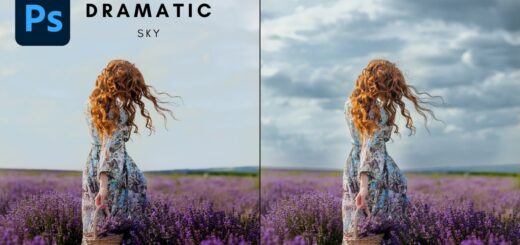
In this Photoshop retouch tutorial, we’ll learn how to create manual exposure blending and digital blending technique, for amazing HDR landscapes with just one single JPEG image.
Manual Exposure Blending Technique Tutorial :
first we create overexposed & underexposed image from the base photo.
Duplicate background layer. we use this to enhance LIGHT INFORMATION DETAIL
from the Image menu. Select “Apply Image”
we are darkening the image, specifically targeting the highlight detail with in the image.
Change the blending mode in the Apply Image dialogue box to Multiply.
again Duplicate background layer. we use this to enhance DARK INFORMATION DETAIL.
we are lightening the image, targeting the shadows in the image.
Change the blending mode in the Apply Image dialogue box to Screen.
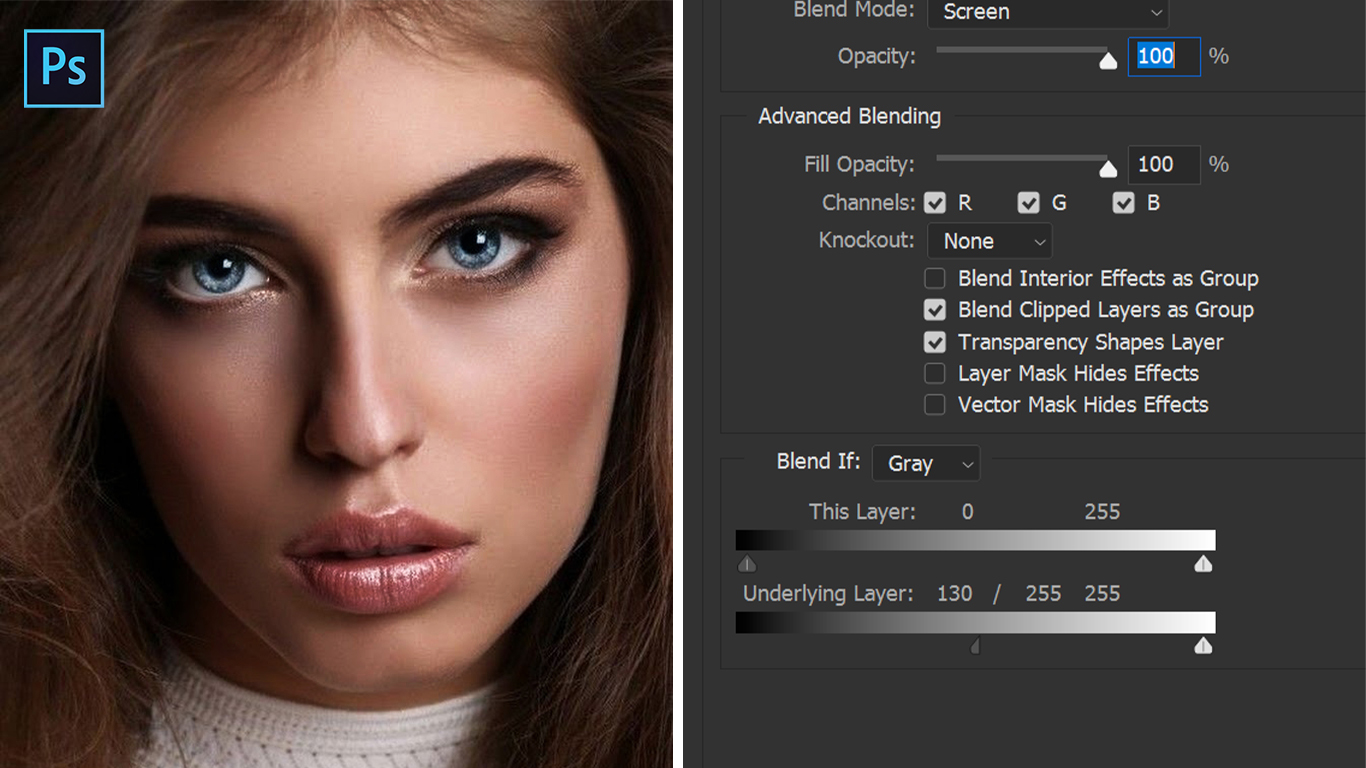
now blending exposures with the help of channels & based on luminosity values
Open the Channels Palette and check individual channels.
select channel which has detail of the contrast areas. in this case red channel has better overall darker areas compared to green and blue channels.
ctrl + click on layer thumb, to select. go back to layer palette and add layer mask to shadows layer.
similarly select channel which has better light areas. in this case blue channel is has better overall light areas compared to red and blue channels.
ctrl + click on layer thumb, to select. go back to layer palette and add layer mask to highlight layer.
Create a new layer from all the visible layers by pressing, Ctrl + Shift + Alt + E.
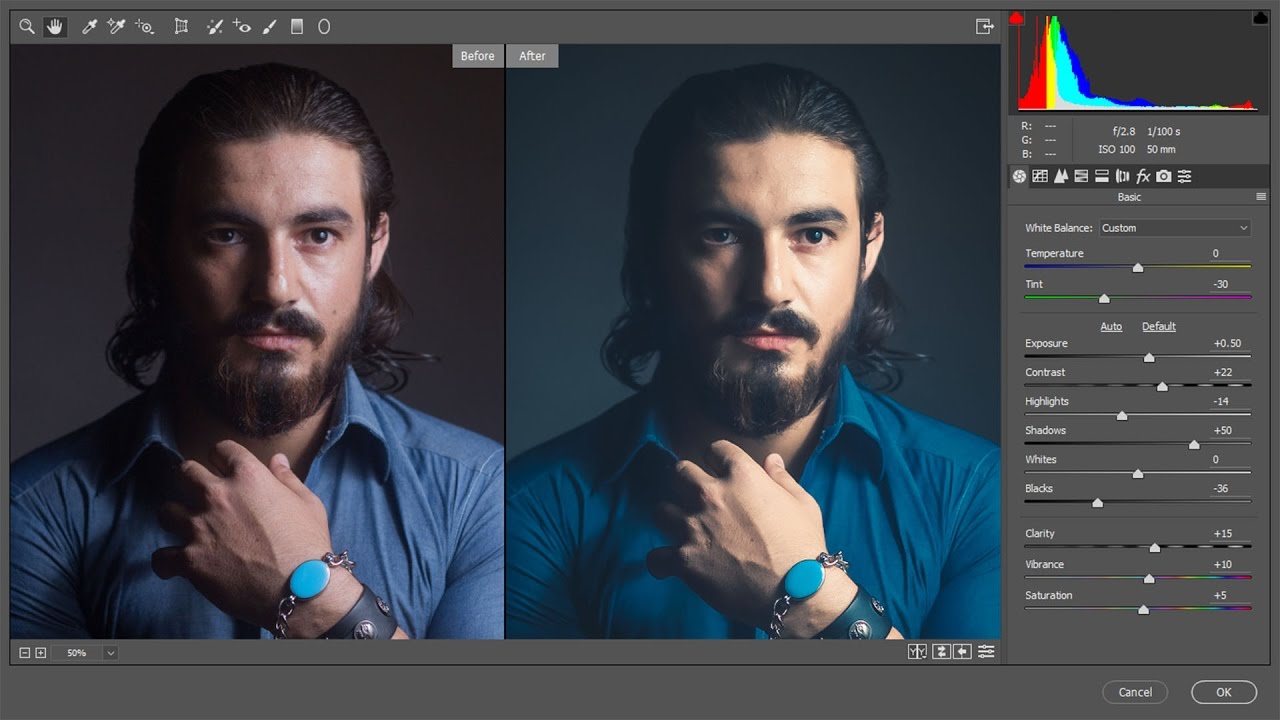
lets do some basic adjustments for highlights, shadows & coloring in camera raw.
we applied the Camera Raw Filter to a Smart Object, it was added as a fully editable Smart Filter.
we can go back and re-edit any of the settings for the effect.
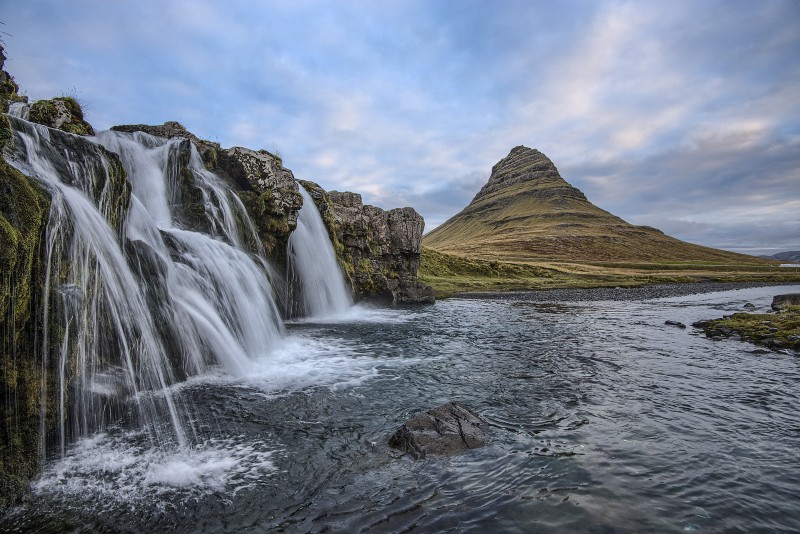
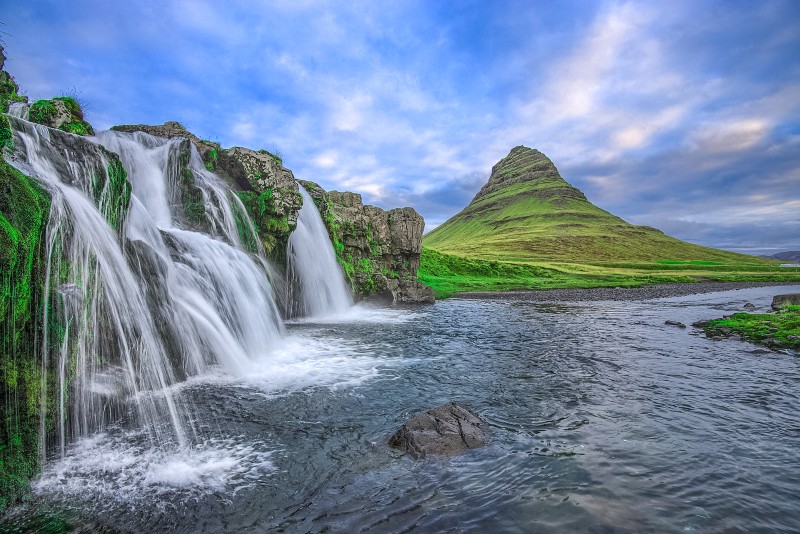
waterfall has less lighting, i want it look like, milky white & bright
goto channels and select light areas.
create blank layer and paint with white.
add mask to the layer and “apply image” to mask
waterfall lighting is too intense, lets reduce it with opacity
And we are done! here is before and after results
I hope that you enjoyed this tutorial
we can now use it as a template to quickly add this same effect to other photos.
[sociallocker id=”1411″][download-attachments][/sociallocker]