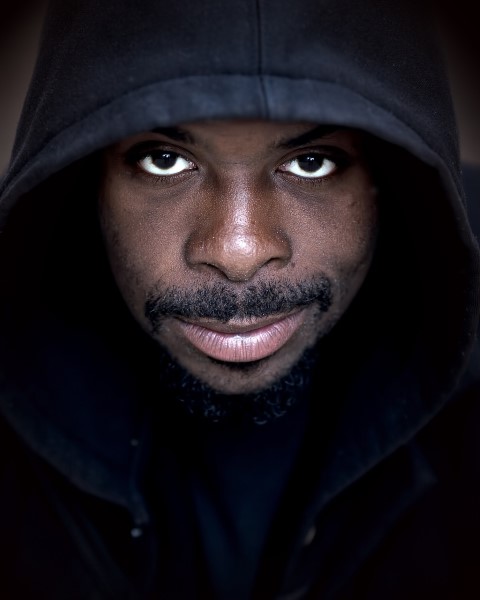
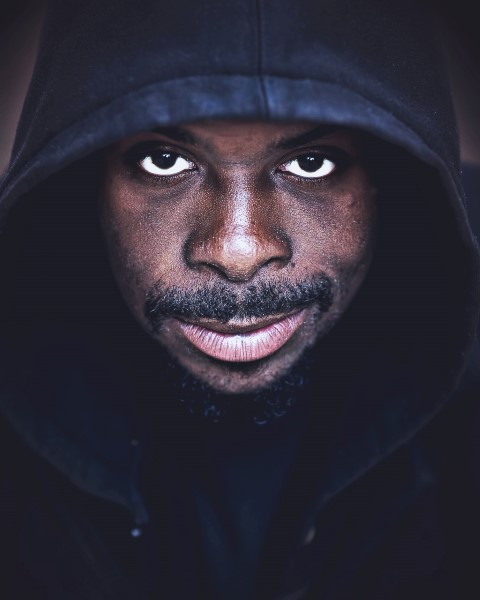
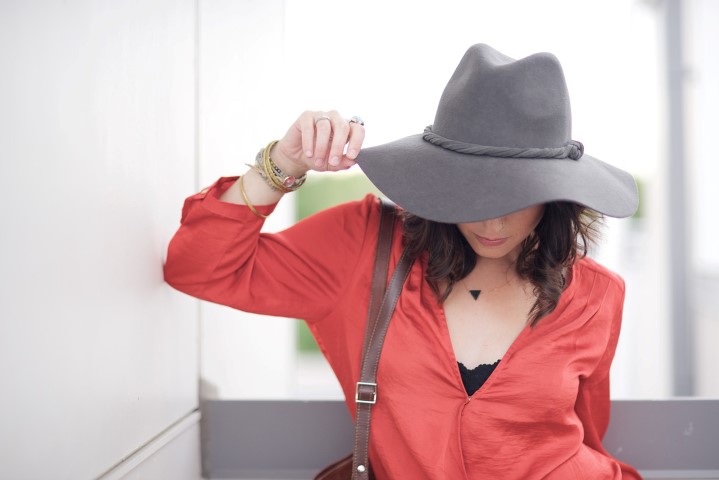
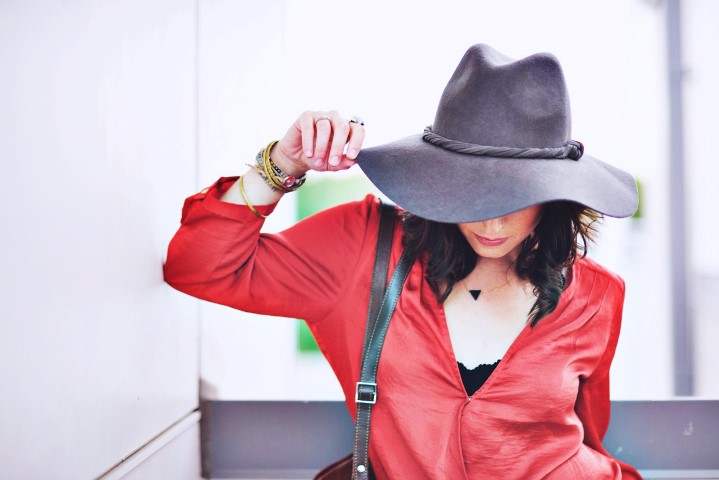
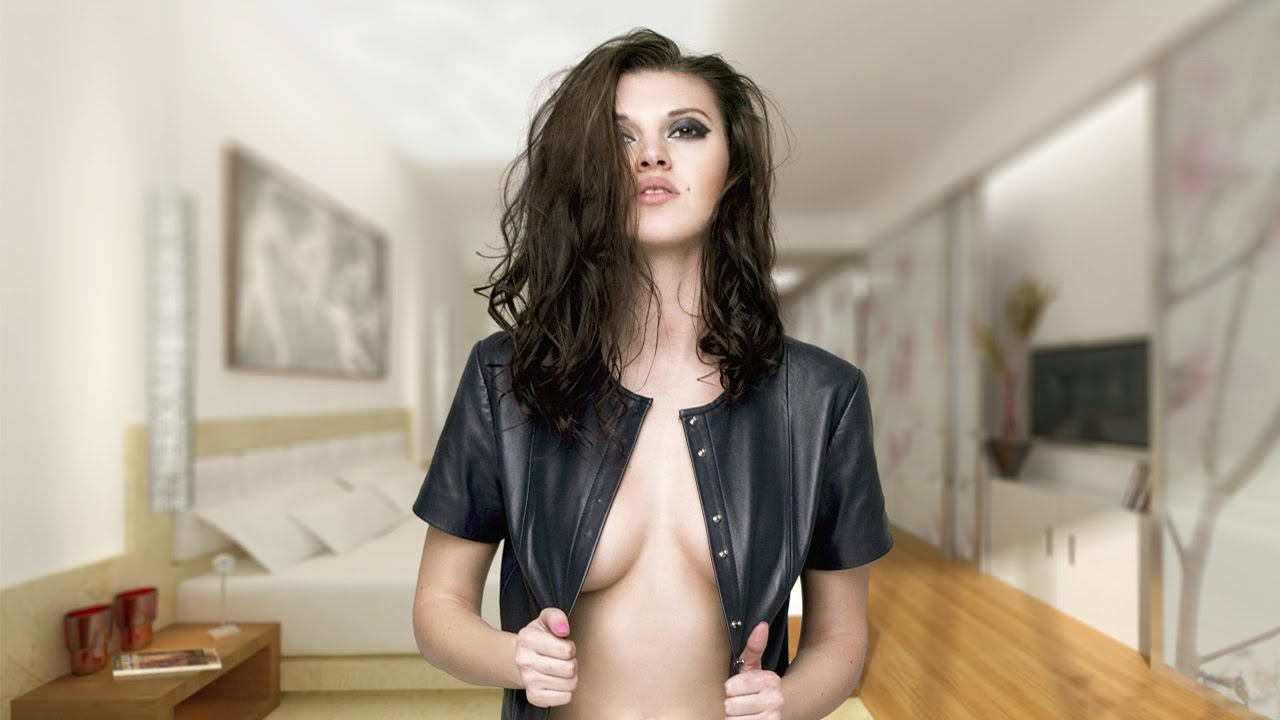
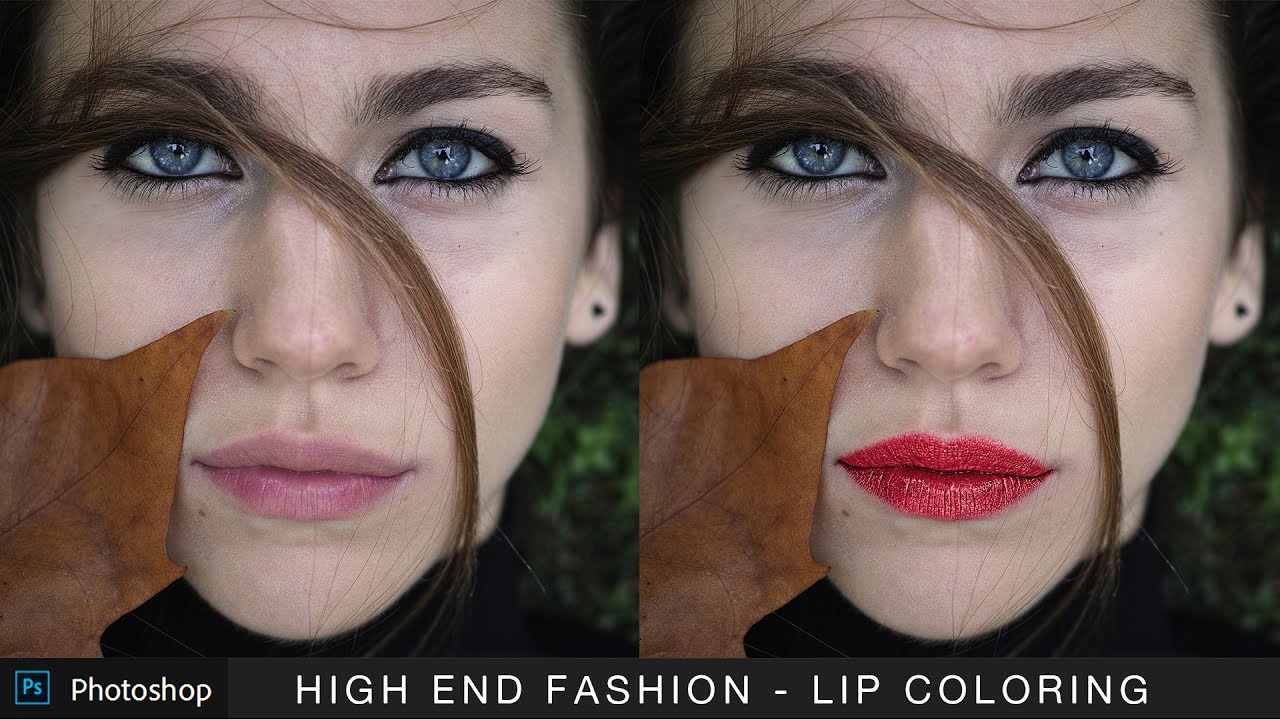
Professional HDR Effect for Fashion Portraits Tutorial

first open image in new document.
duplicate background layer.
convert it to smart object.
go to filters, apply high pass filter.
adjust slider that highlights and shadows are visibly well.
then click ok.
change blend option to overlay.
add little bit saturation to image.
now select curves and make “s” shape in RGB channel.
it makes highlights brighter and shadows darkers in whole image.
reduce opacity to 50%.
duplicate high pass filter layer and drag it to top of all layers.
reduce opacity to 25%.
again duplicate background layer and drag to above all layers.
convert layer to smart object. when applying any filter its better to make it into smart object because it is undestructable. we can change any adjustments later as well.
add unsharp mask to layer. keep it 24 and click ok.
change blend option to soft light.
reduce opacity to 45% around.
apply contrast layer and reduce it.
add layers and slightly adjust to make it fade look.
now adding cool photo filter
and reduce opacity to 50%.
apply color balance.
and adjust depands on color of your photo. i want to add red and blue little bit.
reduce opacity to 50%.
group all layers.
all layers are editable so we can tweak any adjustment layer later also.
[sociallocker id=”1411″][download-attachments][/sociallocker]
Thanks to my father who informed me regarding this weblog, this web site is in fact remarkable.
thanks buddy. please subscribe to our youtube channel.