Quickly Mask & Change White Backgrounds in Photoshop

In this photoshop photo manipulation tutorial, learn how to quickly mask person and change background in photoshop.
Quickly Mask & Change Background Photoshop Tutorial :
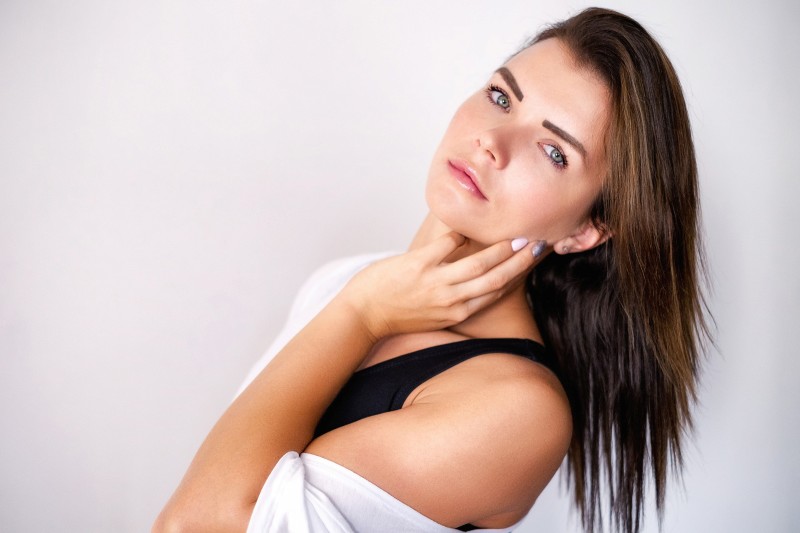
How to change & replace white background photos easily in photoshop.
First take quick selection tool and select the subject.
Now inverse the selection SHIFT + CTRL + I.
Go to select – save selection.
Name the selection and click OK.
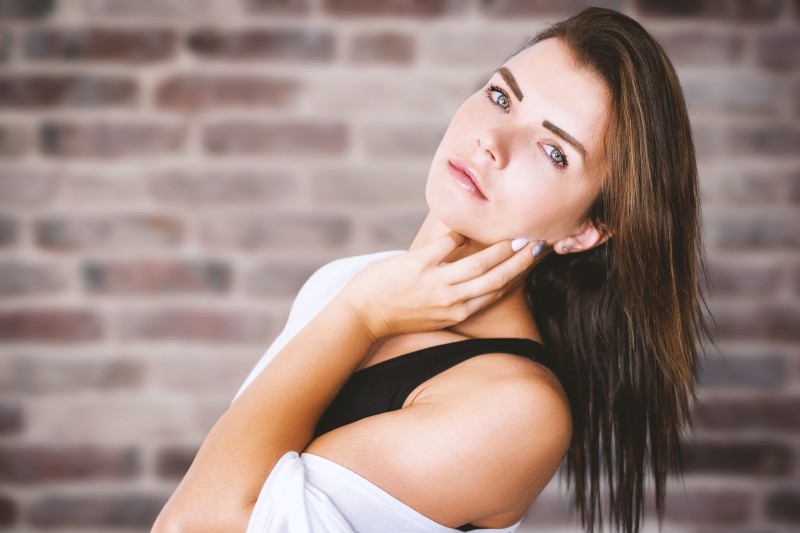
Now place new background (I recommend bright backgrounds for easy masking).
Change layer blending to multiply.
Duplicate background and move to top.
open the Select menu – choose Load Selection, pick the Alpha channel that we created.
Now add layer mask.
We will clean the mask later, first add color lookup lut to color grade.
Choose any 3D lut of your preference.
Now select layer mask, Take black soft brush and paint on edges of the hair.
Now blur the background like very expensive DSLR lens.
Select bricks background layer and go to filter – apply gaussian blur.
Edges on left side looks jagged. We can fix it using pen tool.
Take pen tool and make path through the edges.
Right click and select a make selection. Keep feather radius 0, and click ok.
Take soft black brush and paint inside the selection.
Select mask and go to properties and feather the mask edges.
Apply feather around 1-2px to get realistic look.
If still any messy edges appeared, take soft brush simply paint with black.
That’s it.
Note: if the edges look darker then add levels and adjust mid-tones.
[sociallocker id=”1411″][download-attachments][/sociallocker]