Remove Background Shadows in Photoshop Using Apply Image

In this photoshop photo editing tutorial, i will show you how to remove background shadows in photoshop using apply image and change normal image to studio portrait look.
Remove Background Shadows Photoshop Tutorial :
CLICK HERE TO WATCH TUTORIAL
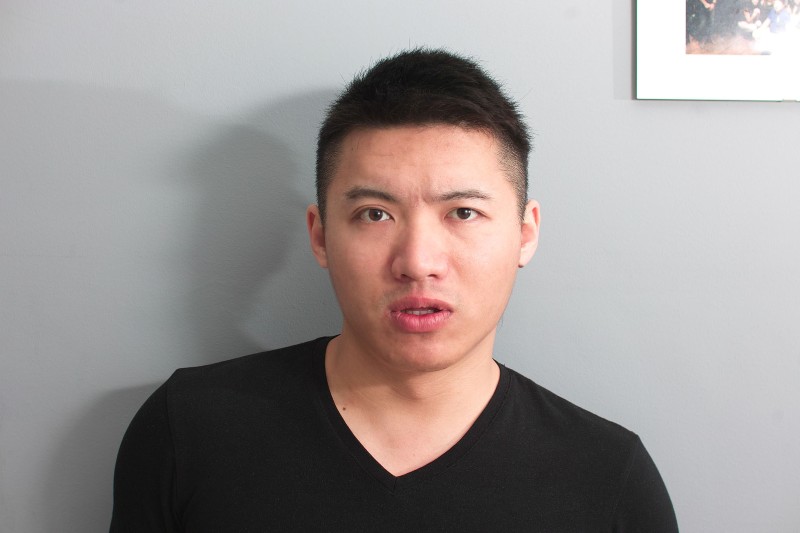
For this tutorial, i’m going to use this basic indoor portrait which was shot using sigma SD15 camera.
Look at the picture, there are some shadows on the background and i want to remove it.
Most of you might think i would cut out the person and then change or replace the background.
No!!! i’m not doing in that way, instead of that i will keep the original background and clean it using apply image technique and content aware.
First of all, we need to select the background. You may use quick selection tool or magic wand or pen tool whatever you are comfortable with.
In this case Take magic wand tool and enable add to selection and then click on background to make a selection.
I want to exclude the photo frame from selection, so take a rectangle marquee tool and deselect.
Now pressing Ctrl J or Command J to duplicate this selection and paste it in a new layer.
Hold CTRL or command key and click on layer thumbnail to make layer selection.
And then take subtract marquee tool.
Now select the clean area with good texture in the background. This will act as sample area. which means we will fill the selected background area with the sampled areas color and its texture.
Go to edit menu – select fill. Choose Content-Aware with color adaptation.
Click OK and Photoshop fills the selection with sample area pixels and blends them.
Deselect the selection CTRL + D.
We successfully cleaned the background, but there is a problem.
Zoom on to his hair, you may notice that some hair strands are lost in this process.
our next step is just bring them back.
select current layer and add layer mask to it.
Go to image menu and select apply image.
Keep everything at default and select invert option to retain some hair details.
But unfortunately shadows also starting to appear.
so to fix it, take a soft brush tool, change brush blending to overlay.
keep foreground color to white and slowly paint on shadows.
You may notice that it only affects the bright areas in the image not the dark areas like hair.
Now hair looks good and shadows also gone.
Now create a new layer from all the visible layers by pressing Ctrl+Shift+Alt+E.
Now go to lens correction filter and add vignette effect to draw attention to the centre of the frame.
keep amount: -100 and midpoint: +15
click ok to apply the changes.
Now the image looks like it was taken in a professional studio setup.
Final step, let’s add color tone using color lookup adjustment.
you may select any one from the list to your preference.
I want to minimize the colors on highlights, so select color lookup mask and add apply image command.
If you want to apply color to shadows use invert option or else keep it uncheck to apply color to highlights.
We can go back to color lookup adjustment any time and change any color preset to your liking.
That’s it we’re done.

[sociallocker id=”1411″][download-attachments][/sociallocker]