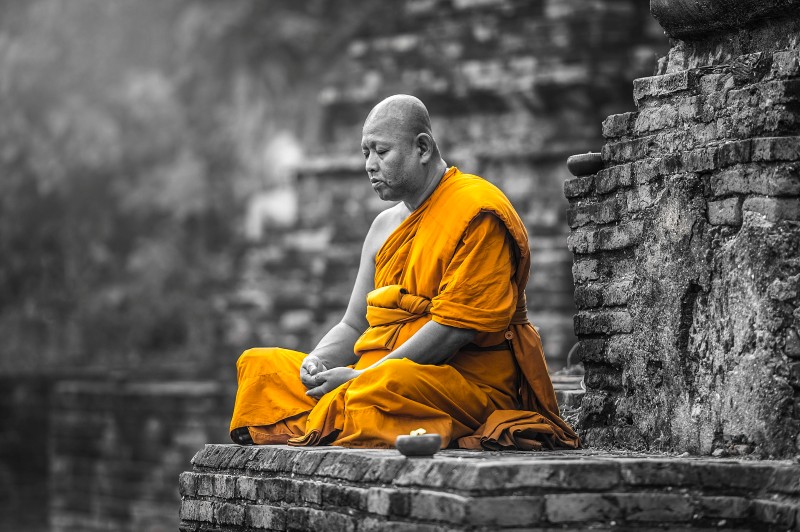
Selective Area Color Splash Effect in Photoshop & Lightroom

In this Photoshop Selective Area Color Splash Effect tutorial, we’ll learn an easy way to create a popular selective coloring effect, converting a photo to black and white while leaving the main subject in full color. Selective color photography has been around for ages. It’s something that has been used in the movies – Schindler’s List and Sin City. it’s a great technique to use when you’re trying to draw attention to a certain subject
and is something useful to have in your tool belt. selective color photography is not something suited for every situation. Whether you’re a landscape photographer, a portrait photographer. Blue eyes in portraits are a very common theme, bright dresses and clothing work well too. Another best example is jewellery POP
If you are using lightroom, the following step by step guide that you can also achieve same effect in lightroom as well.
Selective Area Color Splash Effect Tutorial :
Open an image in Photoshop that you need to apply the effect.
duplicate background layer.
convert layer to smart object.
Now open image in camera raw filter.
The first step would be, go into the HSL tab and remove the saturation from all the colors you don’t want in your photograph.
In my case I wanted to keep yellow and oranges so all the other sliders have been pulled to the far left.
Still there is lot of yellows and oranges appearing on background.
Cleaning up any colors that have appeared after your tuning process, can be done easily with the Adjustment Brush.
Click on the adjustment brush
Simply create a new adjustment brush layer
and turn the saturation to the far left.
Paint anywhere you don’t want color.
If you accidentally paint over something you want to keep switch to the erase mode and go back over that area until you get it right.
or simply press ctrl + z to undo the step.
there is a check box at the bottom of the brush panel labeled Auto Mask.
this is one of My Favorite Feature in camera raw and lightroom.
By turning this feature on it enhances your brush by using color and contrast to detect the edges within your image.
As you paint, it searches for similar tones to what the center of your cursor is on, and only applies adjustments to areas that are similar.
By using Auto Mask I was easily able to apply saturation adjustments to only the areas I wanted to effect, leaving his dress alone.
we can check mask using the “Show Selected Mask Overlay” option.
we’re done with selective color.
now finally go to the Basic settings tab.
increase vibrance
and boost in clarity to increases the midtone contrast, which gives a sharpened look.
Click OK when you’re done to close out of the Camera Raw Filter’s dialog box
Photoshop goes ahead and applies your settings to the image
As you can see from the before and after, auto mask in camera raw does a reasonable job of masking.

[sociallocker id=”1411″][download-attachments][/sociallocker]