Simple Skin Retouching Trick For Amazing Portraits in Photoshop

In this photoshop skin retouching tutorial, i’m going to show you how to make skin look smooth and bright using Adobe Photoshop. Some retouching methods require a lot more care and attention. while other techniques are very quick and easy. Here, i’ll give you one of those simple skin-retouching trick, that will help you create amazing portraits in no time.
Skin Retouching Photoshop Tutorial :
CLICK HERE TO WATCH YOUTUBE TUTORIAL
Duplicate background layer ‘CTRL+J’ (on WIndows) or ‘CMD+J’ (on a Mac).
Rename the layer to “Skin Smoothing”. Right-click on the layer and click ‘Convert to Smart Object’.
Now go to image menu – adjustments – select invert CTRL + I keyboard shortcut.
Then go to Filter menu to find the ‘other’ option, and select “high pass filter”.
Choosing right radius is very tricky. The key hint is increase the “Radius” value, until you notice halos starting to appear around the edges.
In this case i’ll set the radius value between 25 – 30px. Click ‘OK’ to apply the High Pass effect.
Change the layer blend mode to ‘Overlay’
Add layer mask to the skin smoothing layer.
Select layer mask and go to image menu, choose apply image. Keep settings to default and click ok.
Take soft brush tool. Set brush blending to overlay.
Choose foreground color white and paint on areas to apply the skin-smoothing effect.
For a natural effect, You’ll also want to keep quite a lot of the face’s natural details in there, such as fine lines.
So to do that duplicate background layer again and name it “Skin Texture”.
Move the layer to top and convert layer to smart object.
Go to filter menu – other – select high pass. keep radius around 2-3px to retain fine details. Click ok.
Change layer blending to overlay.
If you want to change any settings, simply double click on smart filter and tweak it to your liking.
Now let’s sculpt and contour the subject face for a really pleasing look.
Create a new layer from all the visible layers by pressing Ctrl+Shift+Alt+E.
Rename layer to Stamp Copy DODGE & BURN.
Change the layer blending to screen to lightens the overall image.
Now double click on the layer to open blending options.
Go to blend if section. The important slider here is Underlying Layer.
we need to minimize the lighten affect from the shadows and keep the affect on forehead, nose, cheek bone, and chin.
So drag the black triangles to the right until you will see that the particular lighten areas are influenced.
Now Hold Option or Alt Key click on the triangles splits them so you can feather the blending and add depth to the highlights.
click ok to apply the changes. Now lower the layer opacity to your preference.
Final step go to adjustments, add color lookup to apply color tone.
Select any preset from the drop down list to your liking.
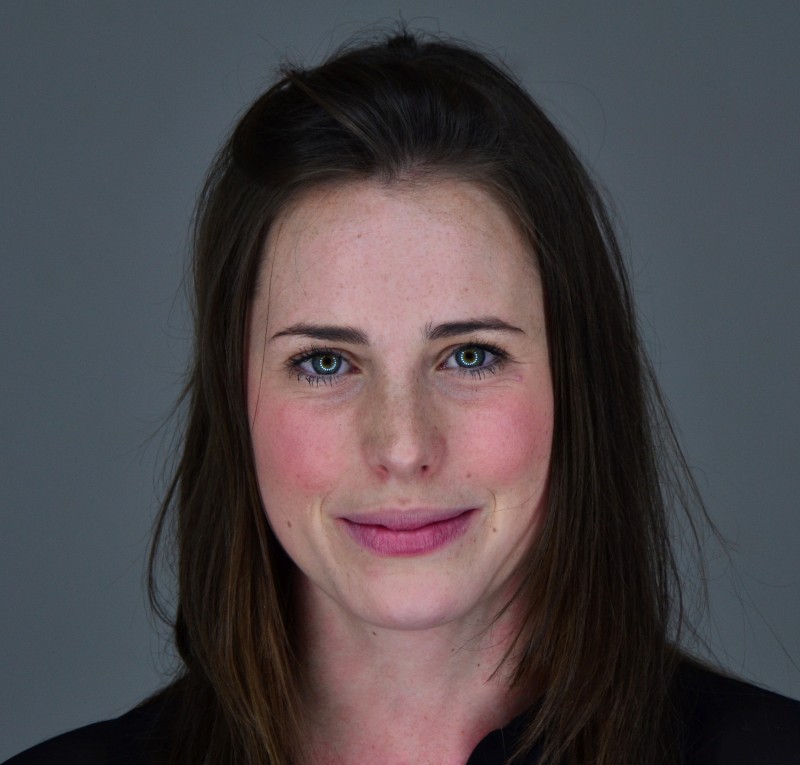
That’s it. We’re done. Here is before and after results.
[sociallocker id=”1411″][download-attachments][/sociallocker]