How to Stylize Outdoor Nature Portraits in Photoshop Camera Raw

In this photoshop color grading tutorial, learn how to stylize your outdoor nature photos in photoshop using camera raw filter.
Stylize Outdoor Nature Portraits Tutorial :
CLICK HERE TO WATCH TUTORIAL
1
00:00:13
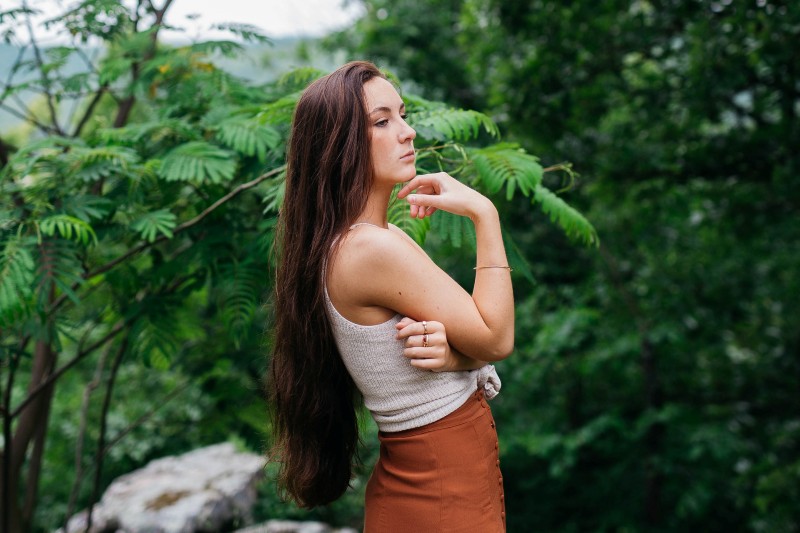
How to stylize outdoor nature portraits in photoshop.
2
00:00:20
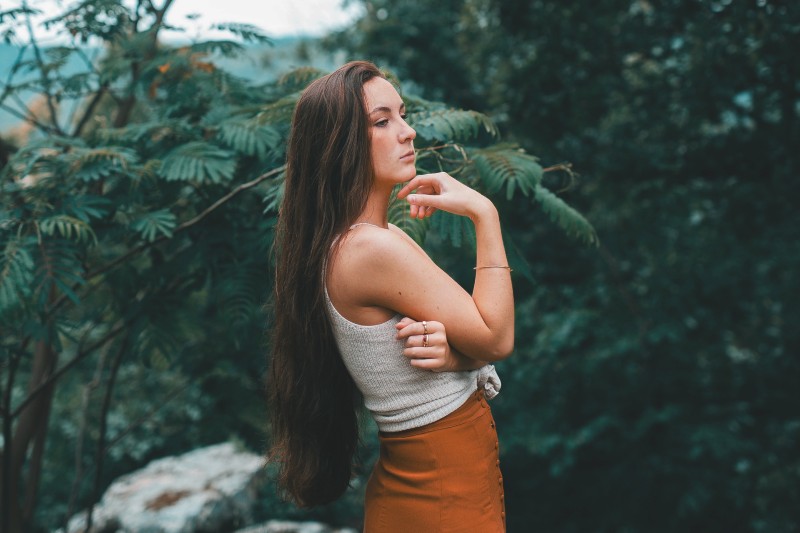
i Want to enrich and enhance the greens and tone the image.
3
00:00:28
first duplicate background layer and convert to smart object.
4
00:00:45
Then go to filter tab – open image in camera raw.
5
00:00:56
Open camera calibration panel.
6
00:01:03
The calibration panel controls provides a machanism for fine-tuning the color adjustments.
7
00:01:12
Directly change hue & saturation of blue primary to -100.
8
00:01:18
Now change hue & saturation of green primary to +100.
9
00:01:30
Skin-tones looks over saturated, lower the saturation of red primary.
10
00:01:44
Adjust hue (+100) of red to achieve orange skin tone.
11
00:01:56
Now go to split toning panel.
12
00:02:04
Adjust hue and saturation of shadows slider to get Deep Greens Toning.
13
00:02:19
Click OK when you’re done.
14
00:02:25
Now i want to minimize the effect on the skin to keep it natural.
15
00:02:35
Go to color range and select skintones.
16
00:02:51
Hold ALT or OPT key and click on layer mask to add inverted mask.
17
00:03:03
Hold ALT key and click on mask to view.
it
18
00:03:11
Take white brush & Mask out areas leaving out the skin.
19
00:03:37
Select layer mask and go to properties.
20
00:03:47
Adjust feather slider to soften the edges of the mask.
21
00:04:06
Now crush the blacks using curves to achieve faded film look.
22
00:04:33
That’s it.
[sociallocker id=”1411″][download-attachments][/sociallocker]