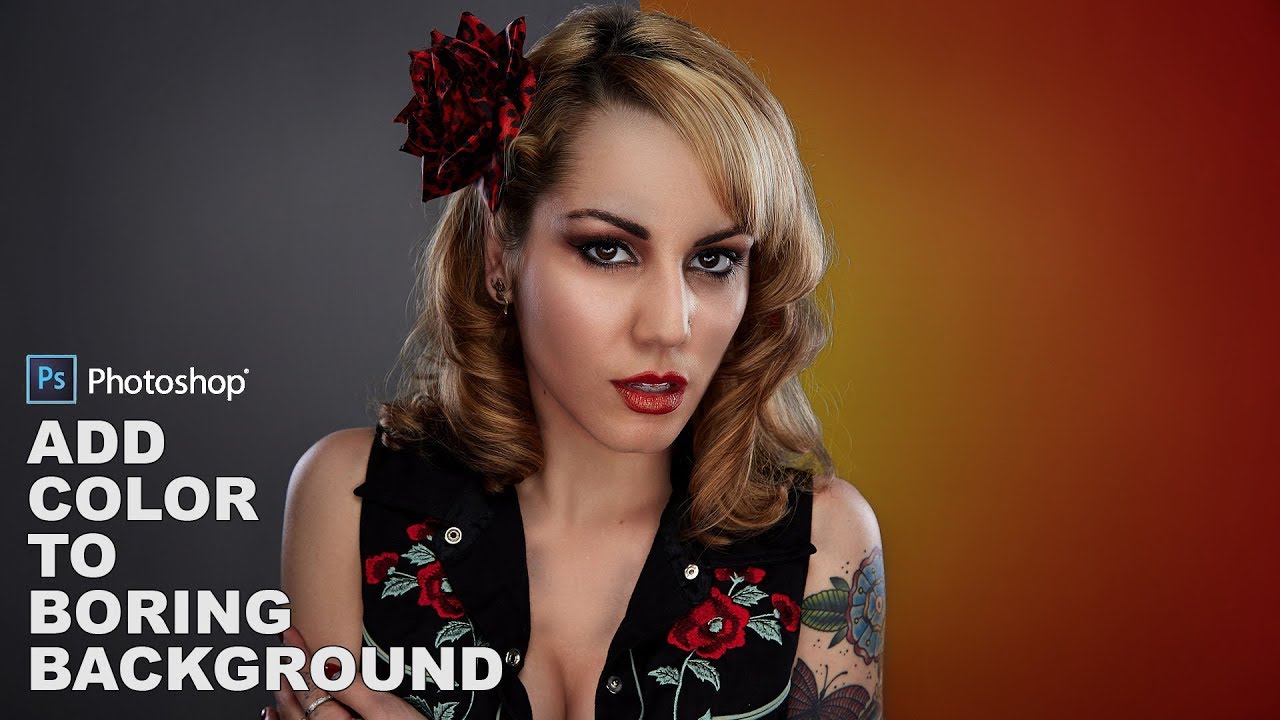
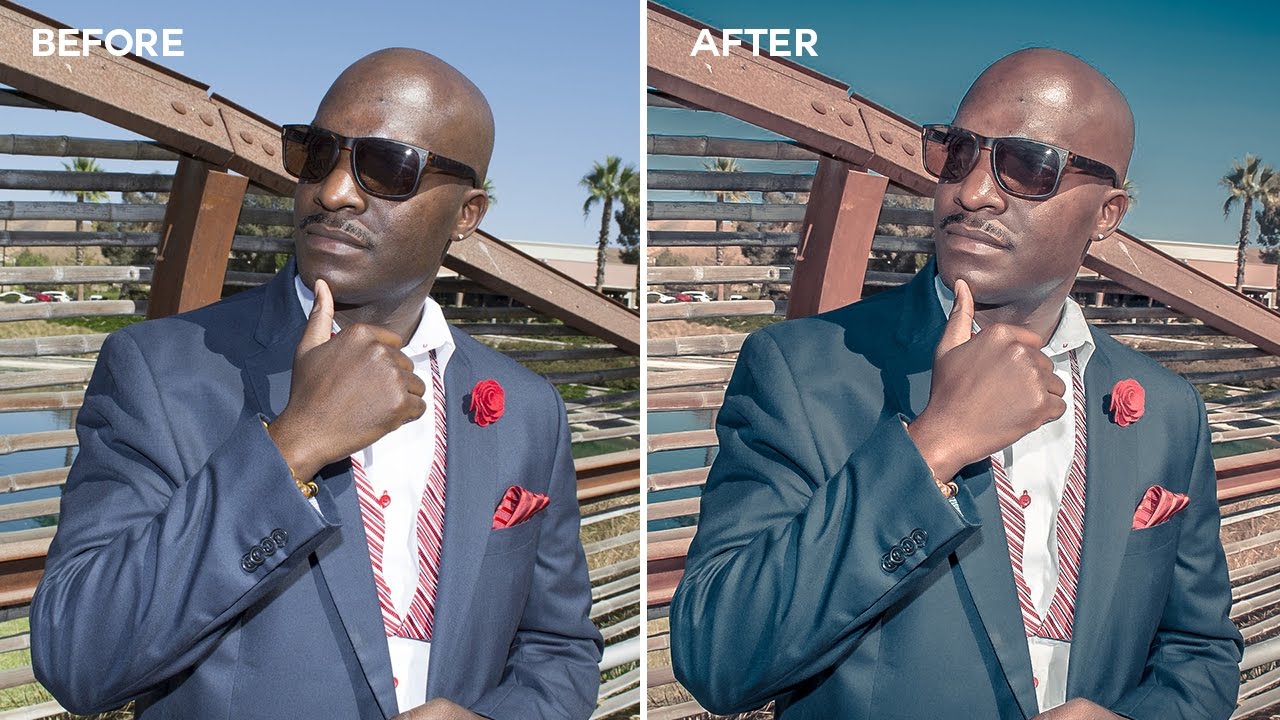
Teal and Yellow Color Grading in Photoshop With ACR & LR Preset

In this photoshop color grading tutorial, i will show you how to achieve teal and yellow/orange color effect to your photos in photoshop and lightroom.
Teal and Yellow Color Grading Effect Tutorial :
CLICK HERE TO WATCH TUTORIAL
Lets get started, first open photo in photoshop.
Duplicate the layer CTRL+J. Convert the layer to smart object.
Go to filter menu and select camera raw filter.
First of all change the colors of highlights and shadows. To do that go to split toning tab.
Add yellow tint to the highlights. similarly add blue tint to the shadows.
you even can control the saturation of each tint and the balance between the highlights and shadows for some interesting effects.
Now go to camera calibration tab. Adjust blue and green primary hue to achieve teal color. Simiarly adjust red primary hue to achieve orange or yellow tone.
Skin tones are bit too strong, so go to HSL panel. Tone down saturations of yellows and oranges to your liking.
Increase reds little bit to add color to the lips.
Now go to basic adjustments and lower the contrast to improve overall range of tonal values in the image.
Finally go to details section and increase sharpness and reduce noise.
save these settings as a preset, and then apply the preset to other photos, that need the same effect.
choose Save Settings from the Camera Raw Settings menu.
The saved settings preset is now available in the Presets tab for any open photo.
Click OK when you’re done to close out of the Camera Raw Filter’s dialog box
Photoshop goes ahead and applies your settings to the image.
That’s it.


[sociallocker id=”1411″][download-attachments][/sociallocker]