How to Turn Photo into a Realistic Painting Effect in Photoshop

In today’s photo effects tutorial, I show you how to transform a photograph into a digitally painted art, with detailed fine brush strokes to produce a realistic painting Effect.
Realistic Painting Effect Photoshop Tutorial :
First Open up your selected image in Photoshop.
Duplicate background layer.
Go to adjustments and subtly increase shadows and highlights.
Again go to adjustments and increase contrast.
Duplicate current layer.
Go to filter and apply high pass filter with radius of 5 pixels. Then click ok.
Change the blending mode of this High Pass layer to overlay.
Now merge the High Pass layer, with the background copy below it.
Sharpen the current layer. Go to filter and select sharpen.
These sharp areas will help create detailed brush strokes, especially on the hairs.
Go to Filter – Stylize – Diffuse.
Change the Diffuse mode to Anisotropic. This gives the image that cool brushed appearance.
Now add reduce noise filter to the current layer.
Go to Filter – Sharpen – Smart Sharpen to bring out some of the details.
Again add reduce noise filter to the current layer.
Change the layer name to painting.
Now duplicate painting layer.
Go to Image – Image Rotation – Select 90 degree Clockwise.
Now apply Diffuse filter.
Rotate the image by 90 degree again, then apply another Diffuse filter.
Repeat this step for a third time.
Then rotate the image for a final time to place it the right way up.
Now the effect looks like brushed effect but it was blurred slightly.
Go to Filter – Sharpen – Smart Sharpen to bring out some of the details.
Select Surface Blur from the Filter – Blur menu and adjust the values to around 50 pixels Radius and 15 Threshold.
This step further manipulates the image and results in more of a digitally painted look.
Now duplicate the original image background layer.
Move the layer to top.
Change layer name to details.
Add high pass filter with 4 pixel radius.
Change the blending mode to over lay.
Add a Curves adjustment layer and brighten the whites in the image.
Again Add a Curves adjustment layer, this time darken the blacks in the image.
Finally add levels adjustment layer and slightly lighten the shadows.
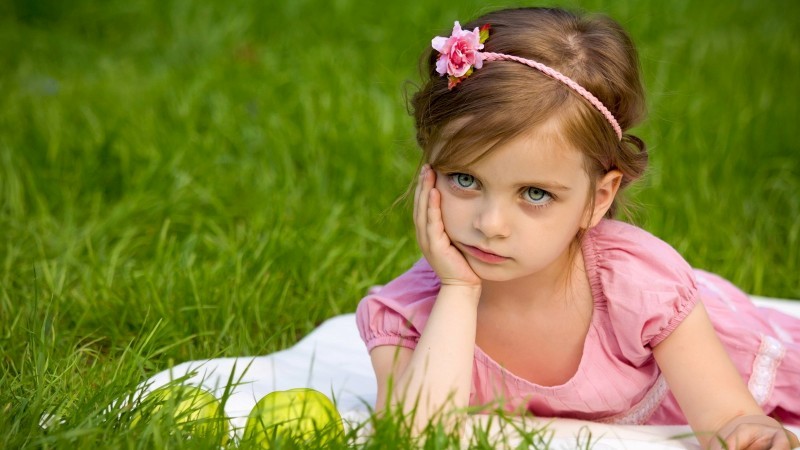
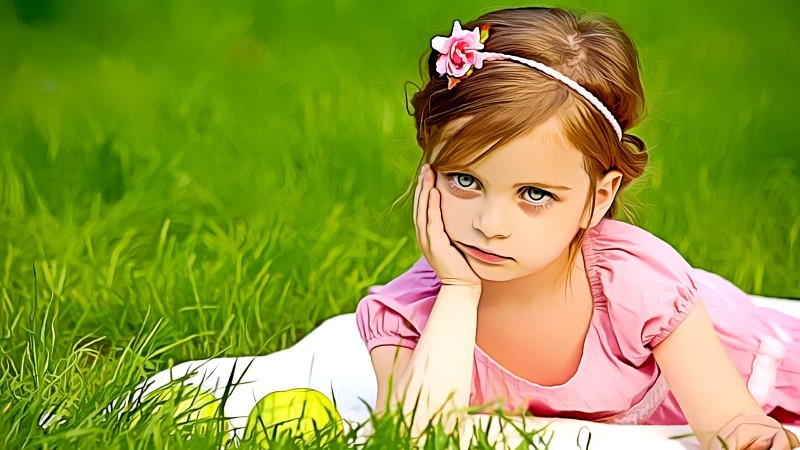
we’re done. here is before and after results.
[sociallocker id=”1411″][download-attachments][/sociallocker]