Ultimate Black and white classic look Tutorial

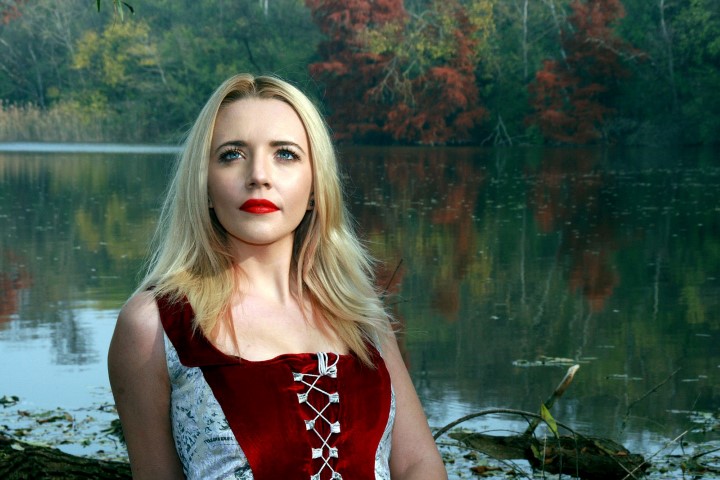
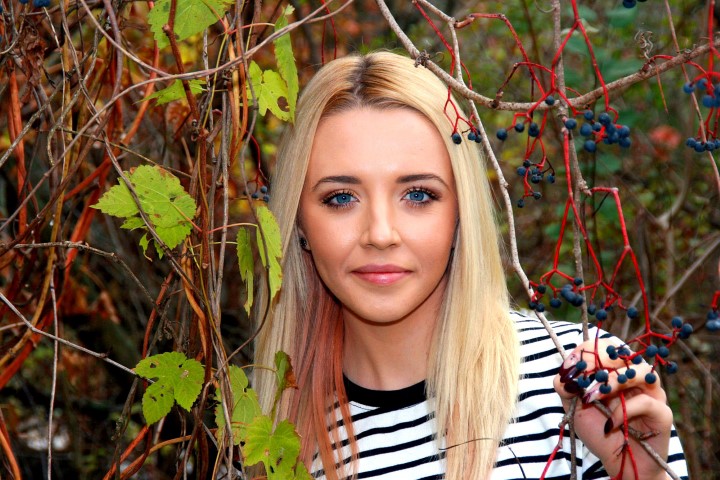
First open image in new document.
goto adjustment layer panel and choose curves.
this histogram graph of the image. it contains RGB color information.
this is for shadows. make a small curve.
choosing points where shadows are high like tall mountains.
i want to make it like a faded matte look.
now add brightness and contrast layer.
Slightly increase the brightness and contrast slider.
i keep brightness 11 and contrast 23. these values depands on the image source.
now add gradient map layer.
choose preset black and white and click ok.
group control + g all adjustment layers.
Now again choose curves.
this time i’m going to make “s” curves in RGB channel.
This means it makes shadows darker and highlights more lighter.
in the left hand side menu panel choose gradient tool (G).
click on mask and hold mouse and drag from top-right to left-bottom.
because light source in her face more on right hand side. so i just want to reduce it.
now group all layers.
add plain black and white layer and put it in below group folder and above background layer.
Add mask to the group and, take a brush tool (B). select soft brush.
reduce the flow of the brush to 70%.
just paint on her face to make shadows and highlights even to see more details and features.
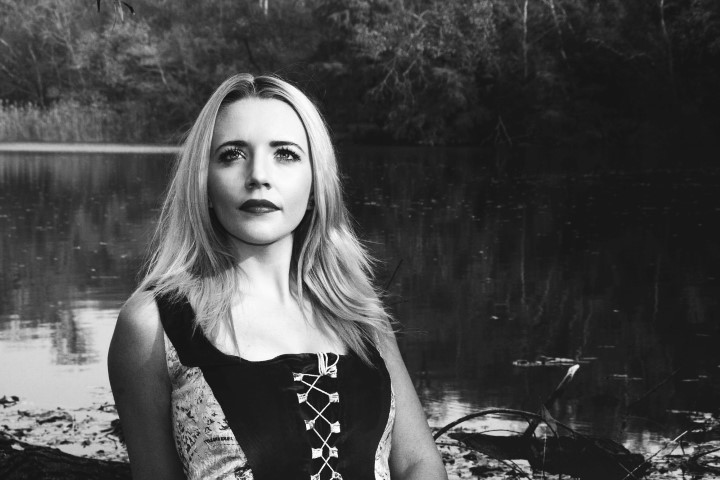
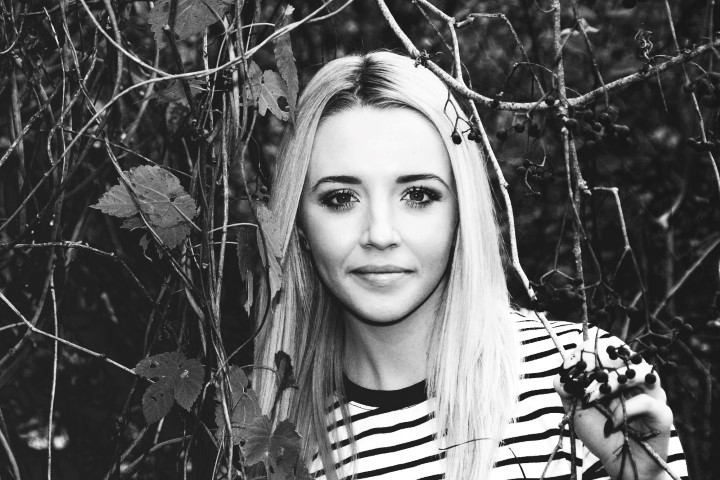
Here is before and after results.
[sociallocker id=”1411″][download-attachments][/sociallocker]