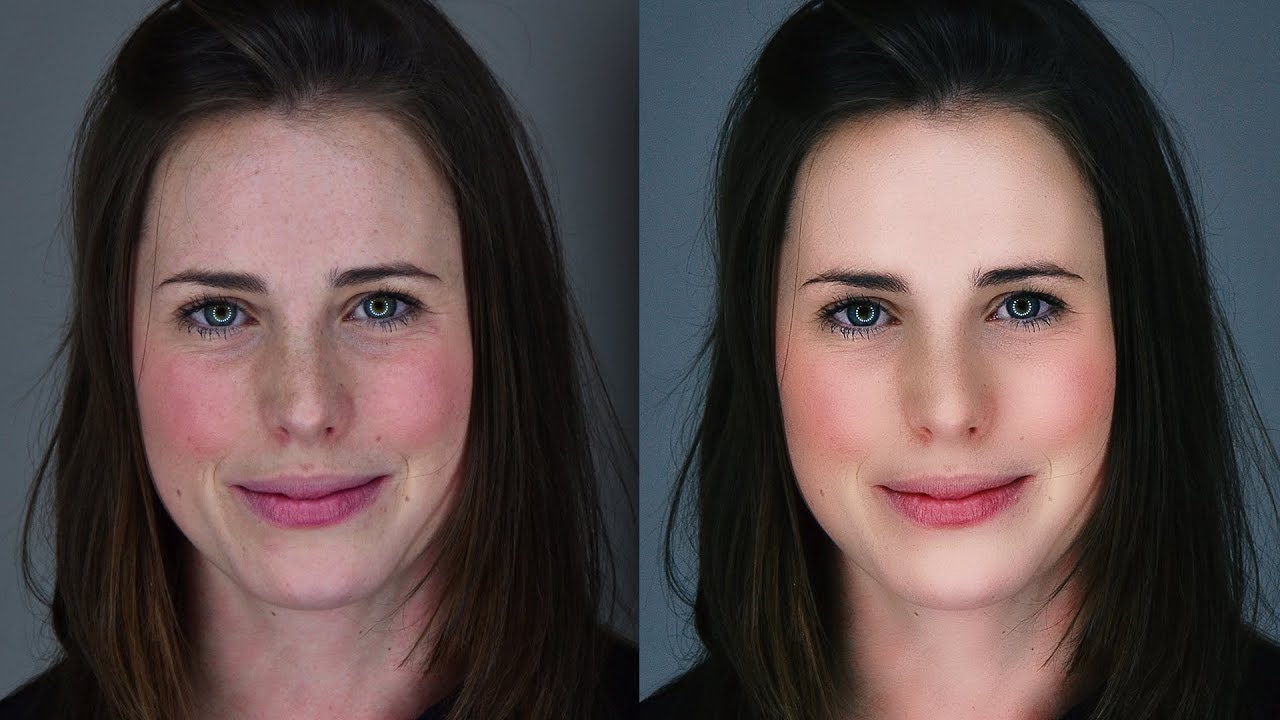
How to Add Cinema Color Grading to Photos in Photoshop
In this photoshop photo editing tutorial, learn how to apply cinema color grading to photos in photoshop using camera raw filter easily.
Cinema Color Grading Photoshop Tutorial :
CLICK HERE TO WATCH TUTORIAL
1
00:00:13
How to color grade easily in photoshop.
2
00:00:22
First duplicate background layer.
3
00:00:32
Open image in camera raw editor.
4
00:00:43
Open camera calibration panel.
5
00:00:50
The calibration panel controls provides a machanism for fine-tuning the color adjustments.
6
00:00:59
Directly change the Hue and saturation of red, green & blue to achieve the colors to preference.
7
00:01:16
Now image looks slight reddish, go to HSL tab and change hue & saturation of reds and oranges.
8
00:01:56
Now go to basic panel and adjust tonal range of the image like highlights and shadows.
9
00:02:19
Lower the clarity slider to soften the image little bit.
10
00:02:29
Increase vibrance to pop colors and lower the saturation to balance it.
11
00:02:54
Now change temperature and tint to give soft warm look.
12
00:03:37
Choose color lookup and select film stock preset.
13
00:03:55
Change blending mode to soft light and lower the opacity.
14
00:04:12
Go back to ACR filter and adjust any settings to preference.
15
00:04:23
Add Letterbox Widescreen Black Bars.
16
00:05:02
Finally add Faded ‘Film Look’ with curves.
17
00:05:11
Move the left most point slightly up and to the right.
18
00:05:26
Adjust opacity to preference.
19
00:05:41
That’s it.
[sociallocker id=”1411″][download-attachments][/sociallocker]


