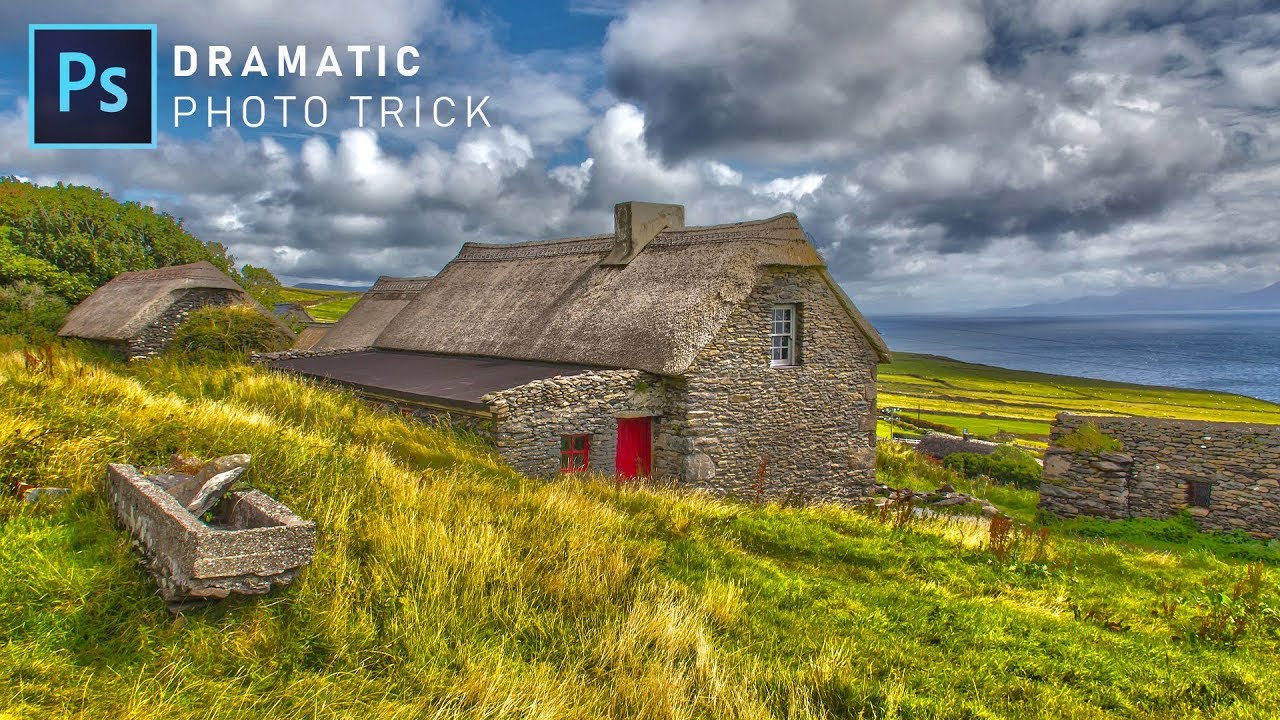
How to Enhance Photos Easily with HDR Toning in Photoshop
Easily Enhance Your Photos With HDR Toning in Photoshop. HDR (High Dinamic Range) images are created using multiple photographs, each captured at a different exposure. If you didn’t have the chance of shooting more than one image.. don’t worry, even if you haven’t got what’s needed to create a real HDR image, you can fake it in photoshop HDR toning. In this tutorial I’ll show you how to enhance your images faking an HDR effect using the new HDR Toning command in Photoshop.
HDR Toning Effect Photoshop Tutorial :
first open the image in photoshop.
Duplicate layer and convert to smart object.
Next, double click directly onto HDR layer thumbnail to access its contents
Go to Image > Adjustments > HDR Toning.
it’s current operation is that it flattens all layers within your document. that’s why we created smart object to protect the original photo.
lets Start with a Default Preset and make sure Method is set to Local Adaptation.
first increase the Detail to +100%
you will notice some weird edges around the trees. we can fix it with strength slider.
simply increase the strength amount until it disappears.
adjust radius of the edge glow HDR.
if you want smooth edges then enable this option.
finally adjust highlights and shadows based on ur working image and add some color using vibrance and saturation sliders.
Now that the HDR Toning is in place, go to the File > Save menu command to commit changes to the Smart Object container.
and we’re done. An extremely fast and easy way to manipulate your images with a subtle HDR photo effect.
[sociallocker id=”1411″][download-attachments][/sociallocker]


