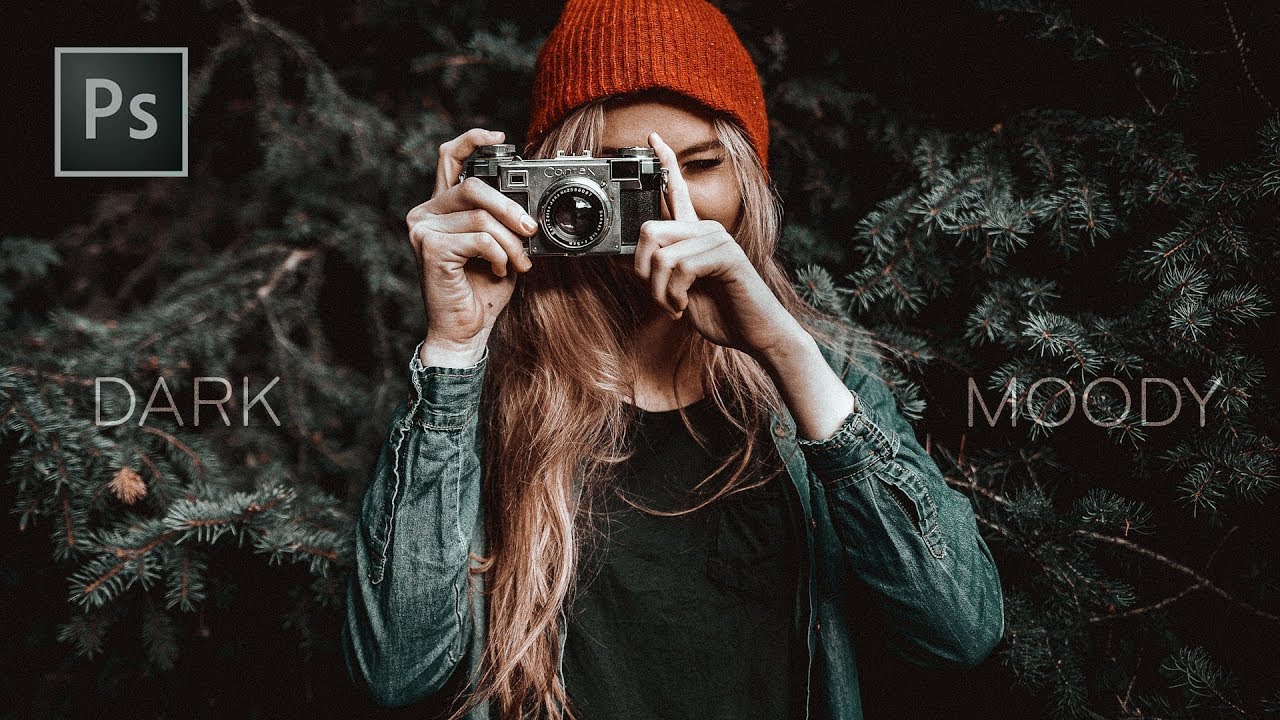
How to Add Lens Flare Light Burst Effect in Photoshop
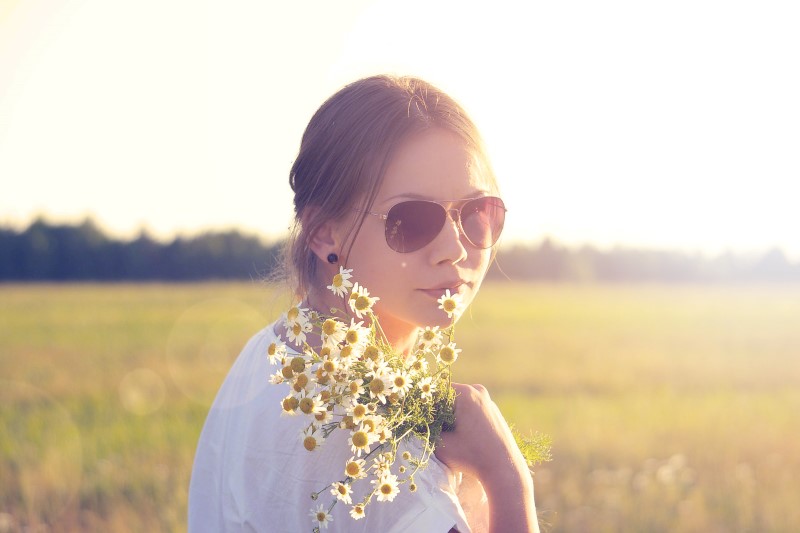
In this Lens Flare tutorial, i will show you how layers and layer blend modes in Photoshop make it easy to add a Non-Destructive Lens Flare Effect.
First, let’s add the layer. click the New Layer icon at the bottom of the Layers panel.
Go up to the Edit menu at the top of the screen and choose Fill. Filling the layer with black will make it easy for us to blend the lens flare in with the photo.
Change blend mode set to Screen, all of the black on the layer disappears, leaving only original photograph.
Change the layer to smart object to keep things non-destructive.
Now Go up to the Filter menu in the Menu Bar. choose Render, and then select Lens Flare, this opens the Lens Flare dialog box.
I’m going to stick with the default 50-300mm Zoom lens. simply click inside the preview area to position the lens flare where you want it.
You can also adjust the brightness of the lens flare by dragging the Brightness slider left or right. click OK.
Photoshop will then apply the effect to the layer.
Reduce opacity so that we can adjust the intensity of the lens flare depending on whether you need to increase or decrease its brightness.
We can change lens flare position, brightness adjustments any time easily with this non -destructive method.
Now let’s soften lens flare by applying some blurring. I’ll use Photoshop’s Gaussian Blur filter.
Drag the Radius slider along the bottom of the Gaussian Blur dialog box towards the right.
Keep an eye on your image as you drag the slider to judge the results, since the amount you need will depend on the size of your image.
You can adjust the colors in your lens flare so they better match the colors of your image.
Goto Adjustments, then choose Hue/Saturation. Create clipping mask to add effect only to lens flare layer.
select the top layer you want to clip and choose Layer > Create Clipping Mask.
Dragging the Hue slider left or right will shift the colors in your lens flare as if you’re rotating them around a color wheel.
Choose colors that are a good match for your photo.
All layers and effects are editable so we can adjust any layer any time.
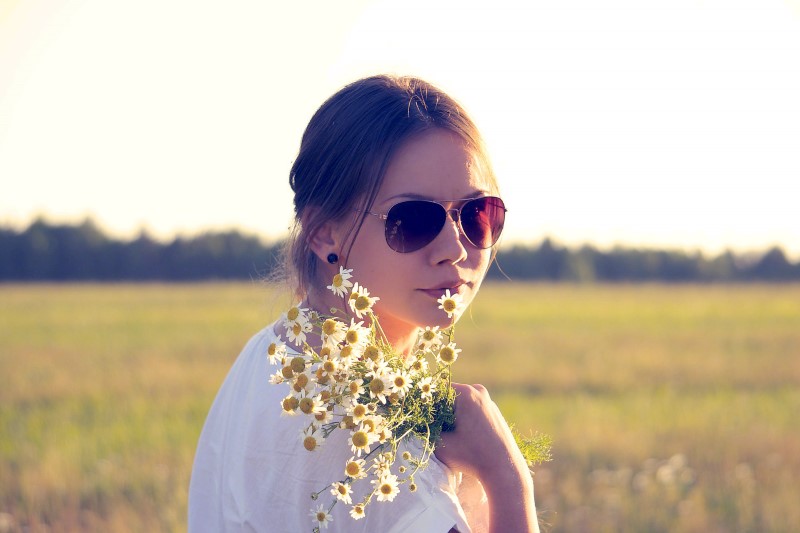
Here is before & after. Hope you enjoyed this tutorial
[sociallocker id=”1411″][download-attachments][/sociallocker]


