How to Create Vintage Look and Aging Photo Effect in Photoshop
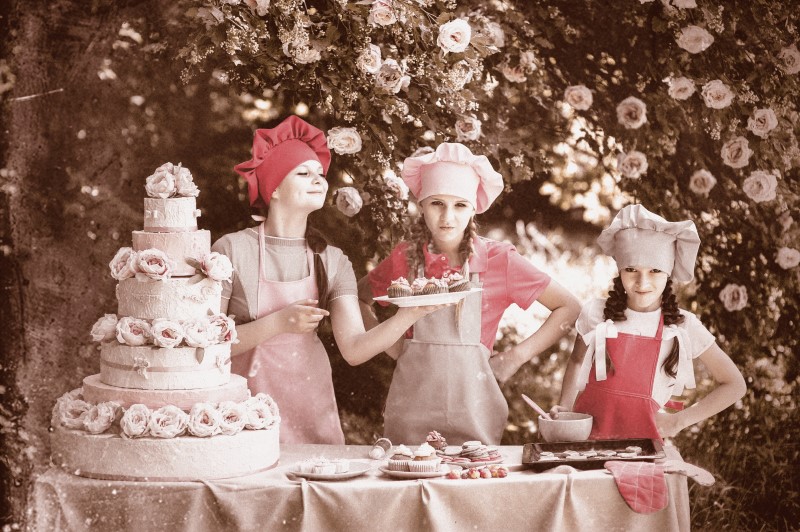
in this Vintage Look tutorial. we use Color Lookup feature to change colours within an image,which can be utilised to create a beautiful vintage look of a far higher quality and depth than those available on photo filter apps & plugins.
To get started, open the image you want to apply effect and make a duplicate copy.
Next, click on the Adjustment layer icon and select Color Lookup in the drop-down menu.
To give the image a vintage look, switch to the Abstract tab. Then, from the drop-down menu, select Gold-Crimson.
Right-click the background copy layer and select Convert to Smart Object. This means that you can add multiple filter effects in a non-destructive way.
now add a vignette, go to Filter>Lens Correction and switch to the Custom tab.
Under Vignette, change Amount to -60 and Midpoint to +32. Click OK.
Now add some grain to layer, go to Filter>Filter Gallery and under the Textures menu, select Grain.
Increase Intensity to 12 and Contrast to 60. Keep Grain Type on Regular. Click OK to apply the effect
Finally lets add grunge texture to give a old damaged paper look to the photograph.
You may google search for grunge backgrounds to apply effect.
Go back to photoshop and place the grunge texture above background copy layer, Change the blending type to “screen”.
Now adjust darks & whites with levels, create clipping mask Hold down Alt key position the pointer over the line dividing two layers and then click. Levels has the power to adjust brightness, contrast, and tonal range. Drag black point towards right to improve Contrast in image
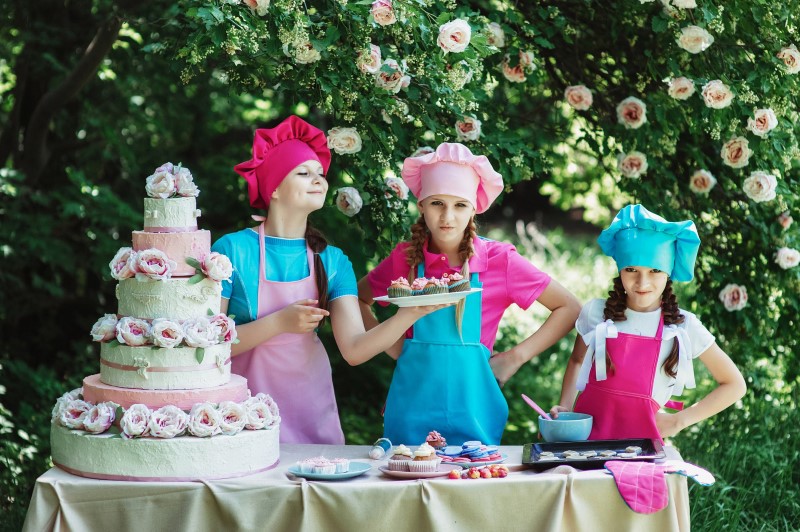
here is final outcome & we can achieve the vintage effect in just four simple steps.
You may download this PSD file and try it by yourself. Download link available Below.
[sociallocker id=”1411″][download-attachments][/sociallocker]


