How to Create Smart HDR with Camera Raw Filter in Photoshop
Smart HDR tutoiral: I’ll show you how to create awesome HDR lights photography using camera raw filter in photoshop
I strongly recommend that you first duplicate the background layer of your image and covert into smart object before applying any of the filters.
Then go to Filter tab > select camera raw filter. The image opens in a full size editing window.
Using the camera raw filter with the smart filter feature to enhance highlights, shadows, saturation, clarity, contrast and more in your image, without destroying your original file.
simply try darkening the Highlights slider to see the detail from highlights like clouds in the image.
similarly lighten the Shadows amount to see details from shadows part.
To increase contrast in the midtones, drag the Clarity slider rightward.
To boost colors, use the Vibrance slider. Adjust saturation and Contrast to your liking
now i will create a grey dodge and burn layer and use it as smart lights for HDR.
make stamp visible copy. use the Shift+Ctrl+Alt+E keyboard shortcut to activate the Stamp Visible command.
Desaturate the layer because we need to make it as grey image
now goto filter and add high pass filter, adjust radius around 8 pixels to soften the image.
now add guassian blur to soften the edges and keep radius around 5 pixel to get soft glow
finally we get dodge and burn layer and change blending to hardlight
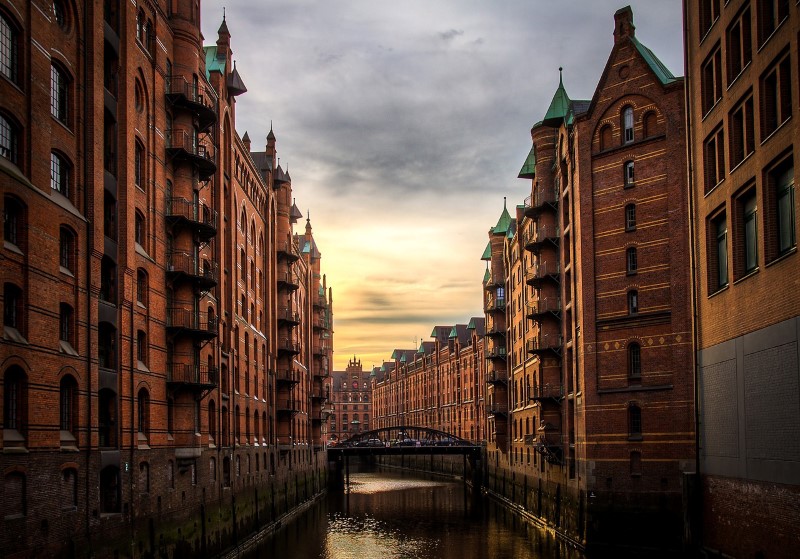
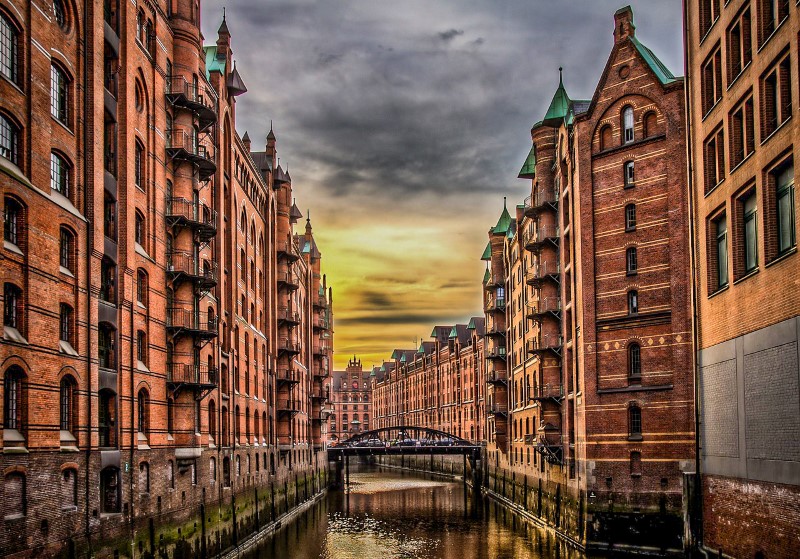
here is before & after results.
Now you’ve seen a range of adjustments & controls of the camera raw filter it’s time to apply smart HDR effect to your images.
[sociallocker id=”1411″][download-attachments][/sociallocker]


