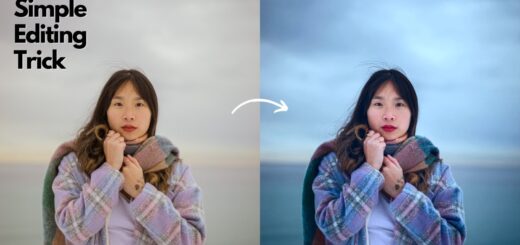
How To Dodge And Burn in Photoshop Using Blend Modes Tutorial
Dodge and burn will take so much time to do. Just follow this made easy technique tutorial to achieve effect with in 5 minutes easily.
Step:1
open image and duplicate 2 times.
Goto IMAGE tab > ADJUSTMENTS and invert the background layer. [Control + I keyboard shortcut]
Change layer blend option to vivid light.
Step:2
Now group layers. I’m going to use this group for details. Change group blend option to soft light. If you have done all process correctly so far,
you don’t see any difference with group hide and unhide. it looks same as original image
Step : 3
now apply surface blur to inverted background layer. play with the radius and threshold, these values depands on size of your image.
Now details in the image will pop up. you can observe there is grey color cast on image after surface blur.
add hue/saturation and make saturation negative.
Step : 4
When we unhide the main background layer and visible only group. it looks like sharp 50% grey highlights and shadows.
Make a visible stamp copy. To do so Ctrl+ Shift+ Alt+ E. hide the group.
Step : 5
Now apply guassian blur filter to stamp copy. i will keep radius around 10 pixels. now we got perfect dodge and burn 50% grey layer.
then change blend option to overlay.
at start of tutorial i made a details because i will use it for hair and other face features to pop up more. we can reduce the details effect by adjusting opacity slider.
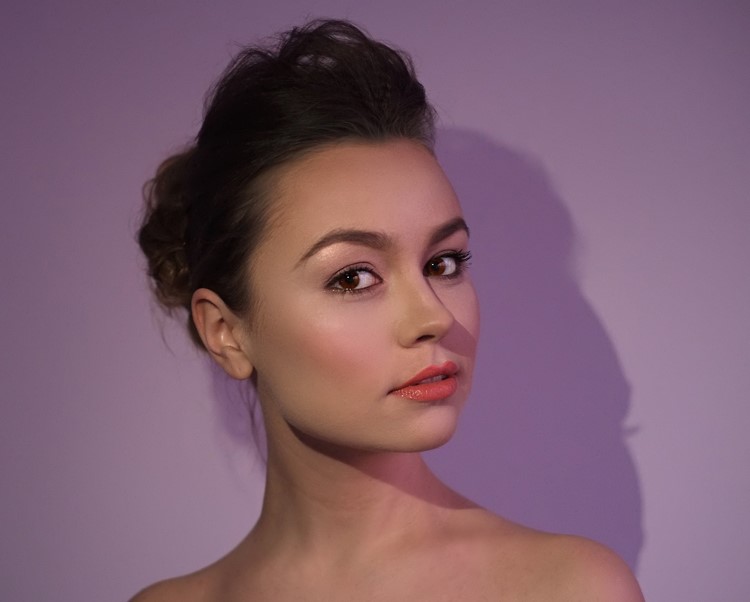
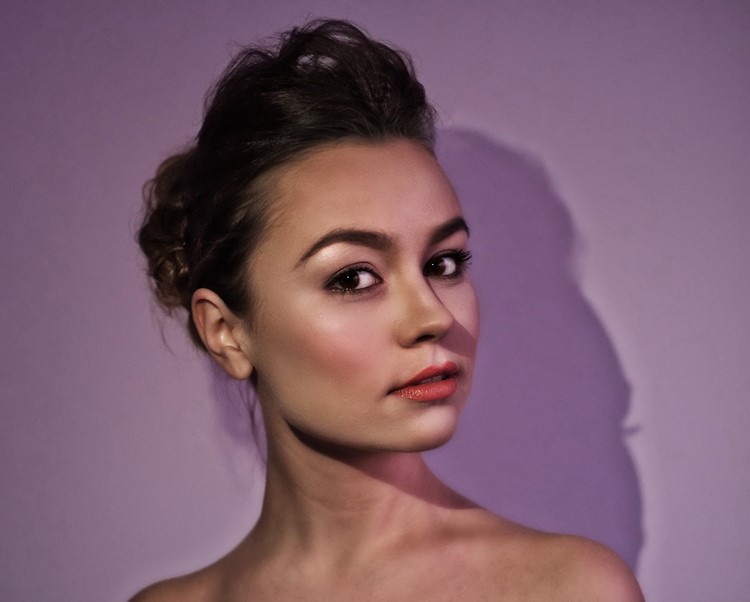
here is before & after below
[sociallocker id=”1411″][download-attachments][/sociallocker]


