How to Make Colors POP Using LAB Color in Photoshop
In this article i will show you how to Add Punch to Your lifeless Images Using LAB Color in Photoshop. The photos you take sometimes or almost always come out flat & colorless. After looking at the image on your computer, u may think This pic would not do and deletes it. You can still keep your image and post-process it using Adobe Photoshop. With Photoshop, you can do further manipulation on the image to make it more interesting.
First change image mode to lab colors. Using Lab Mode you can quickly and easily improve the contrast and colour of your images.
now go to adjustments and select curves. As you likely know, the RGB color space is a color space with three channels—Red, Green, and Blue—commonly used in LCDs and monitors. whereas LAB has a couple of features that make it excellent for manipulating colors. it is easy to use LAB colors to make your photographs go from colorless to fabulous
The two features that make LAB particularly powerful for working with color are that it separates grayscale information completely from color information, and that each of the color channels are color opponent, meaning they include information both about a color and its opposite color.
Now just simply adjust sliders A channel and B channel in histogram. What we are going to do is grab the left (black) endpoint and drag it toward the middle of the histogram a little bit. picture just turned an ugly shade of green but don’t worry about it. Now, grab the right (white) endpoint and pull it to the left. That should fix the green cast. But don’t worry too much about what the image looks like right now.
Similarly adjust B channel sliders What we are going to do here is exactly same as previous step. Now go back to the drop-down that currently reads “B” channel. Click on that and now select the lightness and adjust brightness. Separating the lightness values from the color values, and putting the lightness values on its own channel means that you can impact the colors without affecting the brightness or contrast of the image. This is not possible in RGB color space.
Now make stamp copy of visible CTRL + SHIFT + E. and convert layer to smart object. change the layer blending to softlight.
Light source in this image comes from back of her and her hair looks golden. so i want to give poto a glowing difuse look.
go to filters and add gaussian blur. click OK.
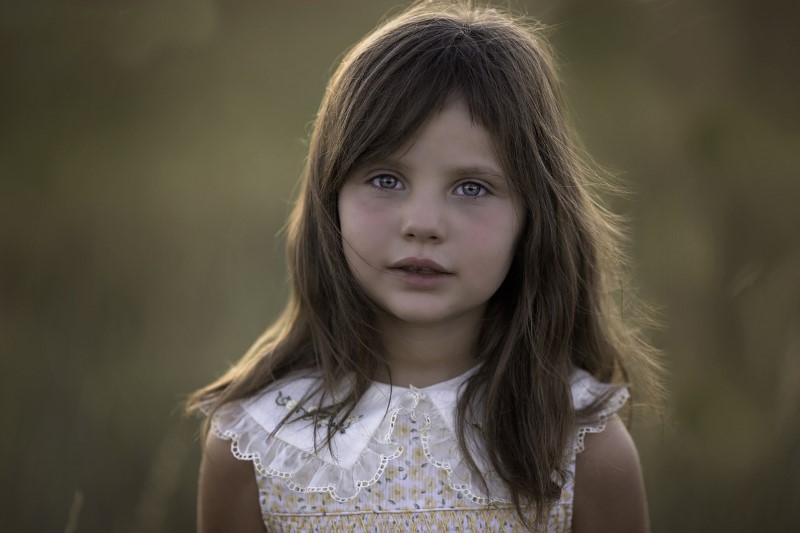
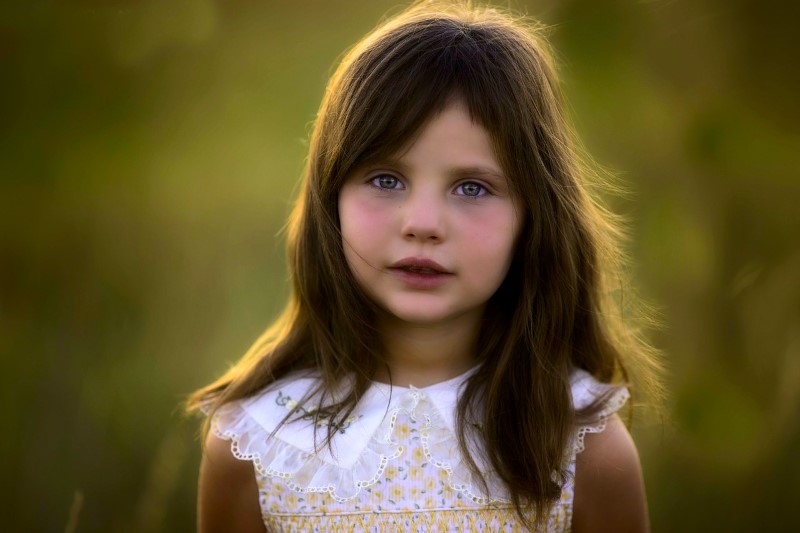
here is before & after photos. The LAB colorspace is so broad that there is always room to charge in your black points and white points on the histogram.
[sociallocker id=”1411″][download-attachments][/sociallocker]


