Transform Photos into Digital Painting Effect in Photoshop
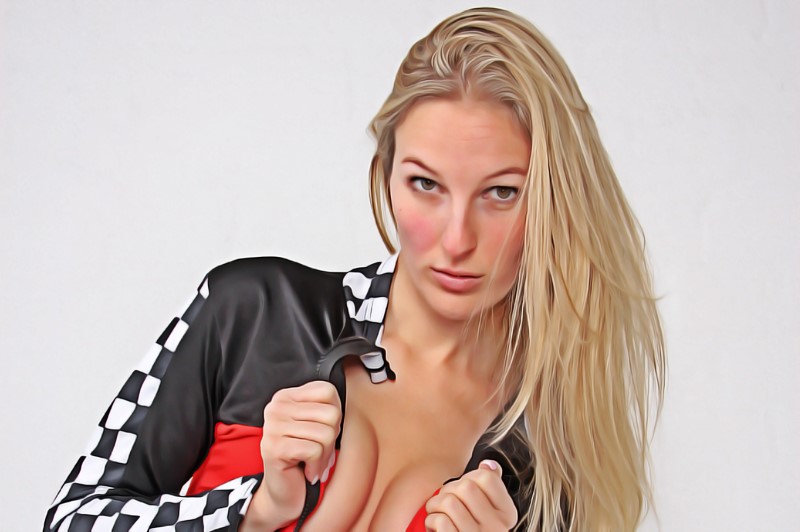
Digital Painting Effect Tutorial : There are some talented artists who can paint stunning hyper realistic art, but with help of photoshop it’s possible to create cool effects like painted images. In this video, i will show u how to apply a painterly look to an image using the diffuse and reduce noise filters.
Step:1
First duplicate background layer and convert into smart object.
Goto filter and apply unsharp mask filter. This will sharpen the image and helps to create detailed paint stokes, especially on hairs.
Then goto filter tab and select stylize and then choose diffuse. Change the diffuse mode to Anisotropic. This is the key ingredient to give the image that gives cool painted appearance.
I will apply diffuse filter again to get more effect. If you want more effect simply add diffuse filter again and again.
Now add reduce noise filter, it helps to smoothen the textures and details. Keep strength at 10 and remaining all values at 0%. click ok.
Similarly like diffuse filter, add reduce noise filter again to apply more effect. But this time keep some details and sharpness
Step:2)
Now create stamp visible copy, todo that press Shift+Ctrl+Alt+E. it creates a new layer containing the merged content. I will use this layer to create high dynamic range image.
Goto image tab > adjustments > desaturate the image.
Invert the layer Ctrl+I keyboard shortcut. Change blending to overlay.
Convert layer into smart object. It enables you to perform nondestructive editing to the layer.
Go up to the Filter menu, choose Blur, and then choose Gaussian Blur. The amount of blur you need will depend a lot on the size of your image. Generally, radius value of around 15 to 20 pixels is a good place to apply
Step:3)
Again make a stamp visible copy. Now i will use this layer to add sharpness.
add a High Pass from the filters menu. A low amount of around 1-3px is all that’s required.
change the blending mode of this high pass layer to linear light to drastically sharpen the image.
Step:4)
Again create stamp visible copy to merge all content into one new layer.
Goto filter tab and select stylize and then choose diffuse. Now add reduce noise filter also.
Step:5)
Goto adjustment panel and select hue & saturation. reduce the saturation amount. Finally make stamp visible copy and change blending mode to softlight. it improves overall contrast of the image.
if you want disable the reduce noise filter to get sharper image.
here is final result. before and after.
The result is cool effect that mimics digital painting. The effect really comes the life the close you get. From a far the fine details can blend to look like a normal photograph. But up close you see what looks like hundreds of individual brush strokes.
[sociallocker id=”1411″][download-attachments][/sociallocker]


