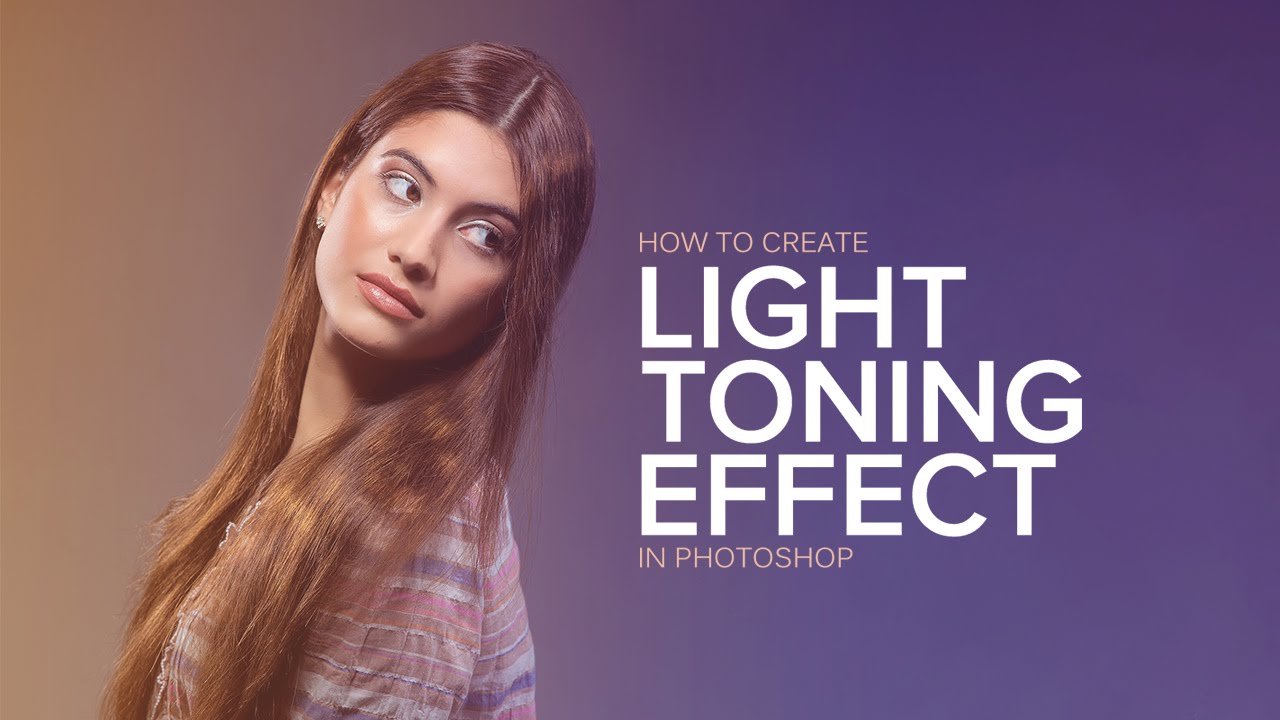
Transform Your Photos with Lighting Effects in Photoshop
Hey folks! I’ll show you how to transform a regular photo into something amazing with cool dual lighting effects with textured background in Photoshop..
Portrait Lighting Effects – Photoshop Tutorial
Step 1: Change the Background
Go to ‘adjustments,’ pick ‘solid color,’ and choose black (you can change it later).
Step 2: Add Texture to the Background
Download a texture from our website (link in the description).
Place it in the document.
Step 3: Insert the Main Subject
Go to ‘file,’ ‘place embedded,’ and select your photo.
Name this new layer “subject.”
Step 4: Isolate the Subject
Go to ‘select,’ ‘select and mask,’ choose ‘cloud detailed results,’ and ‘select subject.’
Refine edges and output settings for a clean separation.
Step 5: Create Inner Shadow and Outer Glow
Right-click on the layer and select ‘smart object.’
Double-click the layer, choose ‘outer glow,’ and adjust settings.
Add an ‘inner shadow’ with similar settings.
These effects mimic realistic lighting.
Step 6: Fine-Tune Highlights and Shadows
Go to ‘image,’ ‘adjustments,’ and select ‘shadows/highlights.’
Adjust shadows to around 30% and highlights to about 68%.
Step 7: Add Vibrance
Go to ‘image,’ ‘adjustments,’ and select ‘vibrance.’
Set the slider to around 20 for vibrant colors.
Step 8: Enhance Colors with Curves and Levels
Use ‘curves’ to add contrast by raising the curve line slightly.
Adjust ‘levels’ to brighten the image.
Step 9: Apply Color LUT
Go to ‘adjustments’ and choose ‘color lookup.’
Experiment with different ‘LUTs’ to find a filter you like.
Step 10: Customize the Background
Change the background color to your preference, for example, dark blue.
Voila! You’ve turned an ordinary photo into something extraordinary. The best part? You can always tweak it to your liking. Experiment and make it yours!
Thanks for watching! Don’t forget to subscribe, like, share, and comment. Stay tuned for more tutorials. Happy editing!


