How to Create Fake Motion Blur Effect in photoshop

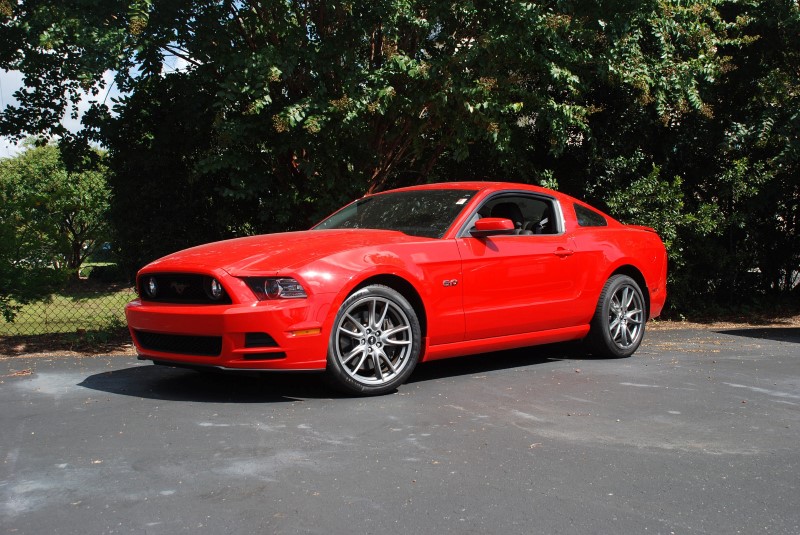
In this Fake Motion Blur tutorial, we are going to take a car and make it look like its driving down the road. We start with a photograph on a car that is stationary & going to cut out the car using pen tool and put it on a new layer.
I’m using The standard Pen tool here to make selection for car. simply draw through the edges of car.
click Alt-drag (for Windows) & Option-drag (for Mac OS users) to draw a freehand path.
after Complete the path. right click on path and select make selection. Add mask to the selection, so only selected subject will visible.
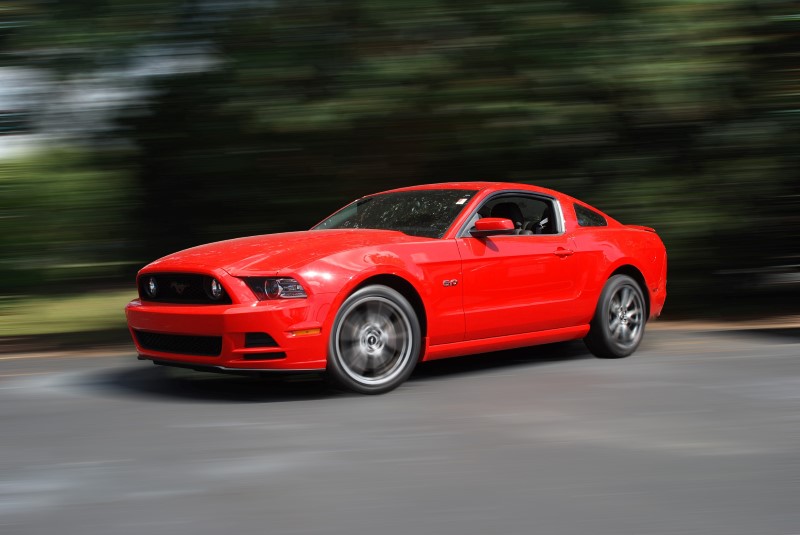
Then we blur the background with a motion Blur. Basically set angle direction horizontal to road.
Now we remove car from layer and fill it with content aware. Click on car mask and expand the selection by 12 pixels. here pixel count depand on size of the photograph.
convert layer to smart object and apply motion blur filter to it layer. Adjust distance pixels and click ok.
Now we are going to add fake spin blur to spin the wheels.
I cover 2 ways of doing it. We do the traditional way that works on all versions of Photoshop.
Take elliptical marquee tool and select on wheel then go to blur and choose radial blur.
This is one method you can do to spin the wheel.
Another method at a newer way that works only in photoshop CC.
go to blur gallery and select spin blur.
Using the Spin Blur effect, you can rotate and blur the image around one or more points.
To resize the ellipse uniformly, drag an ellipse boundary.
Photoshop lets you work with center points, blur size and shape, and other settings, all while viewing a live preview of the changes.
To add a new spin blur, click a desired location in the image.
here is before & after photographs.
[sociallocker id=”1411″][download-attachments][/sociallocker]