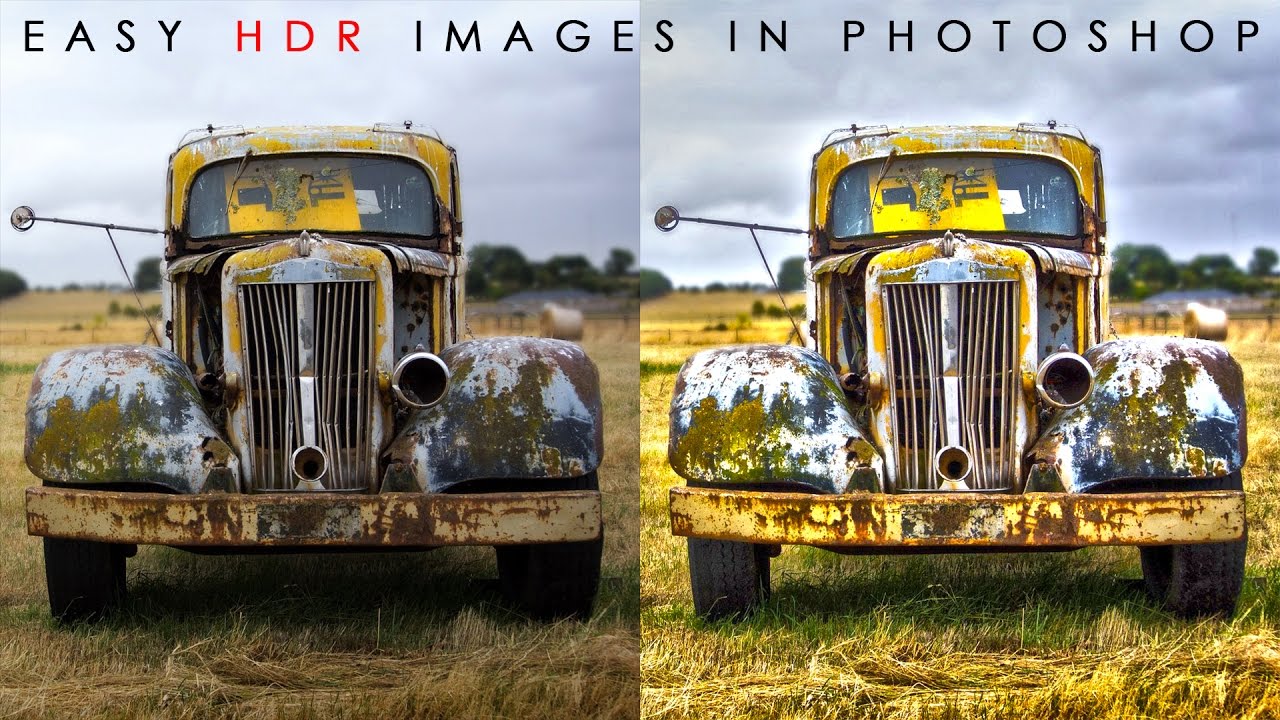
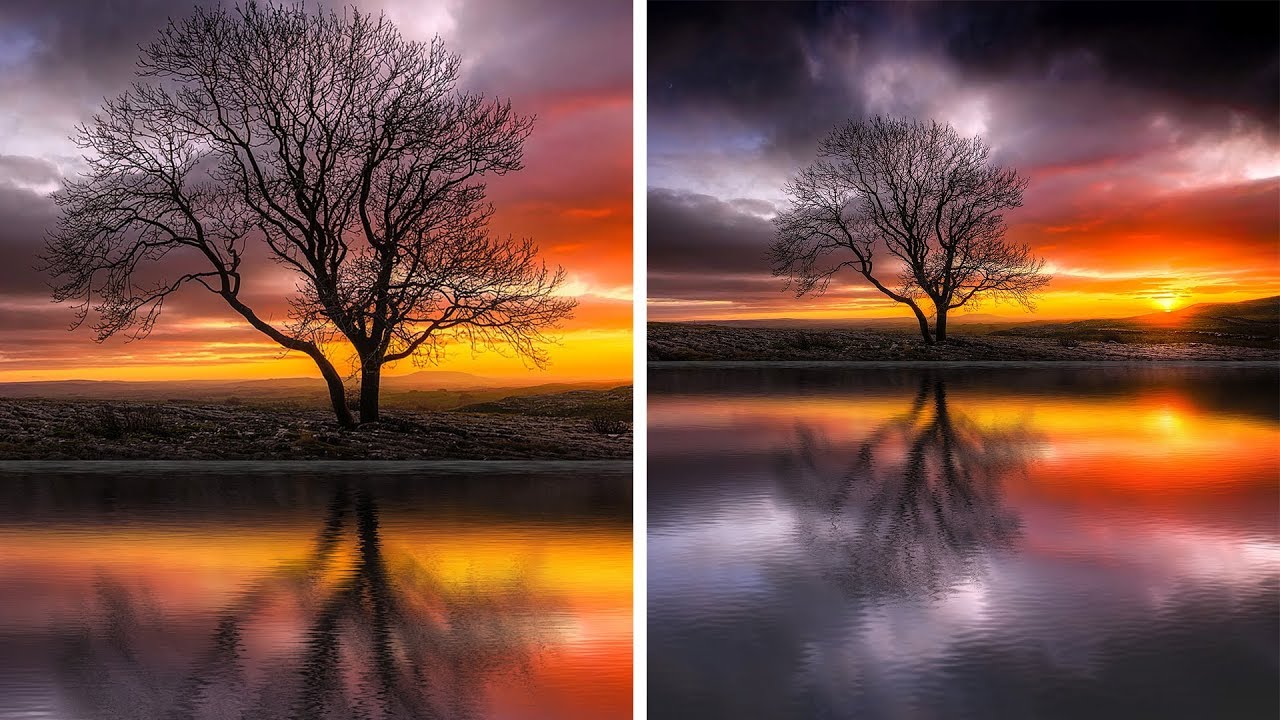
how to Select and Replace Sky with Channels in Photoshop

In this photoshop photo editing tutorial, learn how to select and replace sky using channels in photoshop. We can use this same technique to extract or cutout any subject from background also.
Select and Replace Sky Photoshop Tutorial :
CLICK HERE TO WATCH TUTORIAL
1
00:00:20
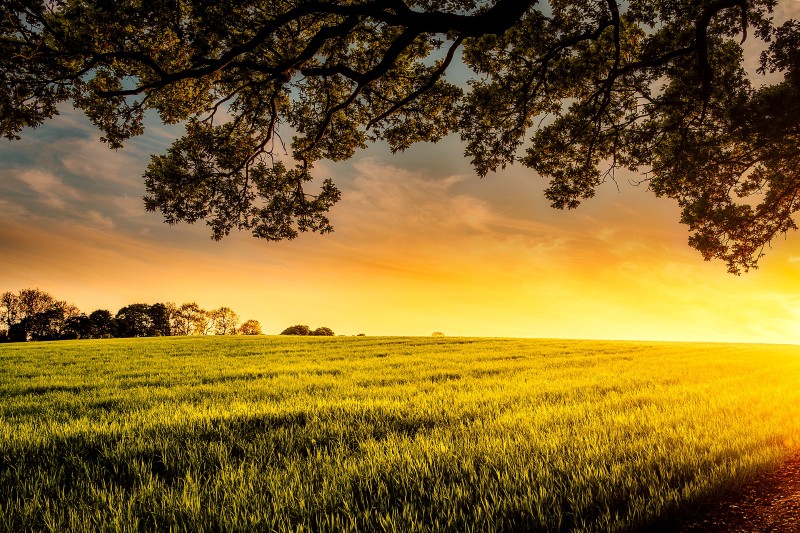
Open up image.
2
00:00:28
Go to channels and duplicate Blue Channel.
3
00:00:47
Go to adjustments, select curves.
4
00:00:59
then drag the white and black point sliders in dramatically to make the sky totally white and the trees & land black.
5
00:01:36
Now use the Brush tool with overlay blending and paint with white to tidy bits in the sky.
6
00:03:21
similarly paint with black to tidy any bits in the land & trees.
7
00:04:36
Go back to layers panel and duplicate background image.
8
00:04:49
Now load the blue copy selection from select tab.
9
00:05:02
Inverse the selection and add layer mask.
10
00:05:12
We successfully extracted trees and sky.
11
00:05:48
There are some slight white fringe in the cutout.
12
00:05:56
Select background copy layer mask and right click on it and choose apply layer mask.
13
00:06:10
then go to layer – matting – remove white matte.
14
00:06:34
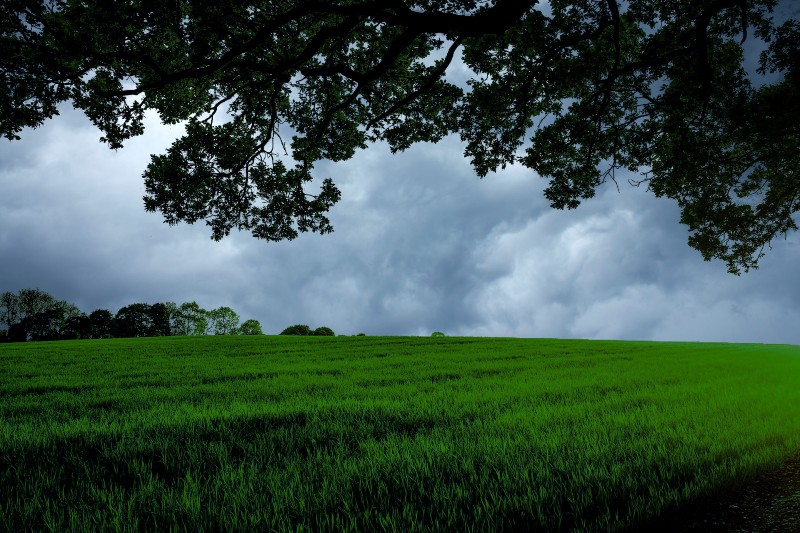
Lets add new sky background.
15
00:06:51
Current sky is dark and cloudy, so add dark color cast to trees and land to match foreground and background.
16
00:07:06
Add new solid color (in my case i choose dark blue).
17
00:07:13
Change blending mode to hard light or multiply.
18
00:07:27
Create clipping mask to make solid fill layer clipped to the bottom layer.
19
00:07:52
That’s it. We’re done.
[sociallocker id=”1411″][download-attachments][/sociallocker]