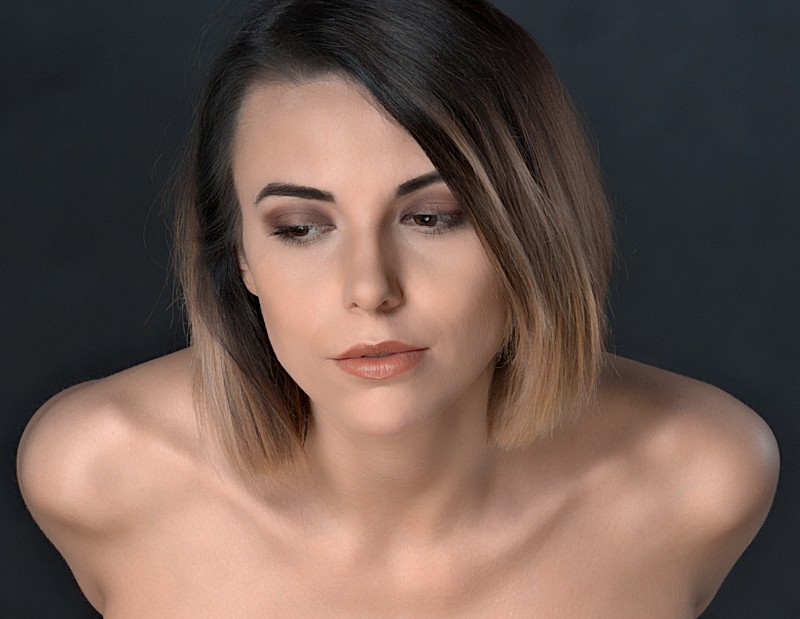
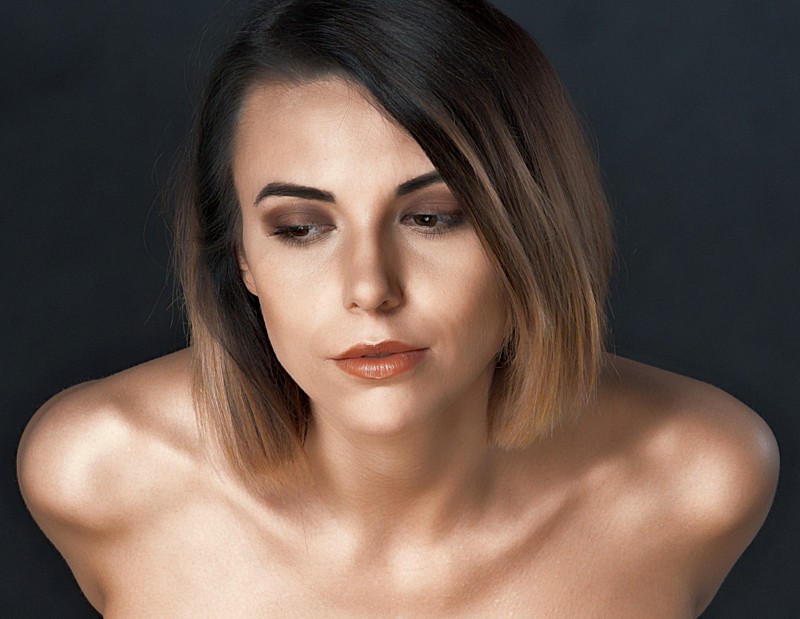
Smart Dodge and Burn Using Apply Image in Photoshop

In this photoshop retouching tutorial, Learn how to achieve Dodge and Burn professional grade results using apply image in photoshop. This smart Dodging & Burning technique make areas of your photos lighter and darker to create depth and draw attention to areas of an image in more accurate, non destructive and easier way.
Smart Dodge and Burn Effect Tutorial :
CLICK HERE TO WATCH TUTORIAL
Ok let’s get started.
First duplicate background layer CTRL +J.
Change the layer blending to screen. This step lightens the overall image.
Add layer mask to the layer.
Select the layer mask and go to image menu and select apply image.
Keep settings to default and click ok.
Now duplicate background layer again.
move the layer to the top.
Change the layer blending to multiply. This step darkens the overall image.
Add layer mask to the layer.
Select the layer mask and go to image menu and select apply image.
Keep settings to default but we need to apply effect to shadows so choose invert option. click ok to apply the changes.
Now group the top two layers CTRL +G.
Add layer mask to the group.
select layer mask and add apply image to the mask.
keep settings to default and uncheck invert.
You may notice that this process set narrows down burning to just the shadows and dodging to just the highlights of an image.
If you want the effect bit too strong, then simply duplicate the group and lower the opacity of the group to your preference.
That’s it. we’re done.
[sociallocker id=”1411″][download-attachments][/sociallocker]